Material on this page is copyright (c) 2016-2024 Dan Harper
Return to main Handwork page
I/ Fabric Arts
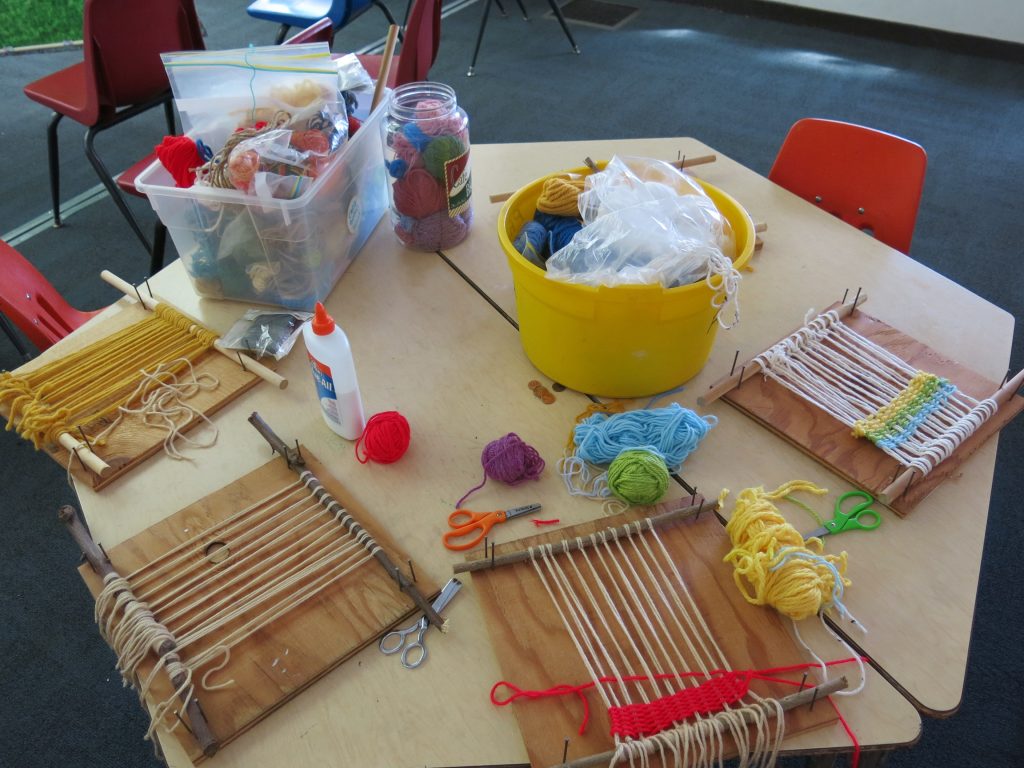
A. Weaving on a simple loom
Instructions for simple weaving project elsewhere on this website.
B. Macrame
Simple macrame projects for kids.
II/ Wire
A. Wire sculpture
The master of wire sculpture is Alexander Calder — here’s a Web page on making Calder-inspired art with gr. 5.
When doing wire sculpture with kids, you’ll want wire that’s easy to bend and form into shapes. Thinner wire is easier to bend, but also gets damaged easily. The material the wire’s made of also makes a difference. Steel wire is HARD to bend; you can use it with teens and adults, but children will get frustrated. Copper wire is super easy to bend, but expensive. Brass wire is easy to bend and a little less expensive than copper wire, but still expensive. I recommend armature wire, typically made from aluminum — it’s easy to bend, satisfying to work with, and often less expensive than copper or brass wire.
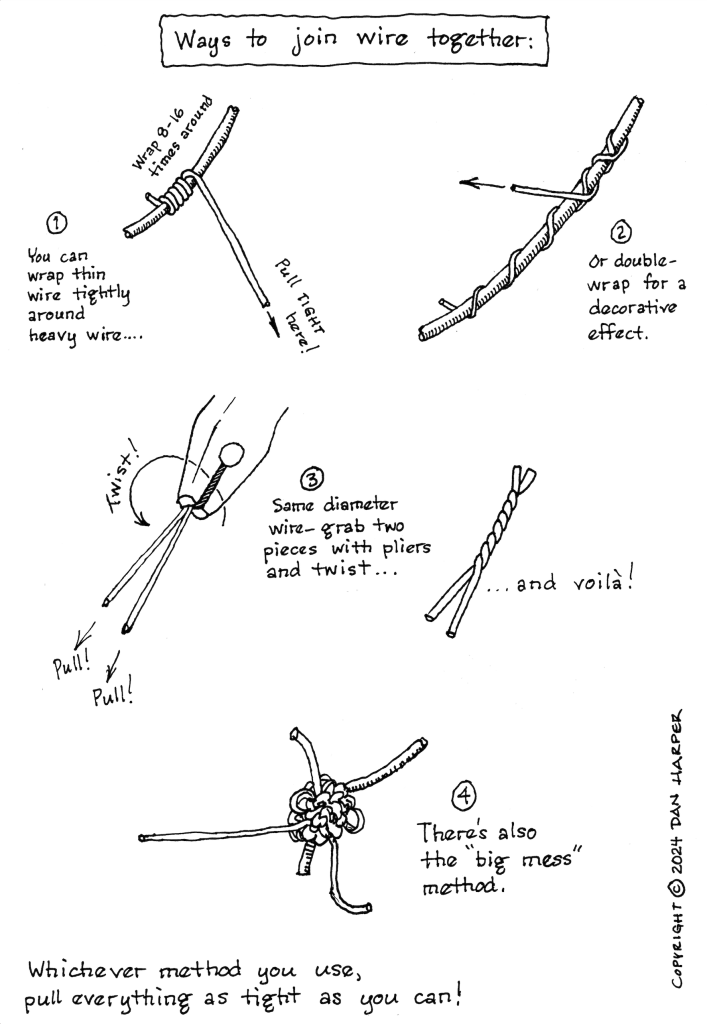
Permission granted to reproduce the PDF for nonprofit educational programs.
B. Mobiles
These instructions tell you how to make a mobile with characters from a story you have just shared with the children. The instructions tell how to make mobile with two arms and three hanging objects. Each hanging object has a different character on each of its sides. Thus, with three hanging objects, you can include six characters from the story. You can expand the project by adding more arms with an additional hanging object per arm.
Obtain cardstock suitable for coloring on. Paper weights of between 60 lb. and 120 lb. work well — relatively easy to cut with scissors yet still stiff enough to hang flat.
Have the children draw characters from a story you have just shared with them on the cardstock. Then cut the card stock with scissors so that the characters are in big ovals. Tell the children to try to make the ovals all come out about the same size.
While the children are cutting out the characters, cut a piece of wire about 24 inches long, and another piece of wire about 18 inches long. Galvanized steel wire of about 16 or 18 gauge works well; it’s stiff enough so that it won’t bend, but thin enough so that it’s easy to bend with pliers. Bend over the ends so no one pokes themselves on the sharp ends of wire.
Next, take two of the ovals and tape them back to back — this becomes one hanging object. Do this with all the ovals.
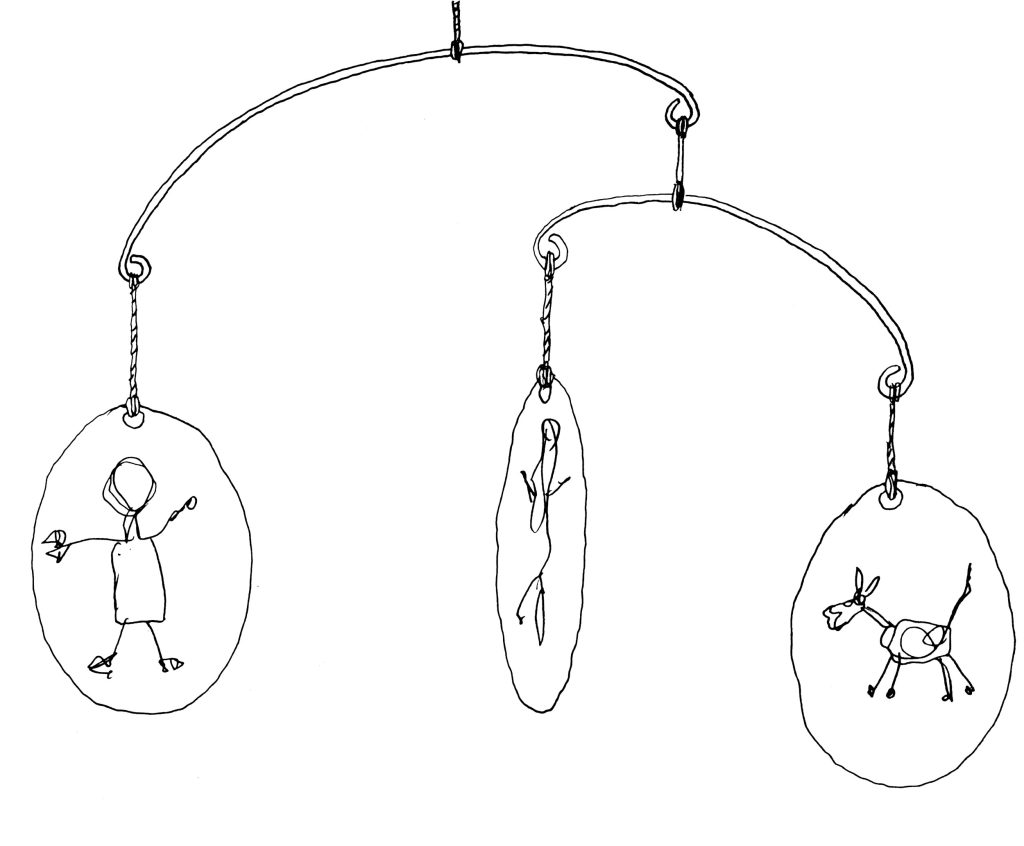
Using tape, help the children tape each of the ovals to a short piece of string or yarn. While they are working on that, one of the teachers can tie the shorter piece of wire to the longer piece of wire as shown in the drawing below. Also tie a longer piece of string to the longer wire, to be used for hanging the mobile.
Tie the characters onto the ends of the wire as shown in the drawing. Then pick up the mobile and see how things balance. To adjust things so everything balances, slide the strings that suspend the long piece of wire, and the short piece of wire, until everything hangs nicely.
Finally, one of the adults can hang the mobile from some high point. You’ll want to figure this step out ahead of time. For example, if the only place to hang the mobile is from the ceiling, you’ll want to ask the building and grounds committee for permission to put an eye-ring in the ceiling, then you’ll want to have a stepladder ready so you can climb up and hang the finished mobile from the eye-ring. In my experience, the children are fascinated by this step of the project, even if they can’t actually help.
For more ideas on making mobiles: an excellent webpage on the principles of making mobiles.
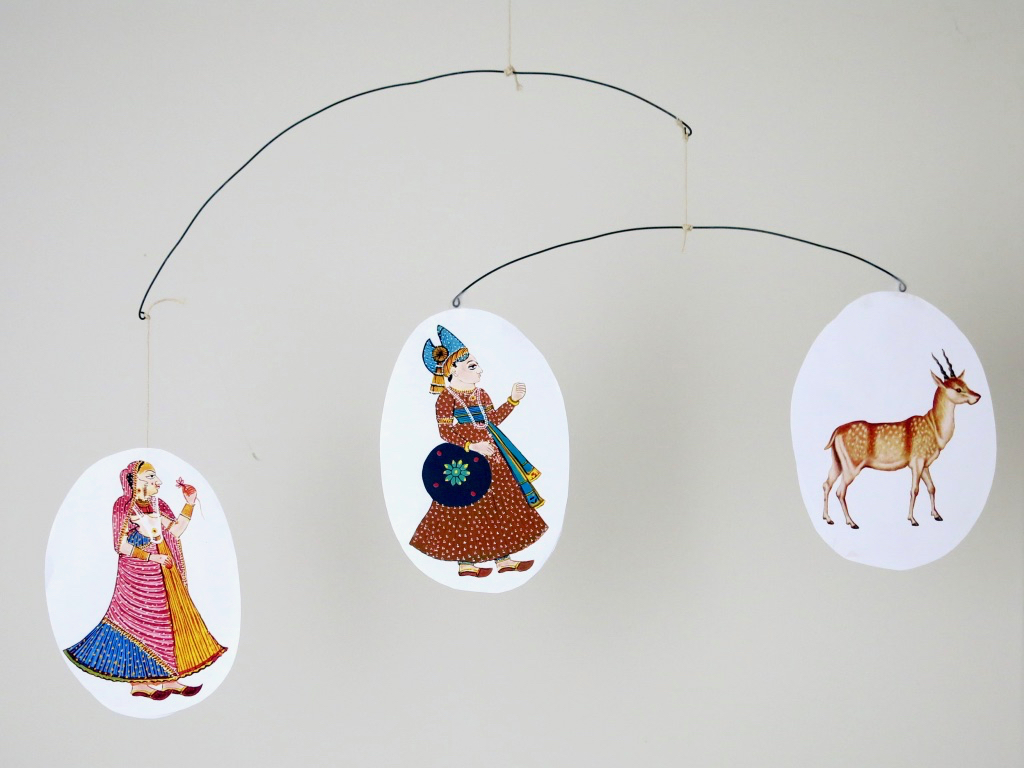
A mobile project elsewhere on this website (as shown in the photo below). Note that this is made slightly differently from the project described above.
III/ Musical Instruments
A. Pan pipes
Building and playing instructions elsewhere on this website.
IV/ Pottery
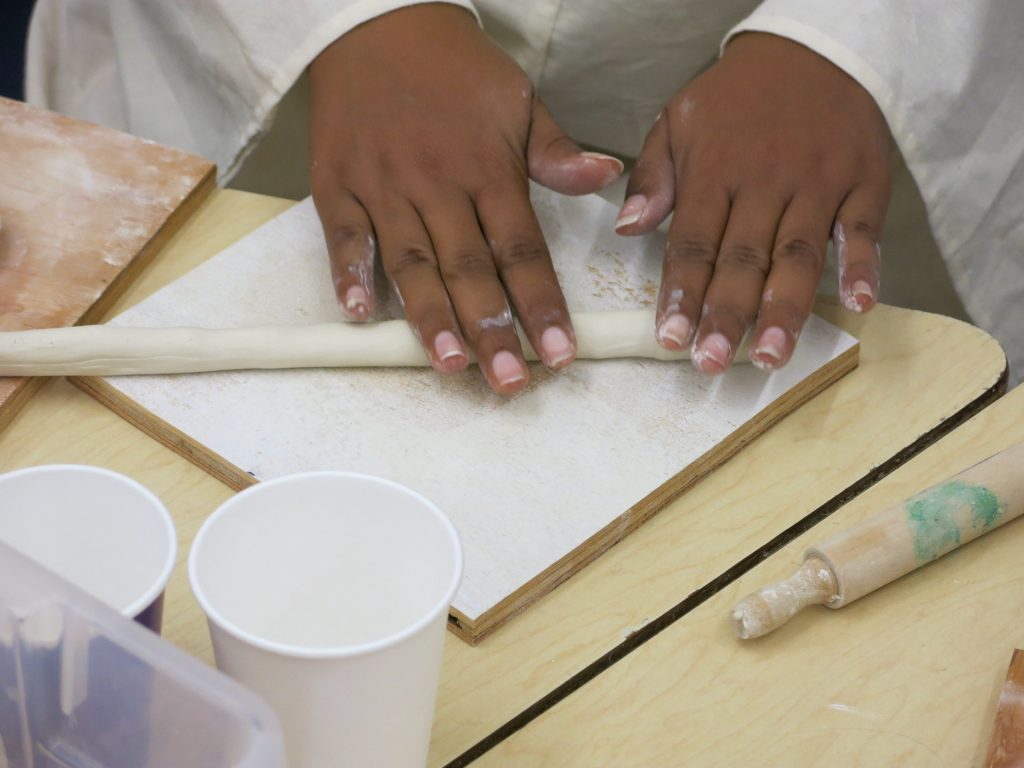
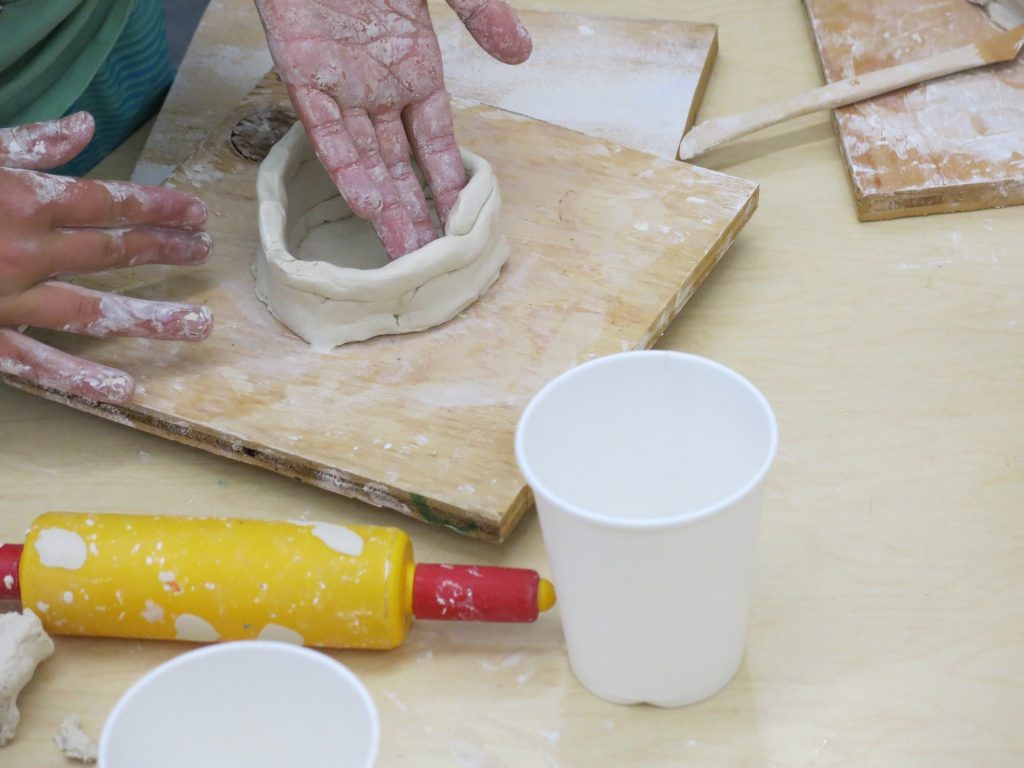
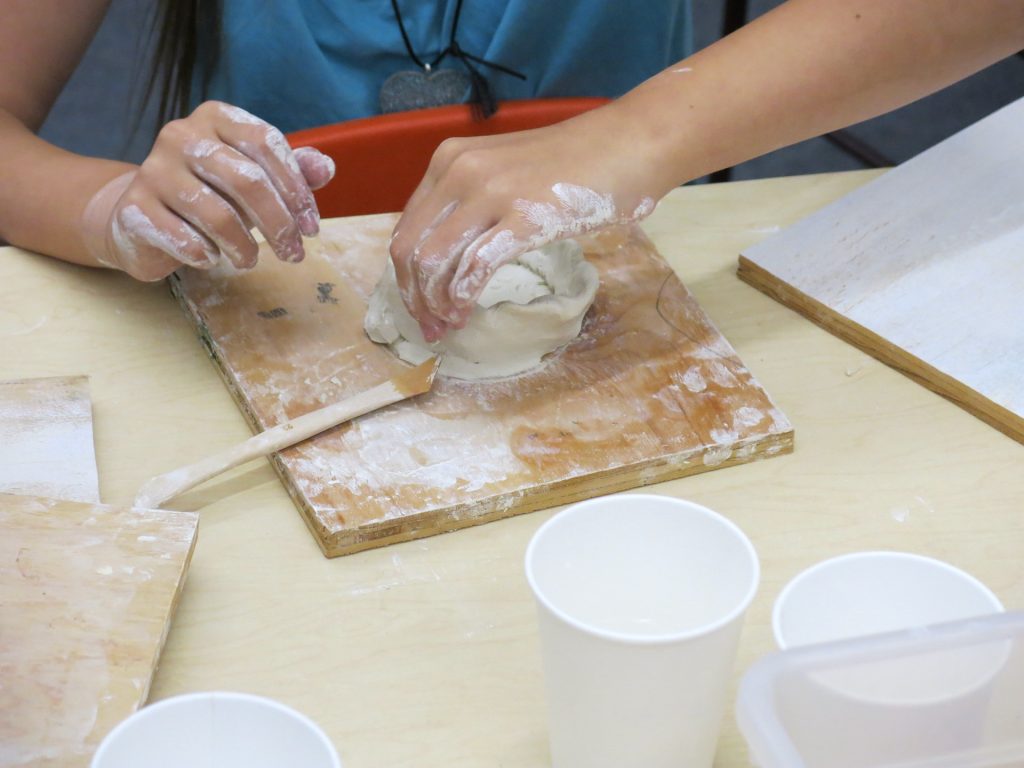
Info on pottery elsewhere on this website.
V/ Dioramas and Models
Dioramas and models may involve the use of puppets or figurines, either as a puppet show or dramatic play within the diorama or panorama.
A. Straight-sided Box Diorama
- Village in Ancient Near East
- Etc.
B. Models
- Model of Thoreau’s cabin and grounds
- Model of the ancient Temple of Jerusalem
- Etc.
In one small multi-age Sunday school class, we spent three weeks on a cardboard model of Thoreau’s cabin at Walden Pond. First, we read a children’s book with illustrations of Thoreau’s cabin. Next, I brought in a cardboard scale model of the cabin (assembled with hot melt glue), with a removable roof. The children made a bed, table, and chairs out of cardstock for the cabin. They drew and cut out animals who lived around the cabin. All these elements were then glued in or on the cardboard model. The group size was 4-6 children (it would have been difficult to include many more in this particular project).
For another Sunday school class, I made a cardboard model of the ancient temple at Jerusalem, using a plan I found online. We decorated that model, with reference to online resources, then used it to imagine some of the stories where Jesus was in the Temple. We made paper figurines to act out some of the stories.
C. Cardboard City
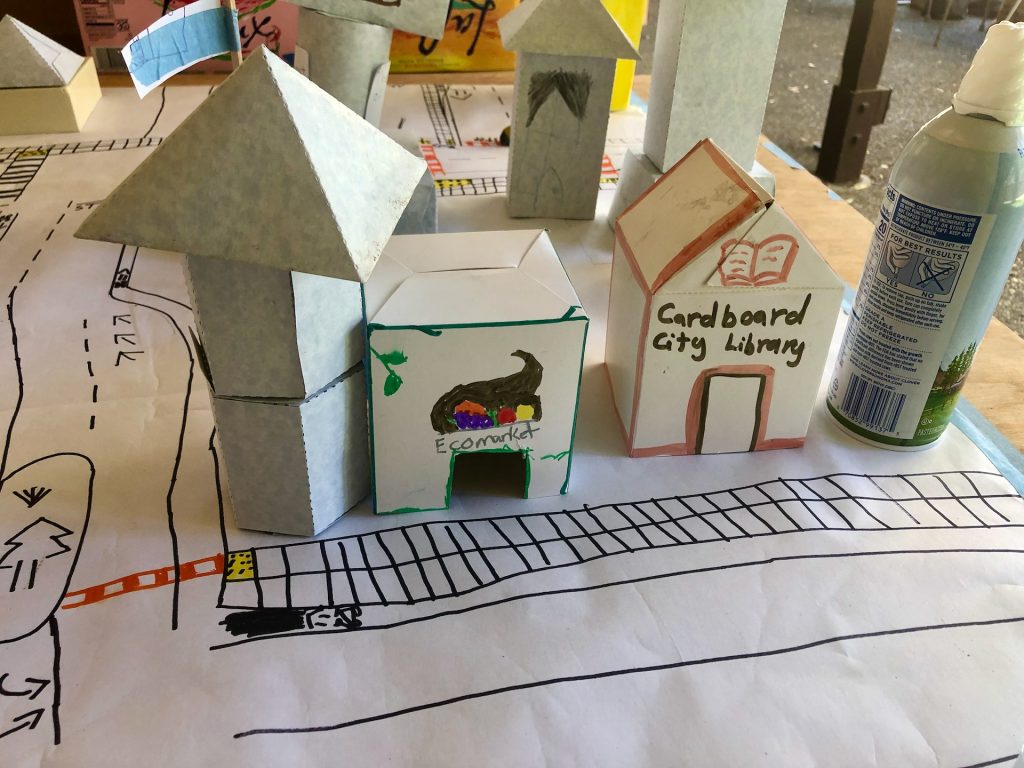
Cardboard City was a project in a three-week ecology camp for gr. 1-5. The children used boxes and containers which they decorated as buildings. The buildings were placed on a large sheet of paper on which the children drew roads, sidewalks, etc. The teachers used this project to talk about what kinds of things we might want in an ecological city — in the photo above, you can see a library, an “ecostore,” and more. The children enjoyed working on this during down times, and the project engaged them for most of the three week camp. Linda Henigin was the lead teacher in this project, with help from Tobi Nielsen, Amelia Shaw, Abby Porter, Carol Steinfeld, and Emma Grant-Bier.
D. Pretend Paper People
Once you have a diorama, you may want to people it with pretend paper people. You can use old magazines, newspapers, catalogs, etc., along with some scrap paper, scissors, and sticky tape — as shown in the video below.
Alternatively, the children can draw the characters they want to have in their diorama, and then make those drawing into pretend paper people.
Pretend paper people are easy to make, and once you make them you can have fun making up stories about them. Not only are these figures are easy to make, they can be used either for unstructured fantasy play, or to act out stories in Sunday school classes.
VI/ Games
A. The Substitution Game
A fun game that can be played with one or two people.
The video gives rules for playing as a solitaire game. Here’s how to play with two (or more) people:
Make enough playing cards so there are 10-12 per player. Each player makes their own rule cards. Shuffle the playing cards and line them up. Then each player picks one of their rule cards and lays it out where everyone can see it. Now take turns playing the game. You can play this as a cooperative game, where you work together to try to wind up with as few unplayed cards as possible. Or you can play this as a competitive game, where the last person able to remove cards is the winner.