Material on this page is copyright (c) 2016-2022 Dan Harper
Return to main Handwork page
Other Arts and Crafts include those types of handwork that don’t fit neatly into the other categories.
I/ 3D Printing
A. Wall Hanging
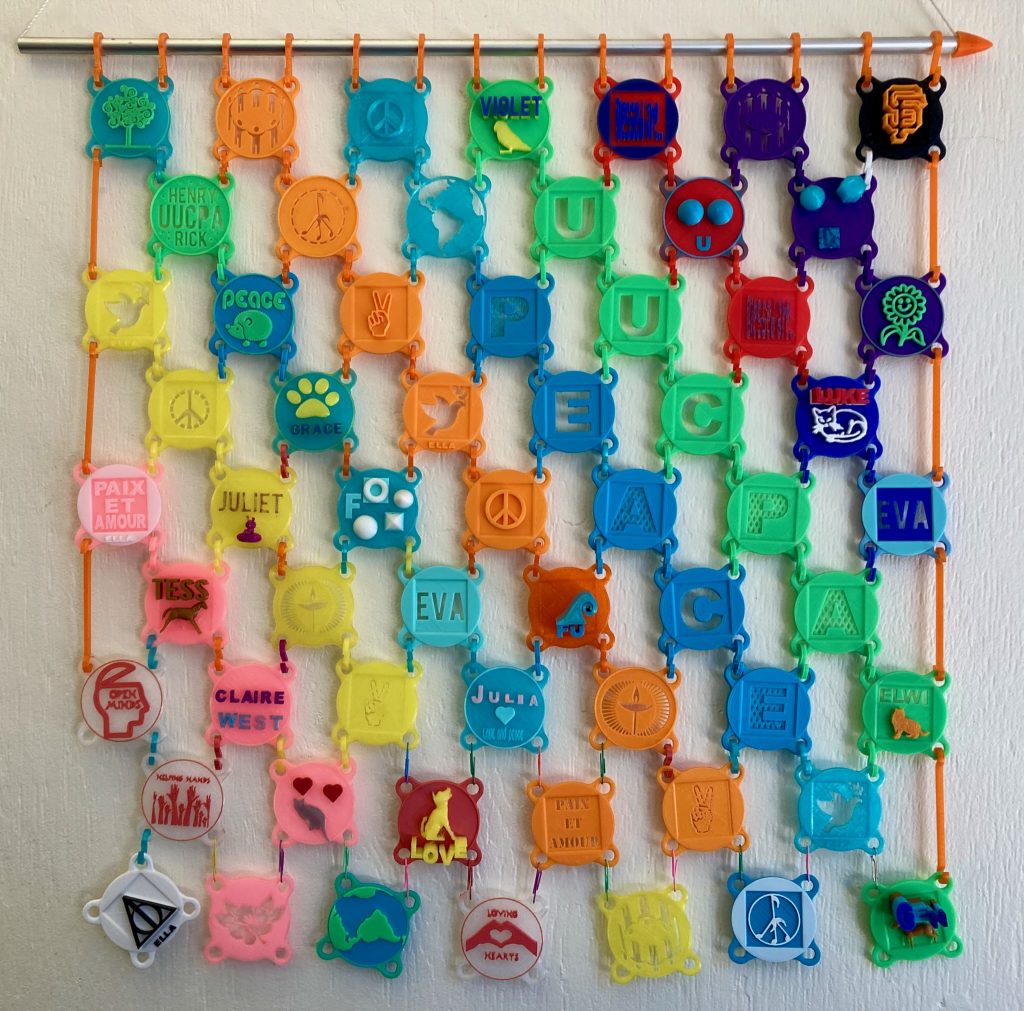
Print medallions on a theme, which are then integrated into a wall-hanging.
II/ Cooking
A. Help prepare a meal for congregation
B. Outdoor cooking
C. Baking treats
III/ Making toys
A. Kites
I have made simple sled kites with kids in Sunday school classes. It’s a project you can do in less than an hour (including time for flying the kites), and it uses cheap materials — plastic trash bags and plastic drinking straws. However, I don’t like the fact that it uses so much plastic.
You can also make sled kites with paper. I haven’t actually tried this with kids, but it looks like it should work within the time limits of a Sunday school class.
B. Toy boats
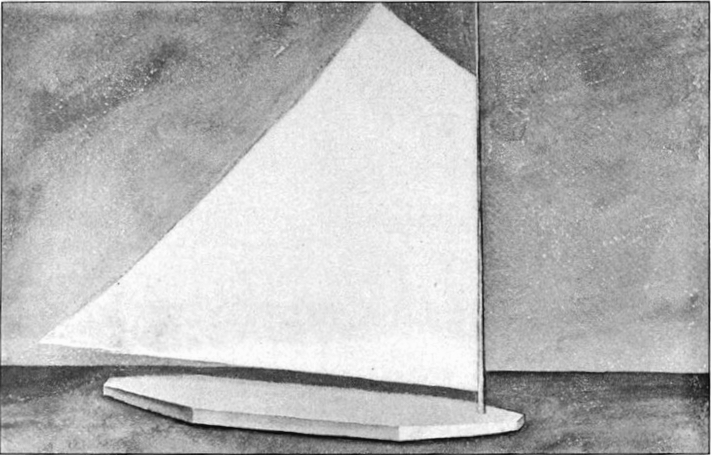
The toy boat design above comes from Jane L. Hoxie, Handwork for Kindergartens and Primary Schools (Springfield, Mass.: Milton Bradley, 1905), pp. 28-29. Hoxie was associated with the Ethical Culture School in New York City. I’ve adapted her instructions slightly:
On a nominal 1×4 in. (actual 3/4×3-1/2 in.) piece of pine lumber, mark out a 10 in. length (free of knots). Nominal 1/2 in. thick lumber is much easier for the children to saw, but usually it costs much more; if you can afford it, use it.
Using a square, draw straight lines across to mark out the length of the boat’s hull. But don’t cut the boat off the longer board yet — our children found it’s easier to clamp the work on the workbench for the next step, if you leave the boat attached to the longer board.
Starting at the end that’s already cut, measure in from the corners 1-1/4 in. on the ends, and 2-1/2 in. on the sides. If you want a really sharp pointy bow, measure in 1-3/4 in. on the ends at the bow, as shown on the full-size template below. Connect these points by straight lines. Starting with the bow, saw from each corner the right-angled scalene triangle thus marked off. At the other end, cut one of the corners out. Then cut the boat off the longer board. Now cut the other corner off.
At the bow end, bore a 5/16 in. hole 1-1/2 in. from the bow. Cut a piece of 5/16 in. dowel that’s 8 in. long, and stick it in the hole. (You can add a drop of waterproof wood glue if you want.) Cut out a sail from stiff paper, and glue it to the mast. You can use the template below, or make your own.
Finally, install the painter (that’s the rope at the bow of a boat). Drill a 1/4 in. hole near the bow. Tie a length of string through the hole. Now you’re ready to sail the boat. Actually, this boat doesn’t sail well, since it doesn’t have a keel, so you’ll probably wind up towing it along with the painter.
Template for making the toy boat (PDF)
Full size template for the toy boat sail (PDF)
IV/ Process art
When you make process art, it’s all about the process not the product. You kind find entire books and websites devoted to process art. What I’m offering are a few examples of process art I’ve used in actual religious education settings.
A. Jello painting
“Jell-o” is a registered trademark of Kraft Foods Group. I’m using the generic term “jello” to refer to any flavored gelatin dessert.
Painting with jello is a great form of process art because it engages several senses — sight, smell, touch. (But I usually discourage participants from tasting: people forget to wash their hands, not everything will be sterile, paintbrushes get put in the jello paint, etc.)
The final product is fairly disgusting, as the paintings will be sticky with sweetener. Better to take a photo than to take home a painting. You can compost the jello paintings.
This project creates quite a mess. You will need to wash down every surface where jello paint drips, which will probably include tables, chairs, floor, etc. Because of this, I prefer to do this project outdoors.
Materials
- paint brushes — brushes with widths between half an inch and two inches wide seem to work best
- smocks to cover clothing
- paper that can stand a lot of moisture — inexpensive watercolor paper works well
- small mixing cups such as condiment cups
- something to stir with such as wood craft sticks
- containers of very warm water to mix the jello in
- packs of flavored gelatin mix (“jello”) in a variety of colors — look for red, orange, yellow, green, blue, and purple
Process
To begin, show how to mix jello paint: Pour some jello powder into one of the little mixing cups, add some warm water, stir with one of the wooden stirring sticks. Then show that you can paint with jello on the paper.
Then give each participant a piece of watercolor paper, and let them figure out the rest for themselves. Half the fun is figuring out what you can do with jello paint.
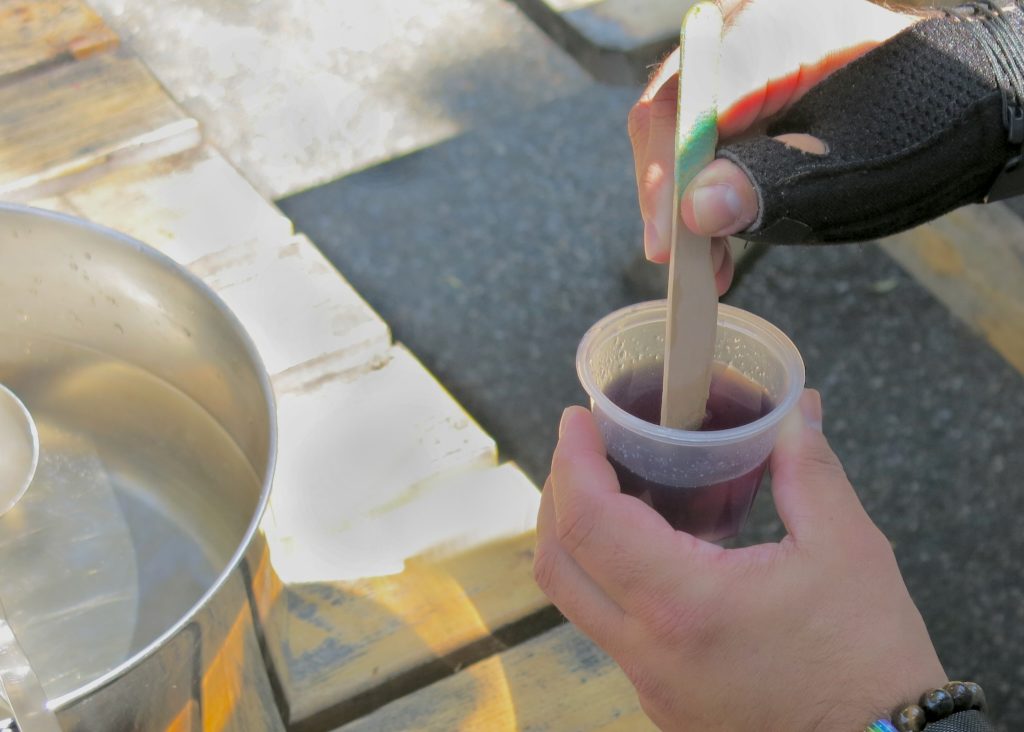
Below you can see someone mixing jello paint in a small container. The pan of water at left is very warm — not hot enough to scald someone, but hot enough that it feels uncomfortable when you put your finger in it.
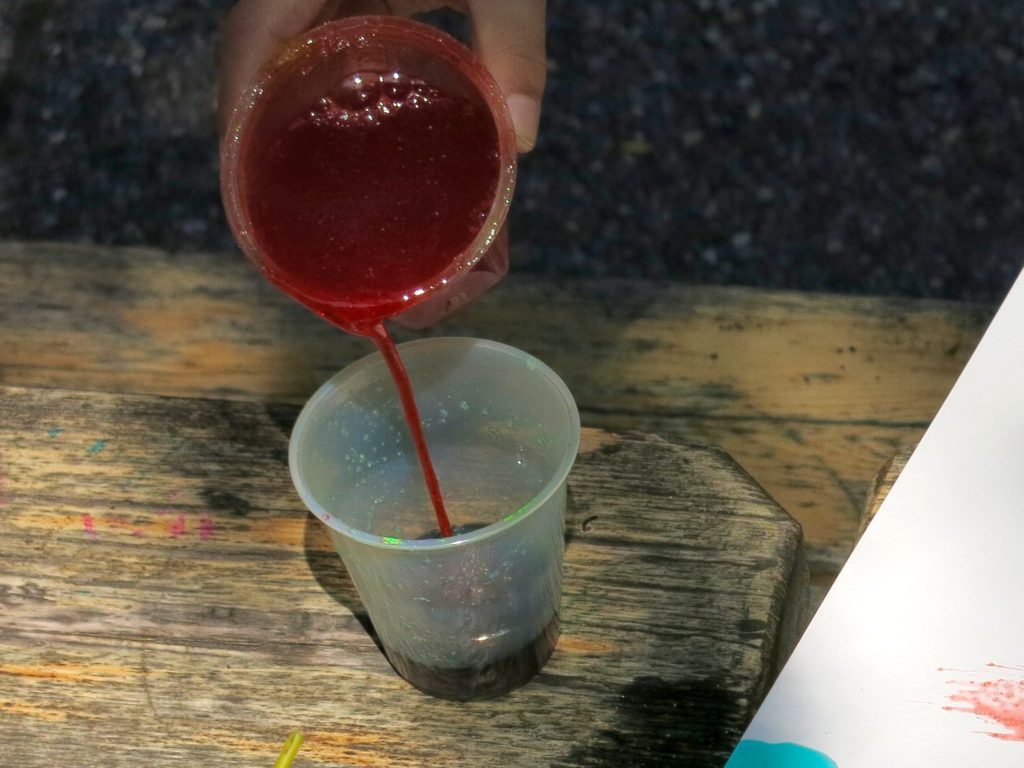
The photo below shows a good consistency for jellopaint — you should be able to pour it, but it needs to be pretty thick. The lighter colors, like yellow and orange, needed to be even thicker than the photo — half a mixing-cup full of jello powder, then add just enough warm water to cover the powder.
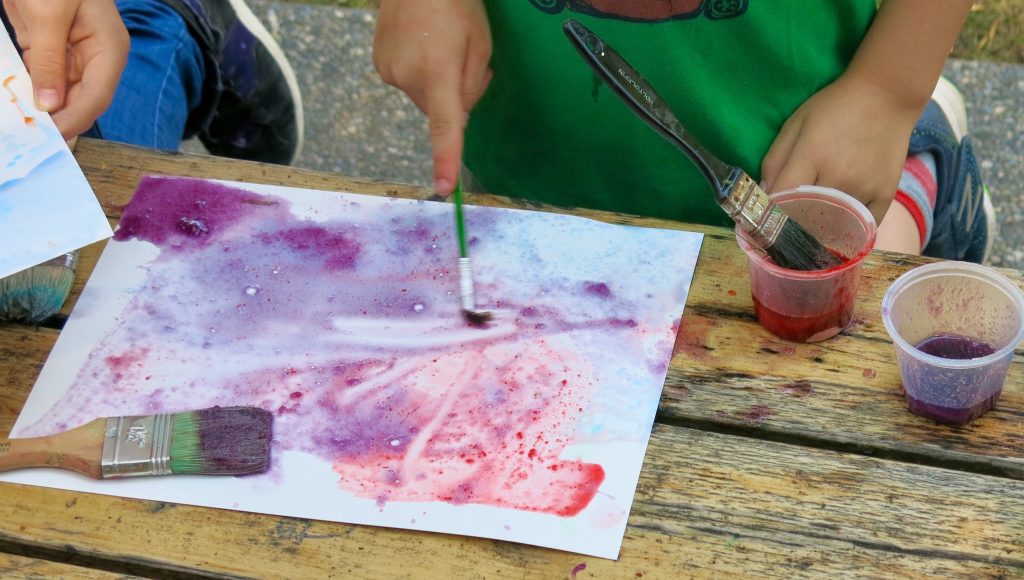
Below is a photo of a child painting with the jello paint. This child has mixed several cups of colors to experiment with. One of the more enjoyable parts of jello paint is mixing colors together.
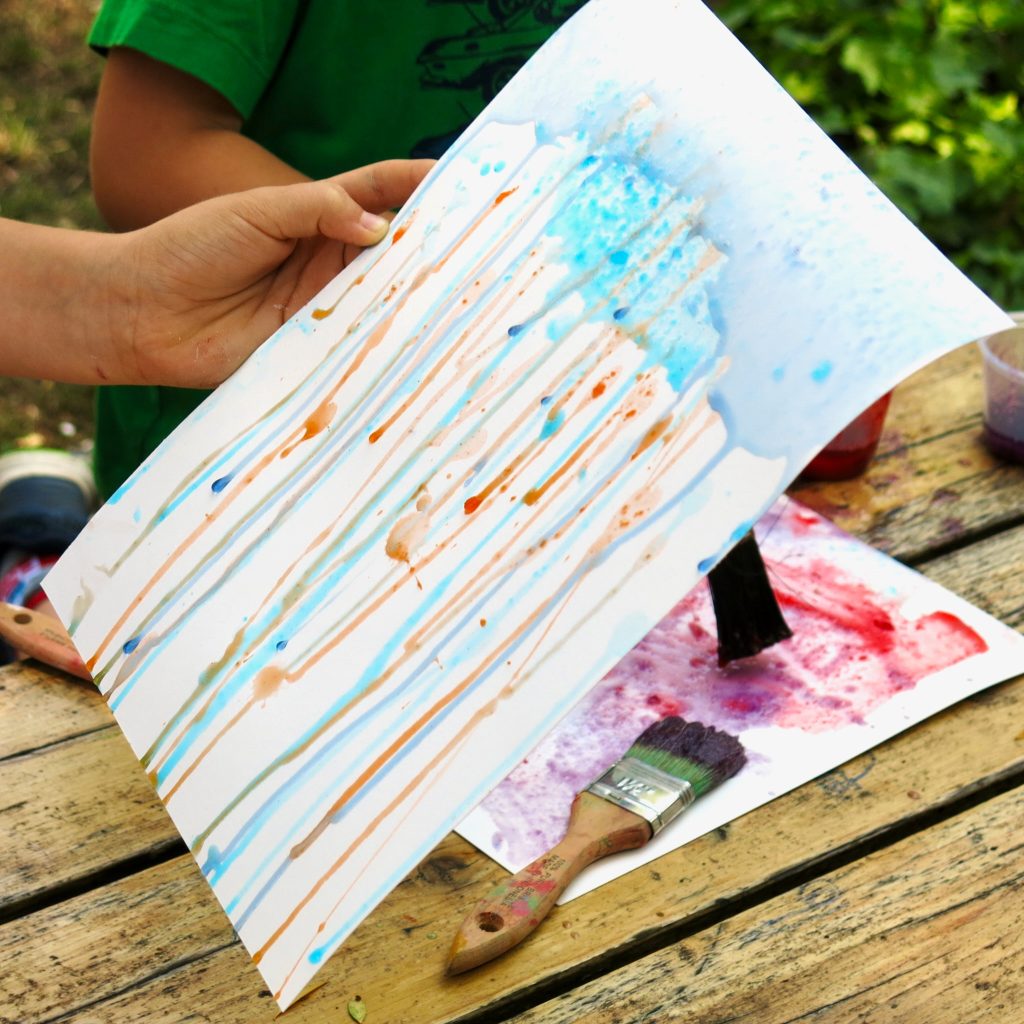
You can experiment with different ways of applying jello paint. In the photo below, a child is letting the jello paint flow across the paper.
B. Natural paint brushes
Materials
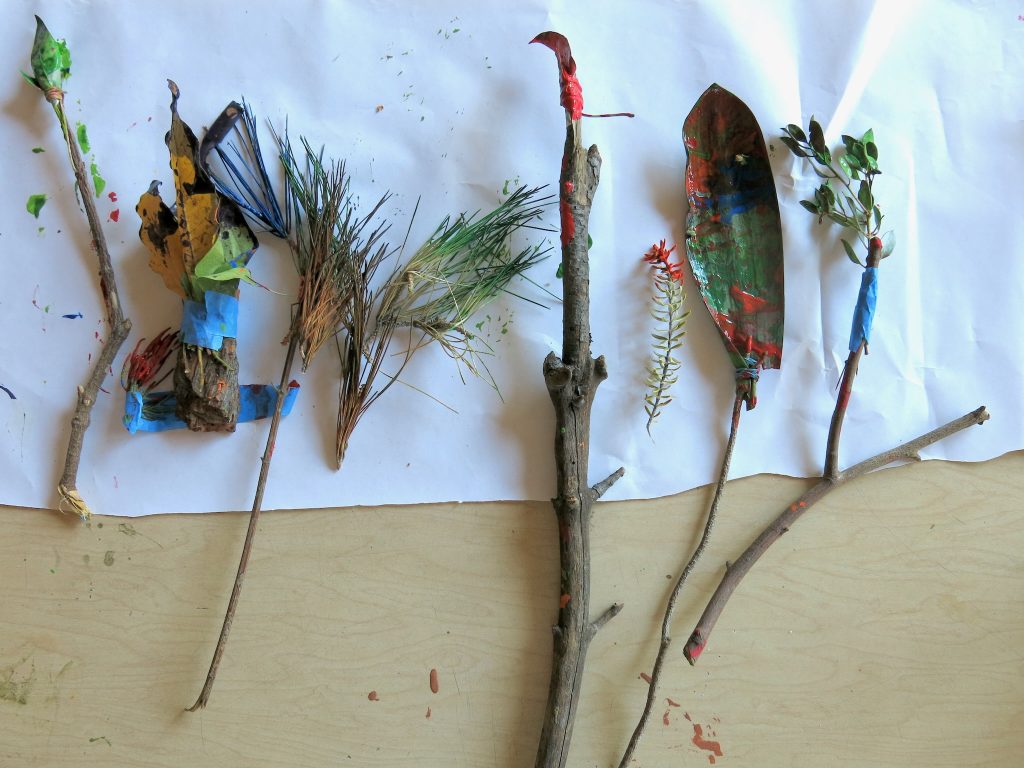
- various natural objects that you can spread paint with, e.g., leaves, pine needles, twigs, etc.
- masking tape
- straight sticks for paintbrush handles
- large sheet of paper to cover a table top
- washable tempera paint — at least red, yellow, and blue
- containers to put the paint in
- smocks to protect clothing
Process
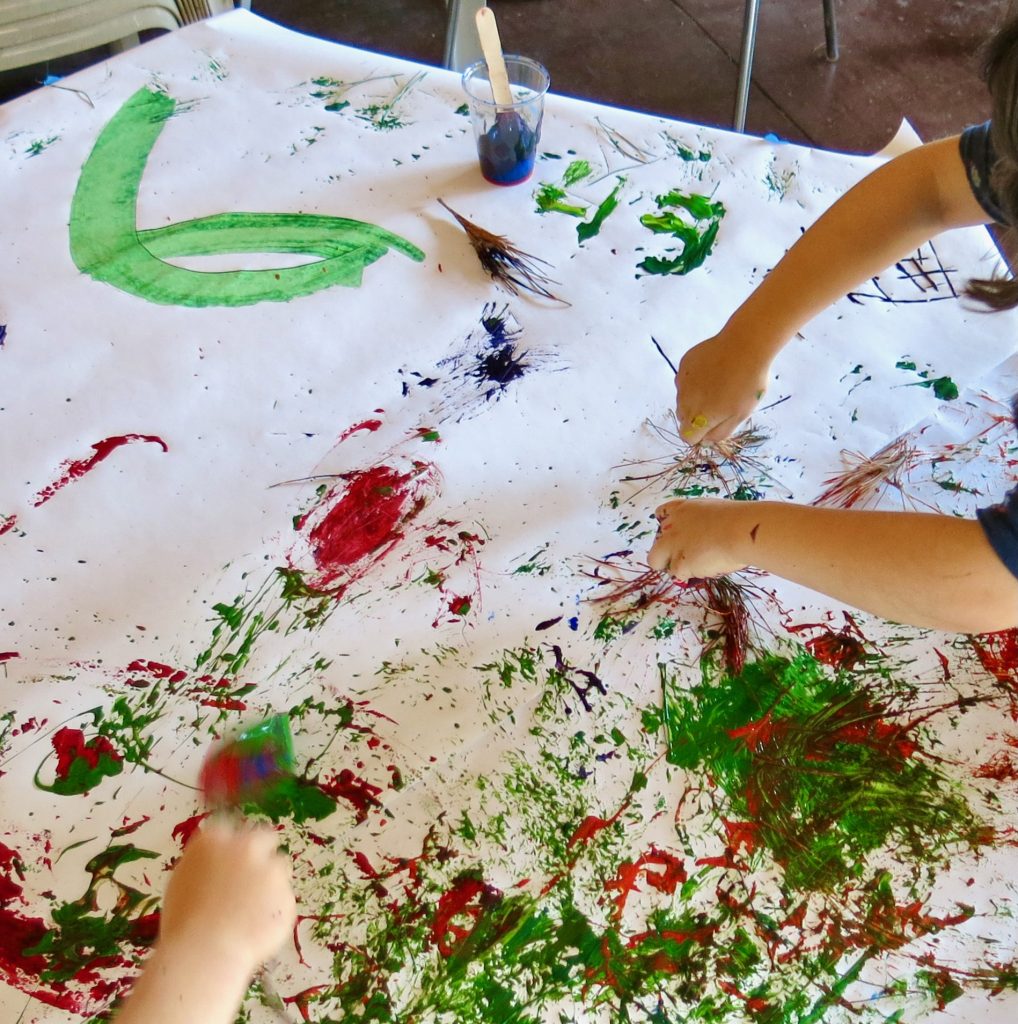
Tape large sheets of paper to cover a table. Collect natural objects that the participants think will make good paintbrushes. If needed, you can tape a natural object onto a stick to make it easier to use.
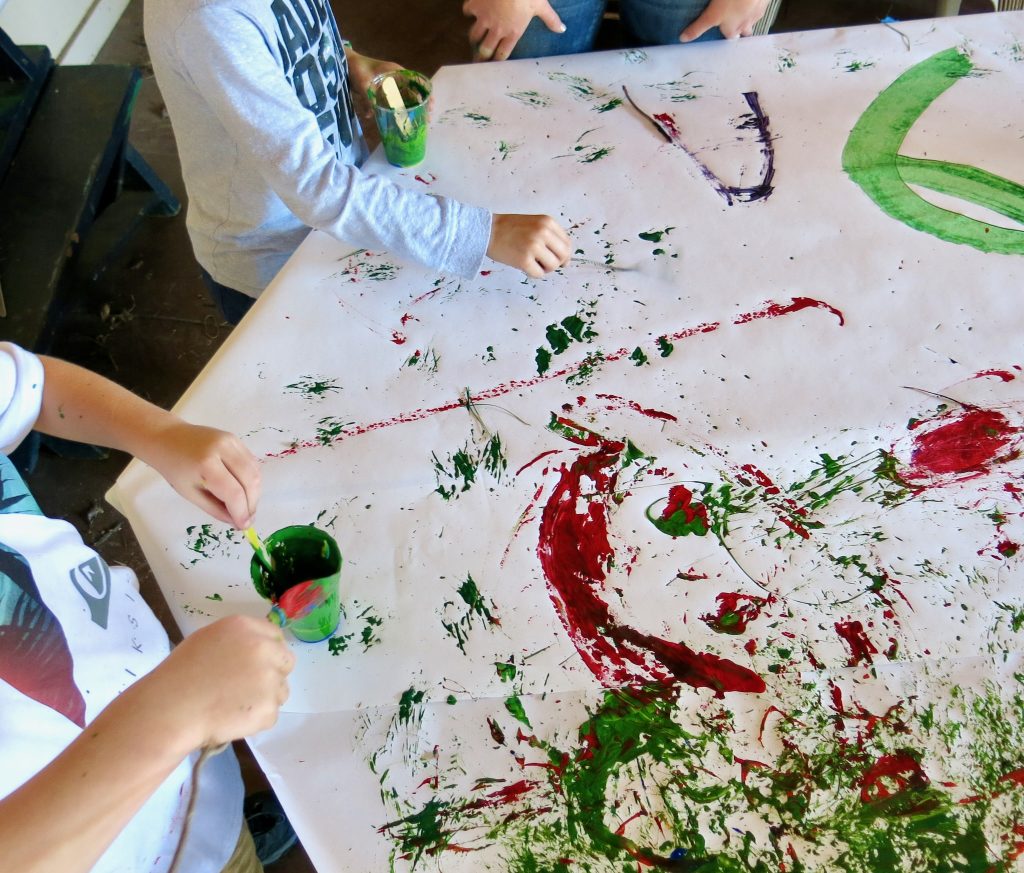
Participants often like to mix their own colors. That’s part of the process.
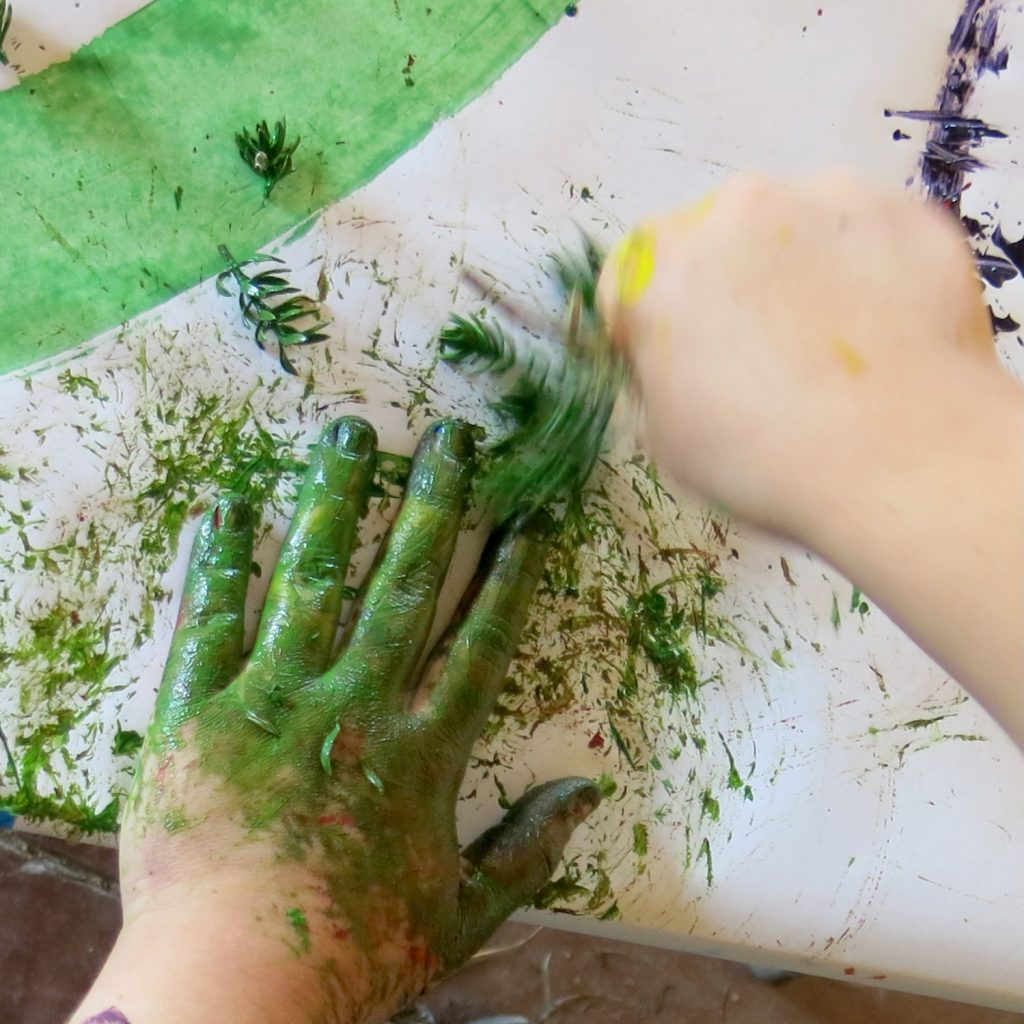
Making the paint brushes is also part of the process. If participants want to make new paintbrushes in the middle of this project, they’ll want to wash their hands (wet paint on your hands can keep the masking tape from sticking). Be aware that paintbrushes often fall apart during painting — but that’s also part of the process.
This is another messy project. You might want to do it outdoors.
The photos below will give you a good idea of what this project is like.
C. Giant bubbles
It’s a blast making giant soap bubbles. Giant soap bubbles quickly evaporate in hot dry air; they last longest in cool (but not cold) moist air.
Bubble juice recipe
Here’s a good yet easy-to-make bubble juice recipe. It uses easily obtainable ingredients, and features a superior mixing procedure for the lubricating jelly. With this mixture, I’ve made bubbles that start out at 4-5 feet long tubes, then stabilize into two or more spheroids up to 30 inches in diameter. The glycerin isn’t absolutely necessary, but it does seem to make the bubbles last a bit longer. Total cost of materials is about $20.
Ingredients:
- 4 oz. tube of personal lubricating jelly (store brand is fine)
- 2 oz. container of glycerin
- 12 oz. of Dawn Ultra dishwashing liquid (do not substitute another brand)
- water to make up about 1 gallon
Method:
Put 3 quarts of water in a gallon container.
Empty a 4 oz. tube of personal lubricating jelly into a 2-cup glass measuring cup. Heat 2 cups of water until quite hot but not boiling.
Add 1 tablespoon of the hot water to the lubricating jelly, and beat with a fork until smooth. Continue adding small amounts of water and beating until smooth. As the mixture becomes easier to stir, you can add a little more water each time. When you have just under 2 cups of lube/water mix, add 2 oz. of glycerin and stir till smooth.
Now pour the lube/water/glycerin mixture into the gallon container, and gently turn the container over and over to dissolve. (If you shake it, you’ll generate bubbles that will take forever to go down.)
Add 12 oz. of Dawn Ultra dishwashing liquid to the gallon container. Once again, gently turn the container over and over to dissolve thoroughly.
The lubricating jelly takes a day or so to fully dissolve in the water, so this mixture works best if allowed to stand uncovered for a day before using.
cheaper and easier bubble juice recipe:
- 2/3 cup Joy dishwashing soap
- 1 gallon water (which is 16 cups)
- 2 to 3 tablespoons of glycerin
This makes slightly smaller bubbles, but it’s sooo much easier.
Making bubble wands
The easiest way to make bubble wands is with pipe cleaners. The fuzz on the pipe cleaners holds plenty of bubble juice. Plus the pipe cleaners are easy to bend into a bubble wand.
For bigger bubbles, you’ll want to make bigger bubble wands.
For mid-sized bubbles, use with the first bubble juice recipe above with a so-called “tri-string wand.” I made mine using cotton string (artificial fibers don’t hold the bubble juice as well). Take about 15 in. of string, and tie the ends with a square knot so it becomes a loop. Use two disposable wood chopsticks (the string tends to slide off plastic) for the handles of the wand. If you know how to tie a clove hitch in the middle of a piece of string, attach the loop to the chopsticks using clove hitches, as in the photo below. (If you can’t tie a clove hitch, you can use rubber bands to attach the string to the chopsticks.)
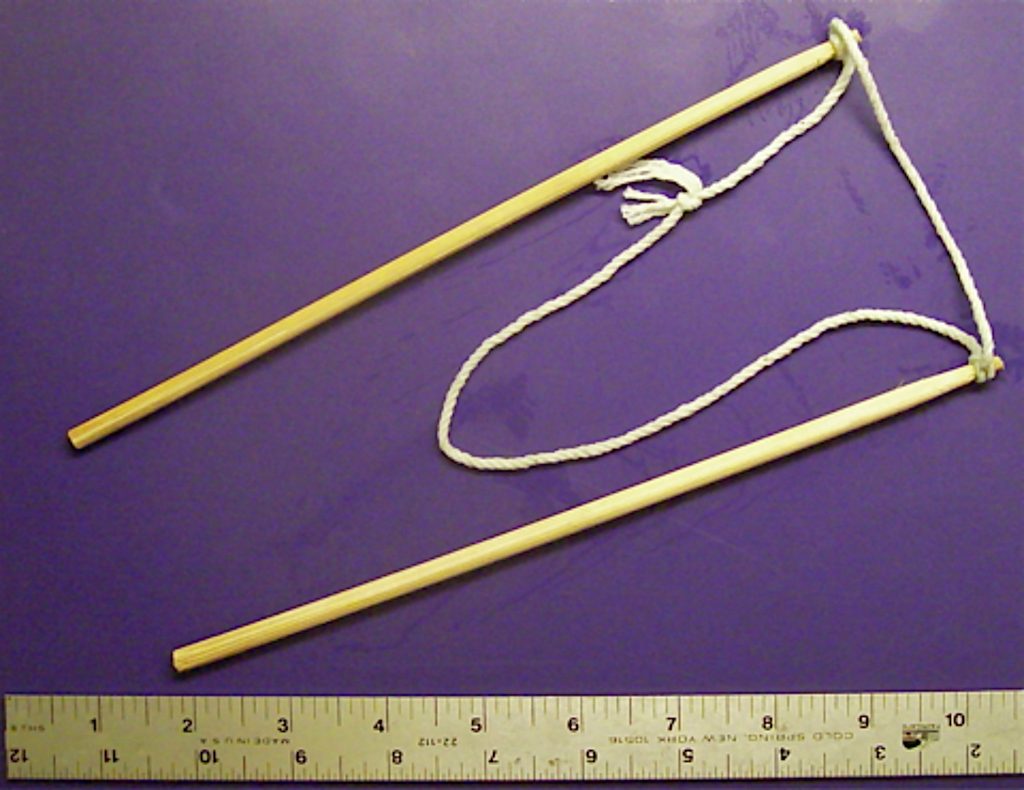
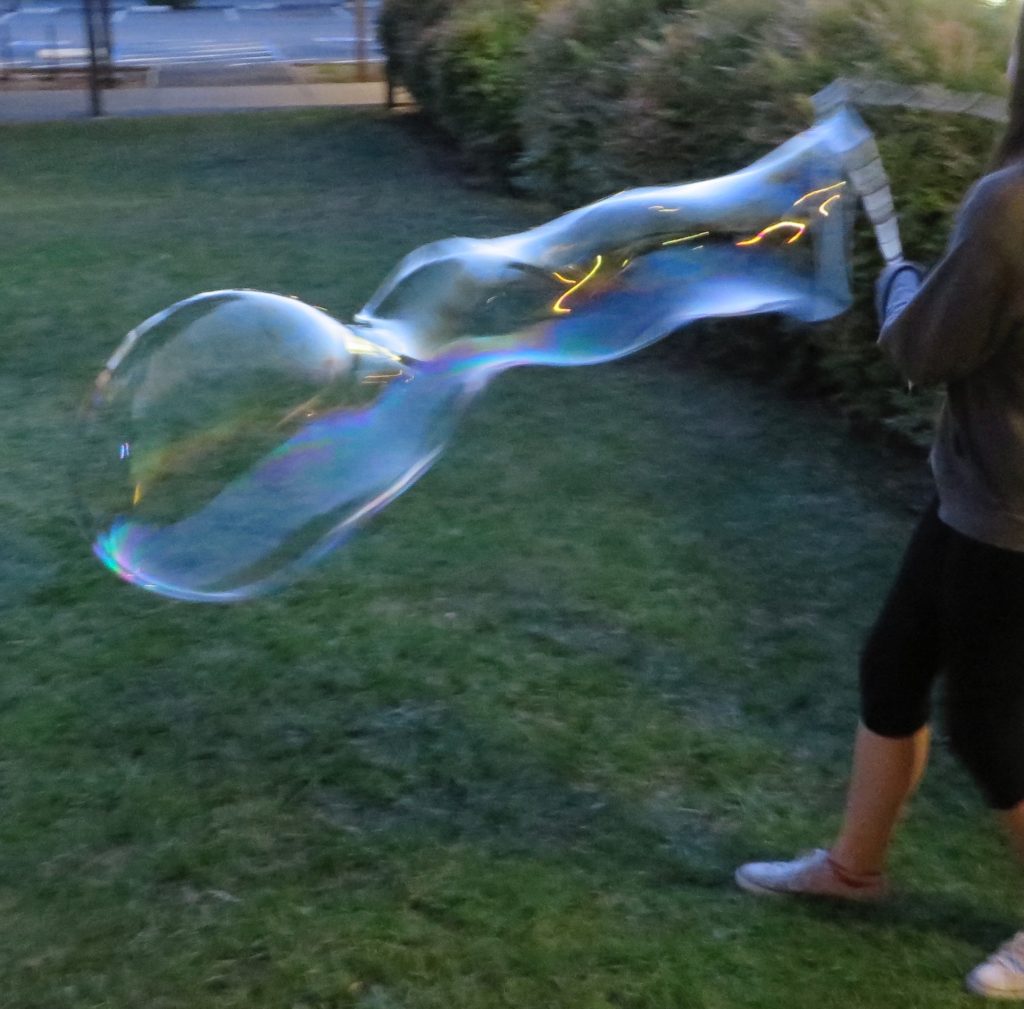
And here’s what it looks like when you make bubbles with this bubble juice and a tri-string wand:
