Material on this page is copyright (c) 2016-2024 Dan Harper
Return to main Handwork page
I/ Making books
A. Make a zine
How to make a zine booklet (with lots of binding options)
B. Miniature Books
How to make a miniature book. All you need is a piece of paper with one blank side, a pair of scissors, some sticky tape, and a pencil. You can make four mini books out of one 8-1/2 by 11 inch sheet of paper. Then you can write a story for each book.
C. Scrapbook
You can make an attractive scrapbook by purchasing “pressboard side-bound report covers” from an office supply store. These cost about $42 for for a pack of ten (as of 2024). They are reasonably attractive, accept any sheet with a standard 3-hole punch, and can hold more than 300 sheets of regular-weight paper. This large capacity means you could put in some interesting thicker materials, e.g., cardboard, wood veneer, fabric, etc.
For less than half the price, you can get Twin Pocket Portfolios with Fasteners (I’ve seen them as cheap as 68 cents each). Supposedly these will hold up to 100 sheets of paper, but the most I’ve gotten in is about 25 sheets — still more than enough for the typical scrapbook project. They’re kind of chintzy-looking, but the price is right.
Ideas for scrapbooks:
- A portfolio of work related to a topic
- An illustrated story (teachers can provide pages of text, children can intersperse these with illustrations)
II/ Maps and Charts
A. Push-pin Mapping
For middle schoolers taking Neighboring Religions, obtain a large street map of the region where you’ll be doing class visits. Mount on a bulletin board. Use push pins to mark locations you visit. Then tie a string from the push pin to the side of the map, where you can post materials from the visit (order of service, pamphlet, etc.).
Push-pin mapping can be used for other classes, too. E.g., for the classes From Many Lands, and From Long Ago, you can obtain a large world map and each time you read a story place a push pin in the region that story originated.
B. Other mapping Projects
- Mapping Bible stories
- Mapping early Islam
You can use outline maps in a number of ways. As an example, here’s printable map of the route taken by Jesus’s family when they fled from Herod to Egypt:

When telling the story of the flight to Egypt, you could have the children listening to the story try to figure out what route they might take to get to Egypt. Or you could use this as a coloring page. Or you could print a large version (e.g., on 11×17 size paper) and draw in scenes from the story in the appropriate place on the map.
Outline maps are widely available on the web, and you’ll probably be able to find the map you need.
C. Timelines
Make a big timeline relating to the class’s curriculum. Use a roll of paper 24 to 36 inches wide, and as long as one wall of the classroom.
III/ Paper Arts
A. Origami
Making origami is a great project for older children, teens, and adults. Younger children can also succeed at origami, but usually need more adult support (so they don’t get frustrated).
The classic origami project for religious education settings is making Peace Cranes. You can read the story of Sadako Sasaki out loud (using this children’s book), then fold the peace cranes. Some groups get into this project and decide to fold a thousand cranes (as in the story). The resulting peace cranes can be attached to colored twine or string — with perhaps 10-20 cranes per string — and the strings can be hung in the worship space or other area where the rest of the congregation can enjoy them.
How to make peace cranes from the Peace Crane Project.
B. Collages
Materials:
Scissors
Glue sticks
Something to glue the collage on (heavy paper, cardstock, wood, etc.)
Collage materials
Ideas for collage materials
Collages are most often made using a supply of printed images (old magazines, old calendars, old greeting cards, etc.). If you want to use specific images, you can find the images you want online and print them out. (Remember that the ink from inkjet printers may be water soluble. Glue sticks should not affect inkjet prints, but white glue such as Elmer’s Glue may cause blurring and fading.)
Other materials can also be included in the collage, e.g., paper towels and postage stamps, leaves, discarded trash, etc.
Brightly colored paper can be cut into shapes and used as collage material.
Clip art can be printed out for use in collages.
Tissue paper can be incorporated in collages. Some tissue paper is colored with ink that is water soluble, and a small amount of water can be brushed on the collaged tissue paper to cause different colors of ink to run together.
C. Note Cards
You can make holiday cards in Sunday school for children to give to family members. You can also make holiday cards to send to shut-ins.
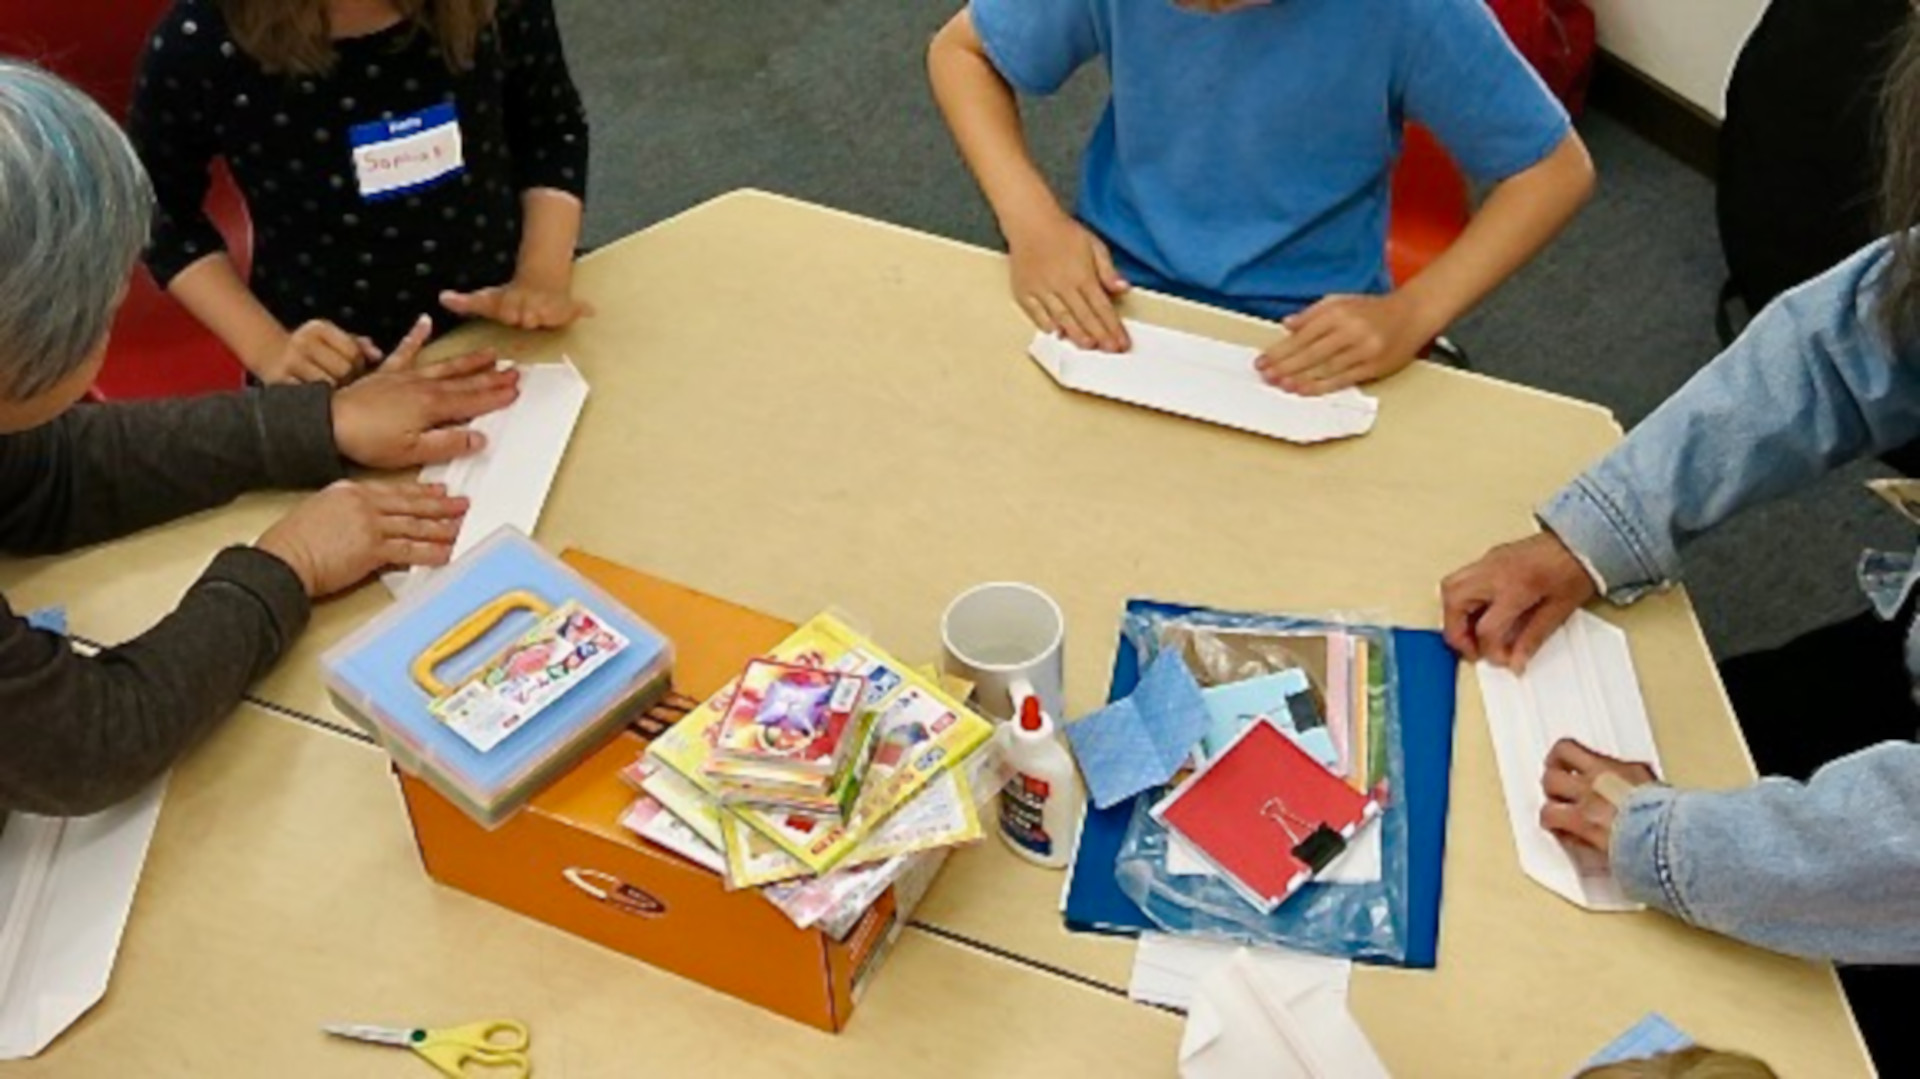
Part One: Basic cards
Learn how to make a notecard and a matching envelope using scrap paper. You won’t need any glue or tape, and you don’t even need scissors. All you need is two pieces of scrap paper, some crayons to draw a design on the outside of the notecard, and a pencil or pen to write a message inside the notecard.
Part Two: Prettier cards
In part two, learn how to make a more attractive notecard, an attractive envelope, and a outer envelope that you can send through the U.S. Mail. You’ll need blank paper, an old magazine with attractive pictures, tape, scissors, crayons to draw on the notecard, a pen to write a message in the notecard and to write the address on the outside, and of course a stamp.
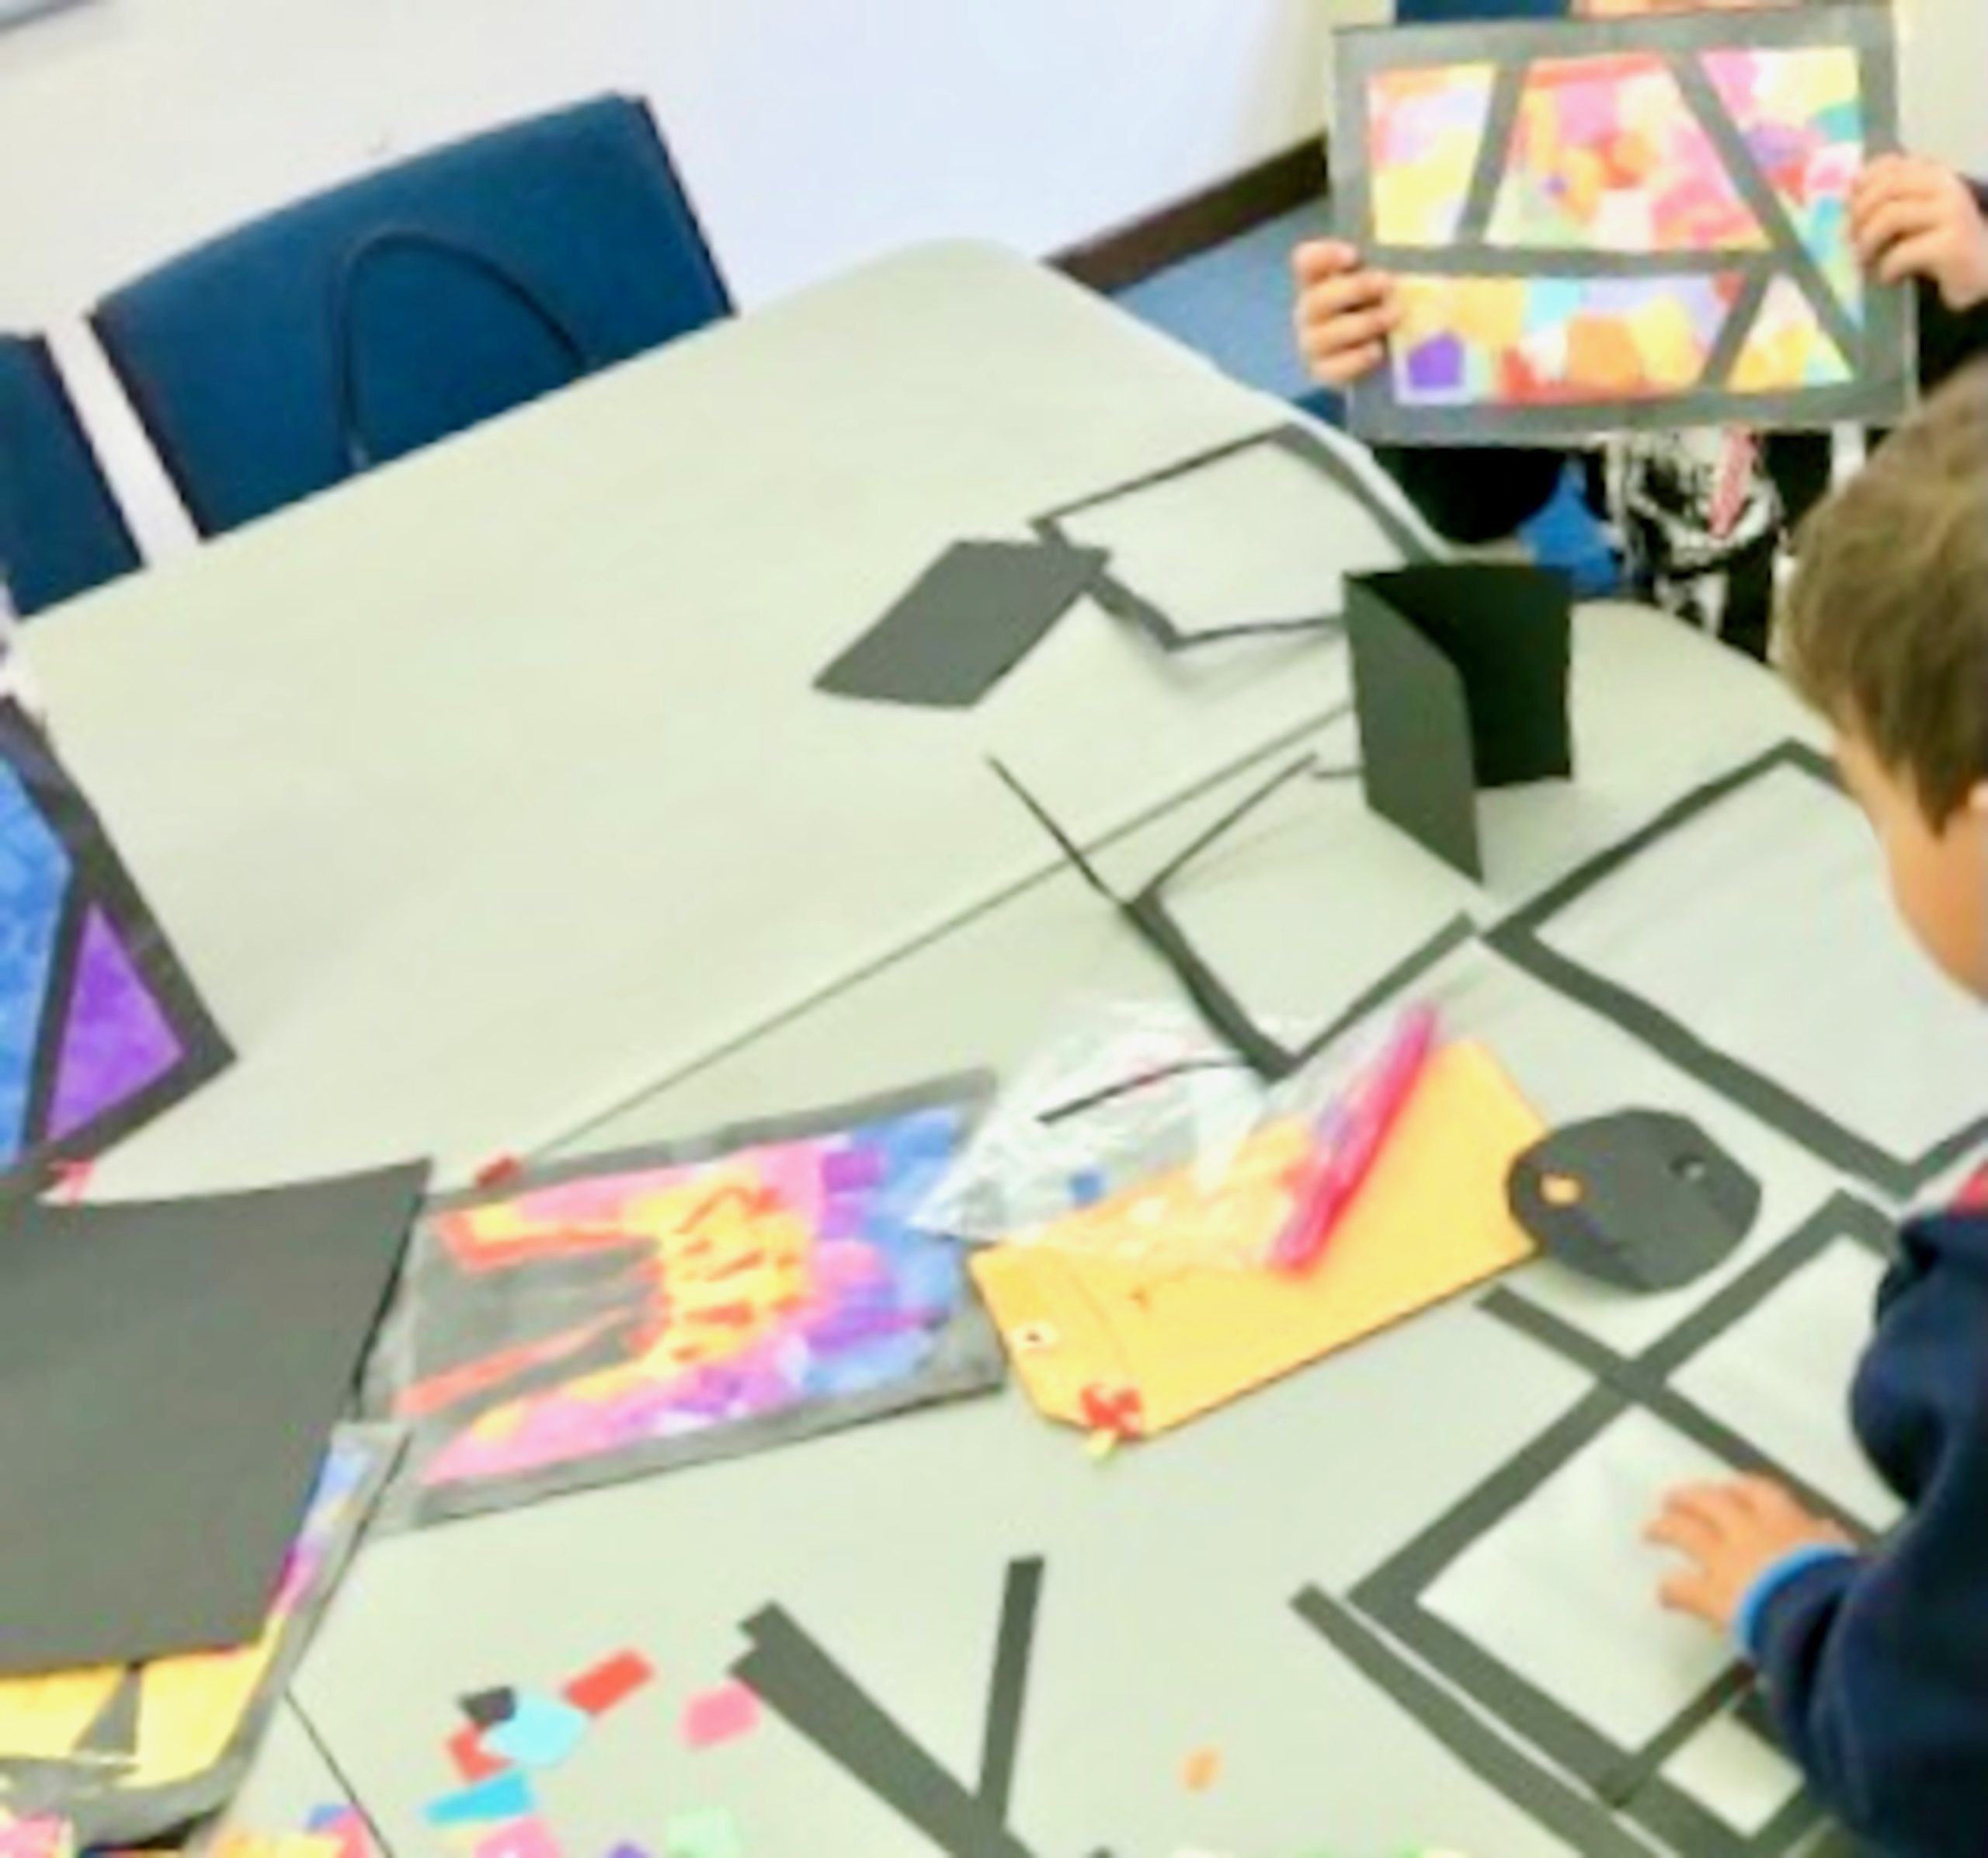
D. Paper Stained glass windows
You can make “stained glass windows” from tracing paper, black construction paper, and colored tissue paper.
Cut frames out of the black construction paper. (Save the part you cut out to make cross-pieces.) Glue the tracing paper to the back side of the black paper frame. Tear small shapes from translucent colored tissue paper, and glue them onto the tracing paper. See photo below for examples. When held up to a strong light (e.g., mounted in a window), the design will light up like a stained glass window.
Alternatively, color in the tracing paper using felt-tipped markers. Mount in a frame of stiff black paper.
In Unitarian Universalist religious education programs, a popular design for this project is to make flaming chalices.
IV/ Photographs
A. “Sun printing” or cyanotypes
Cyanotype is an early photographic process that is easy, relatively inexpensive, and both kid-friendly and teacher-friendly.
Unlike most other photographic processes, the toxicity of cyanotypes is very low (you can’t eat cyanotypes, but you’re unlikely to get poisoned by them). They have been used successfully with children as young as preschool age (with appropriate supervision). Older children, teens, and adults also find cyanotypes to be deeply satisfying.
You can find a variety of cyanotype supplies for sale online. I recommend the following:
Lawrence Hall of Science sells “Sunprint Kits” with 12 pieces of 4 inch square cyanotype paper and a clear acrylic overlay sheet. Cost buying direct from them is US$5.99 per kit (do not buy from Amazon where the price is higher). Lawrence Hall of Science also sells refill packs of 12 sheets of cyanotype paper for US$3.99. These kits and refills are inexpensive enough to allow children/teens to experiment. Lawrence Hall of Science also offers kits and refills with 8-1/2 by 11 inch cyanotype paper; these can be cut in half to make 5-1/2 by 8-1/2 inch sheets, a good size for experimentation. Having said that, the 4×4 sheets are a lot less expensive, and perfectly adequate for casual use.

Sun prints can be made into notecards as follows. Make a 4×4 cyanotype. Allow it to dry throughly (usually overnight). Make a notecard by folding heavy paper with a smooth surface, such as watercolor paper or good-quality drawing paper. Glue the cyanotype to the notecard with an ordinary glue stick. The cyanotype paper from Lawrence Hall of Science is quite thin, and any wrinkles that occur during the drying process tend to smooth out quite nicely when you glue it to heavy paper. White or buff-colored paper seems to set off the color of the cyanotype best.
V/ Print Making
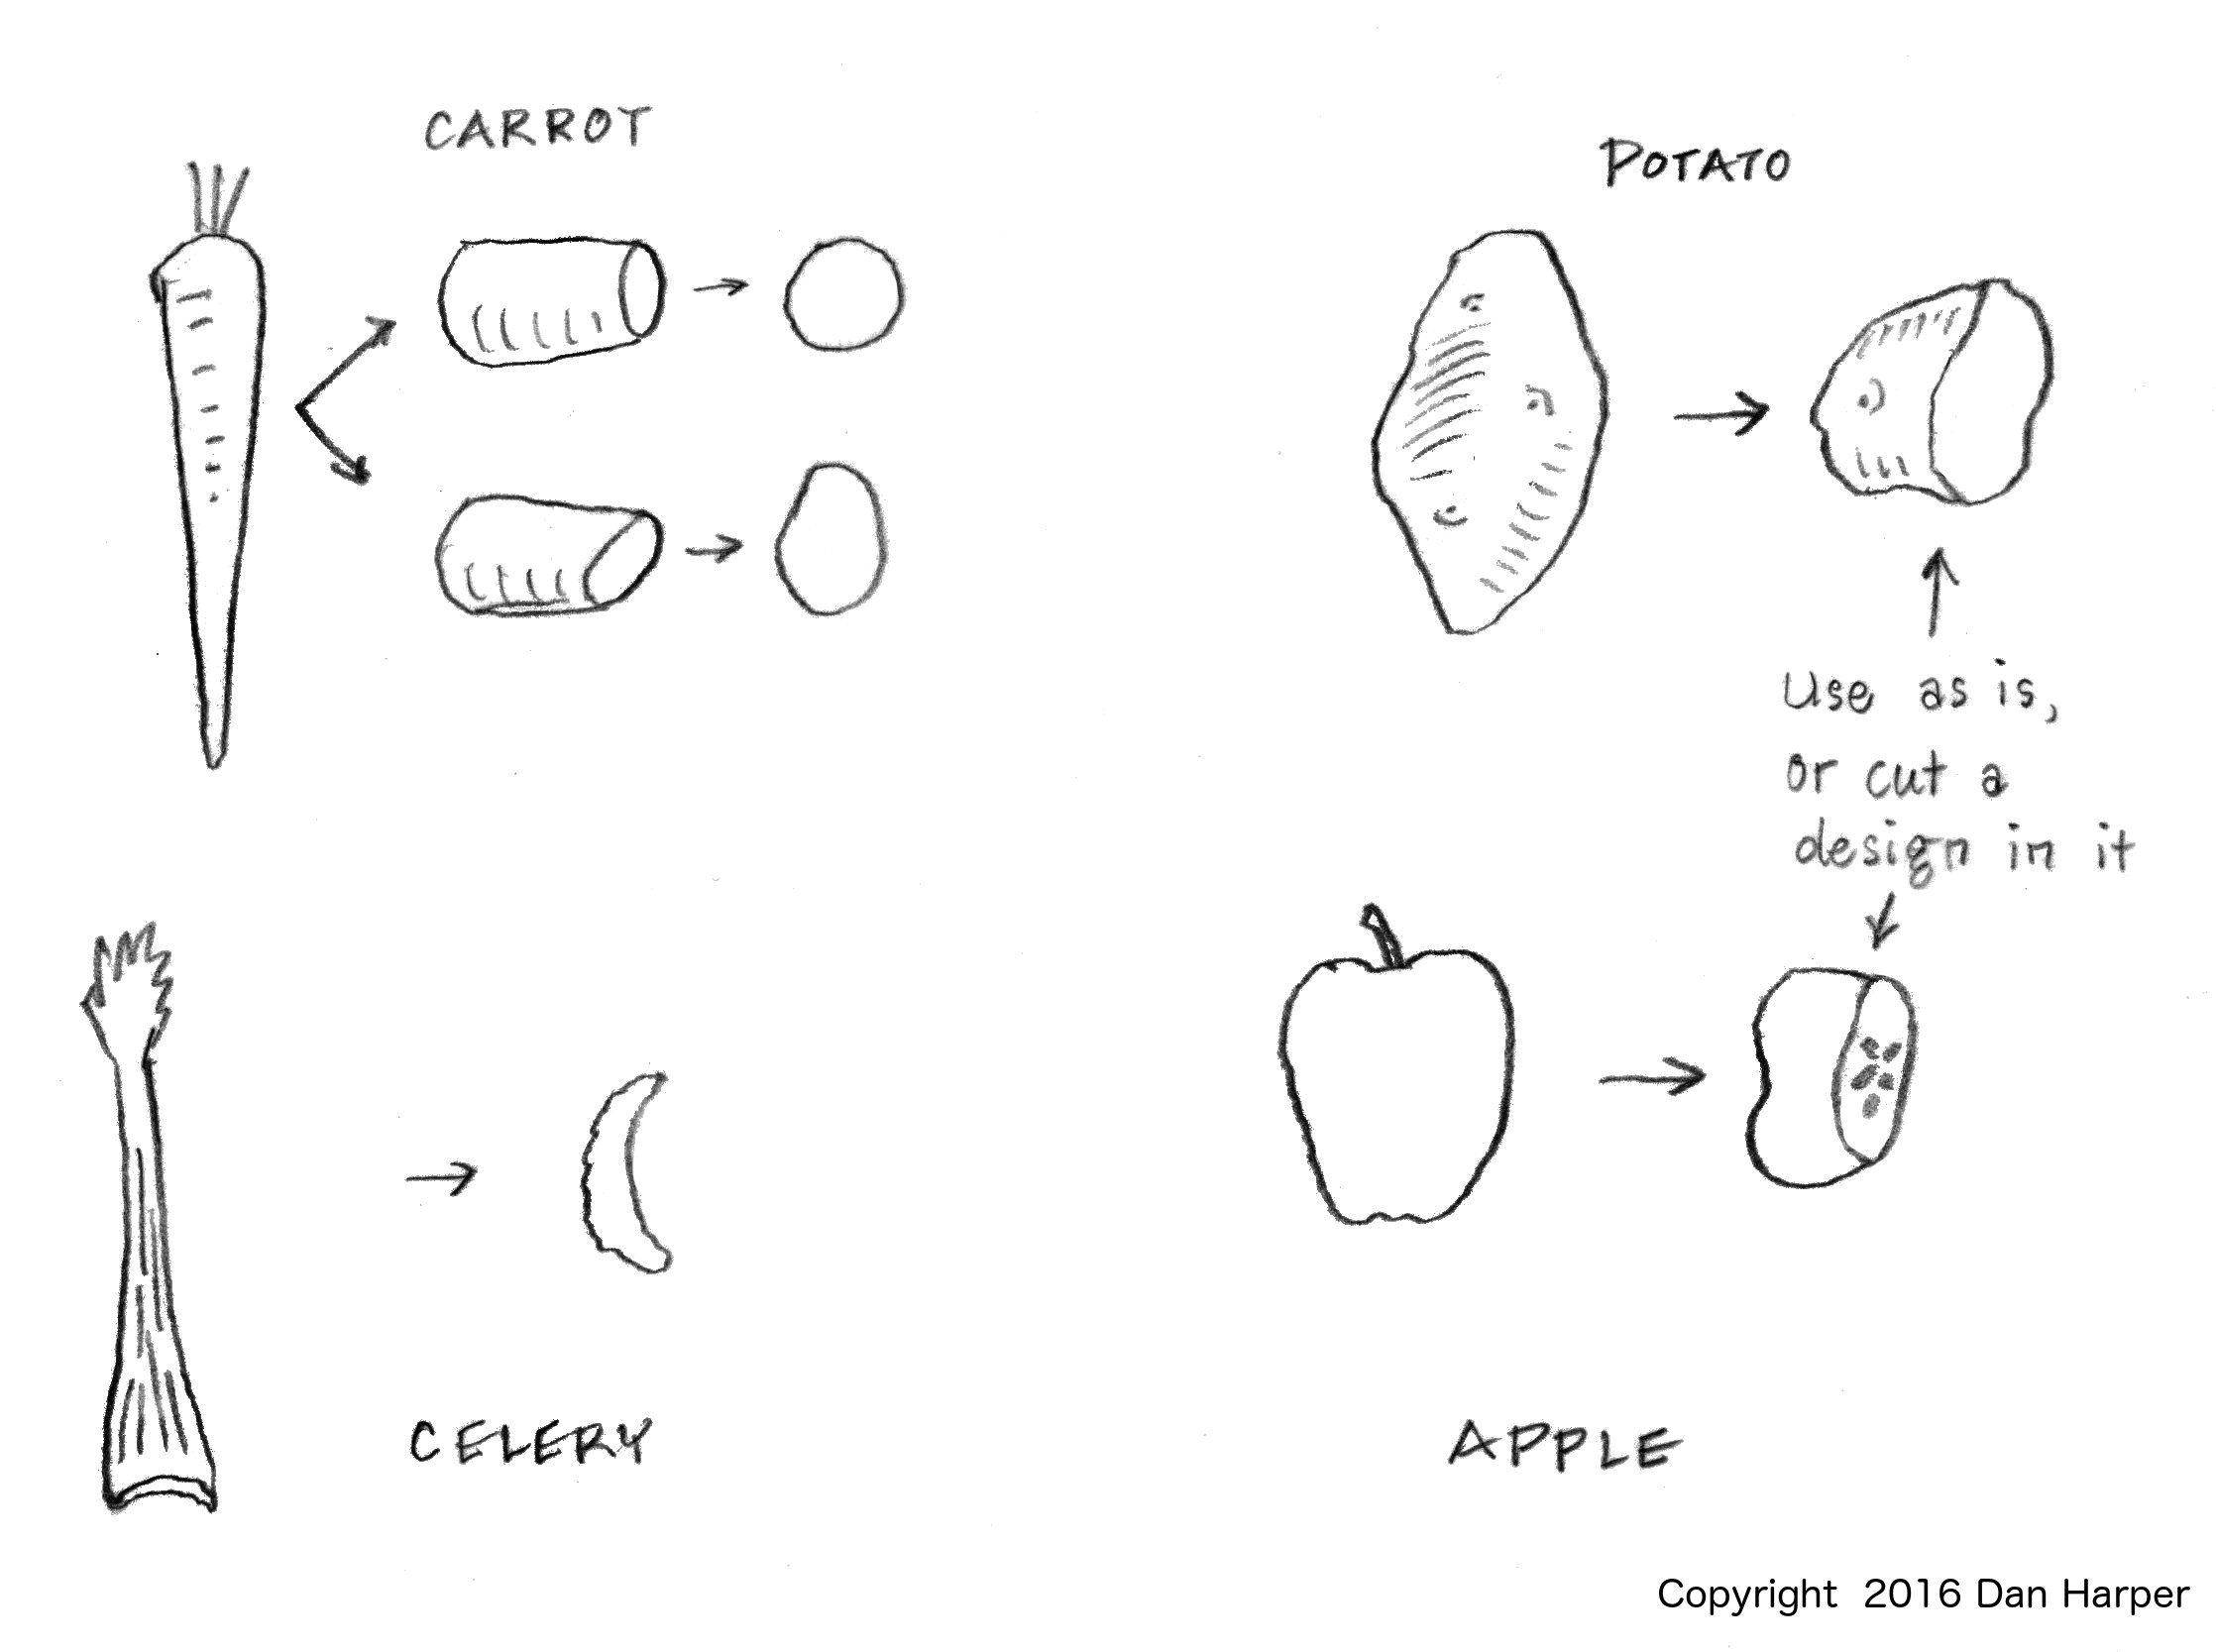
A. Potato prints — Veggie Prints
Veggie printmaking — using cut vegetables dipped in thick paint to make prints — makes a good process art project. One child who was doing veggie prints said, “It’s like stamping, except you use veggies instead of [rubber] stamps.”
You can use many different veggies to make satisfying prints:
Ink: A ten-pack of Crayola Washable Kid’s Paint is thick enough to use for this project, and works well. Children often prefer some of the colors in the ten-pack over others. The dark blue and the light blue are especially vivid and fun to print with. If you have a dozen children for a half-hour session, you can expect to use up each of the 2 oz. bottles of dark blue and light blue; the other colors probably won’t get used up.
Paper: Use any kind of paper suitable for paint. Larger paper (e.g., 11×17) works best.
Veggies: For a dozen children, you could expect to use the following in a half-hour session: 5 lb. bag of potatoes, 3 apples, 4 carrots, 2 stalks of celery, one eggplant.
Tools: Blunt-tipped serrated steak knives for older children to cut designs into the apples and potatoes. Young children will need to be carefully supervised, or adults can cut the veggies for them.
Process: The easiest approach is simply cut veggies in half or in pieces, and use them to print. Older children, teens, and adults may want to try cutting designs in the veggies; potatoes are especially receptive to this approach.
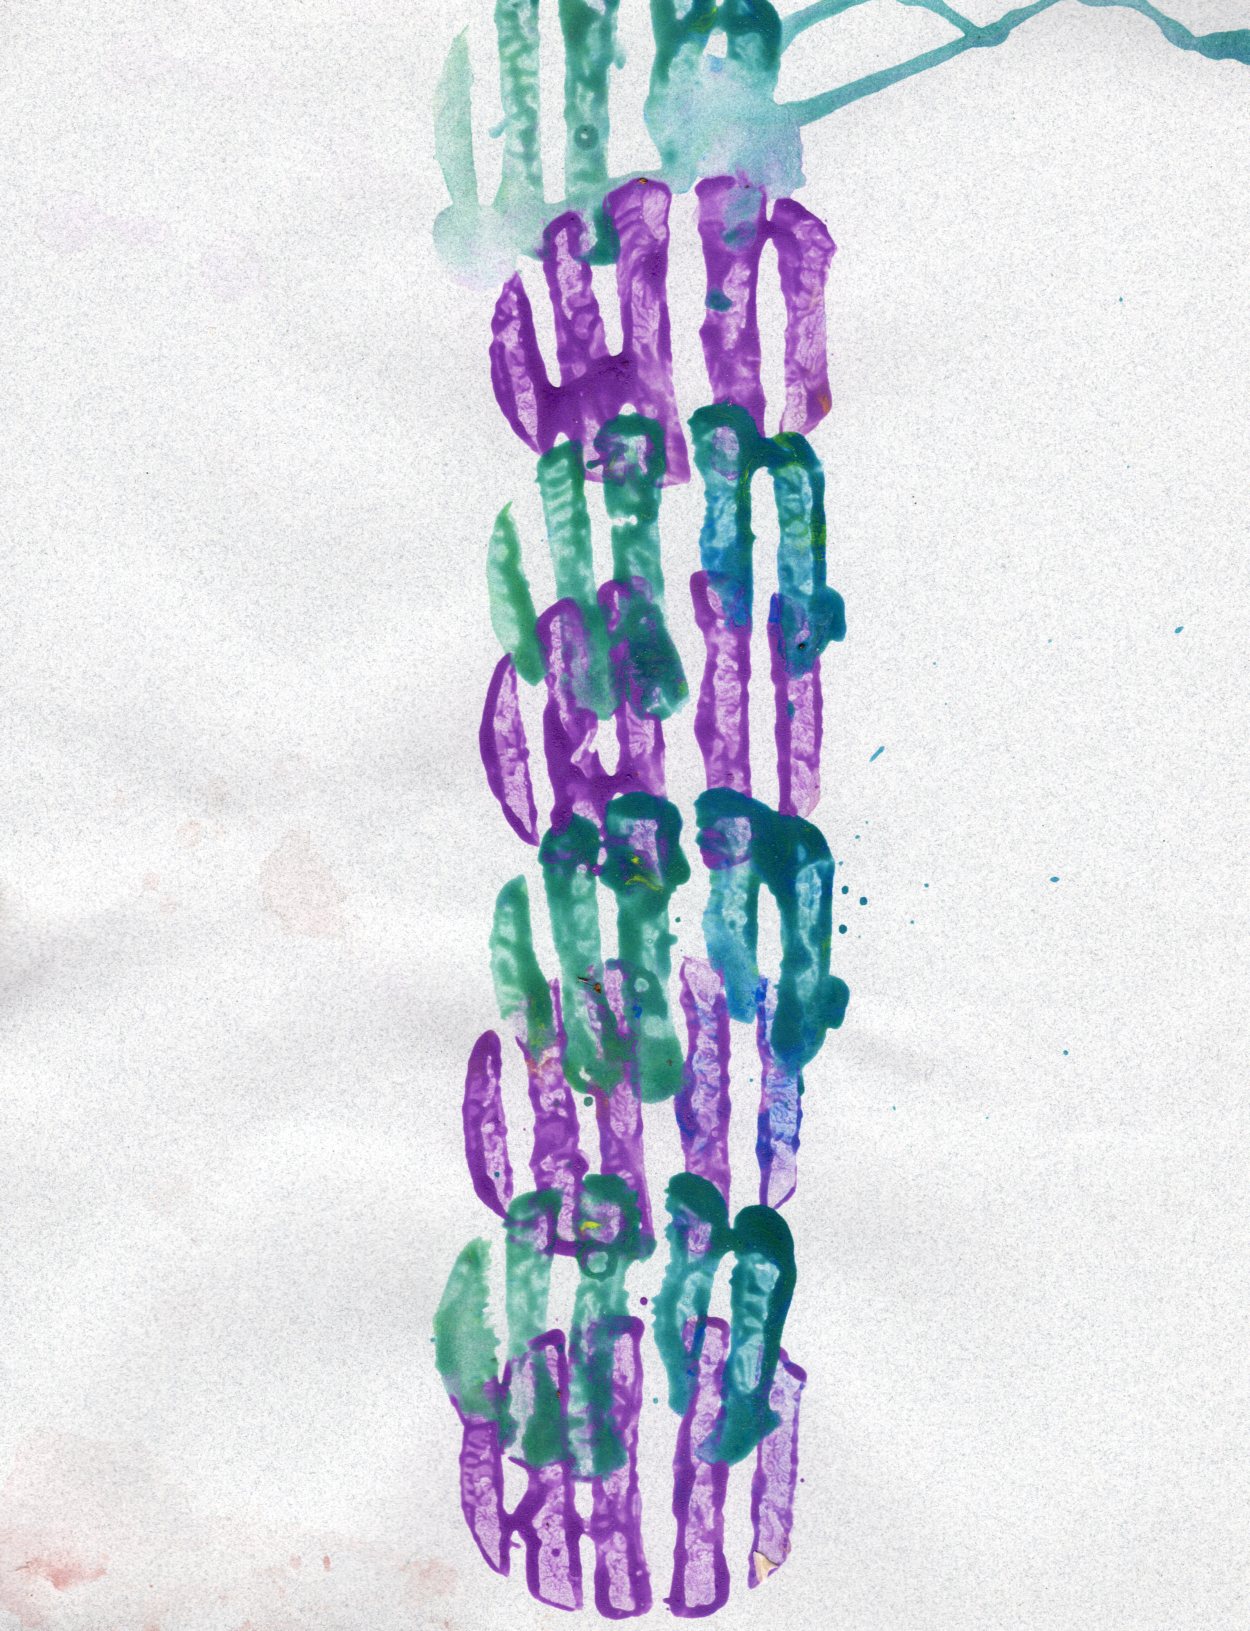
Gallery:
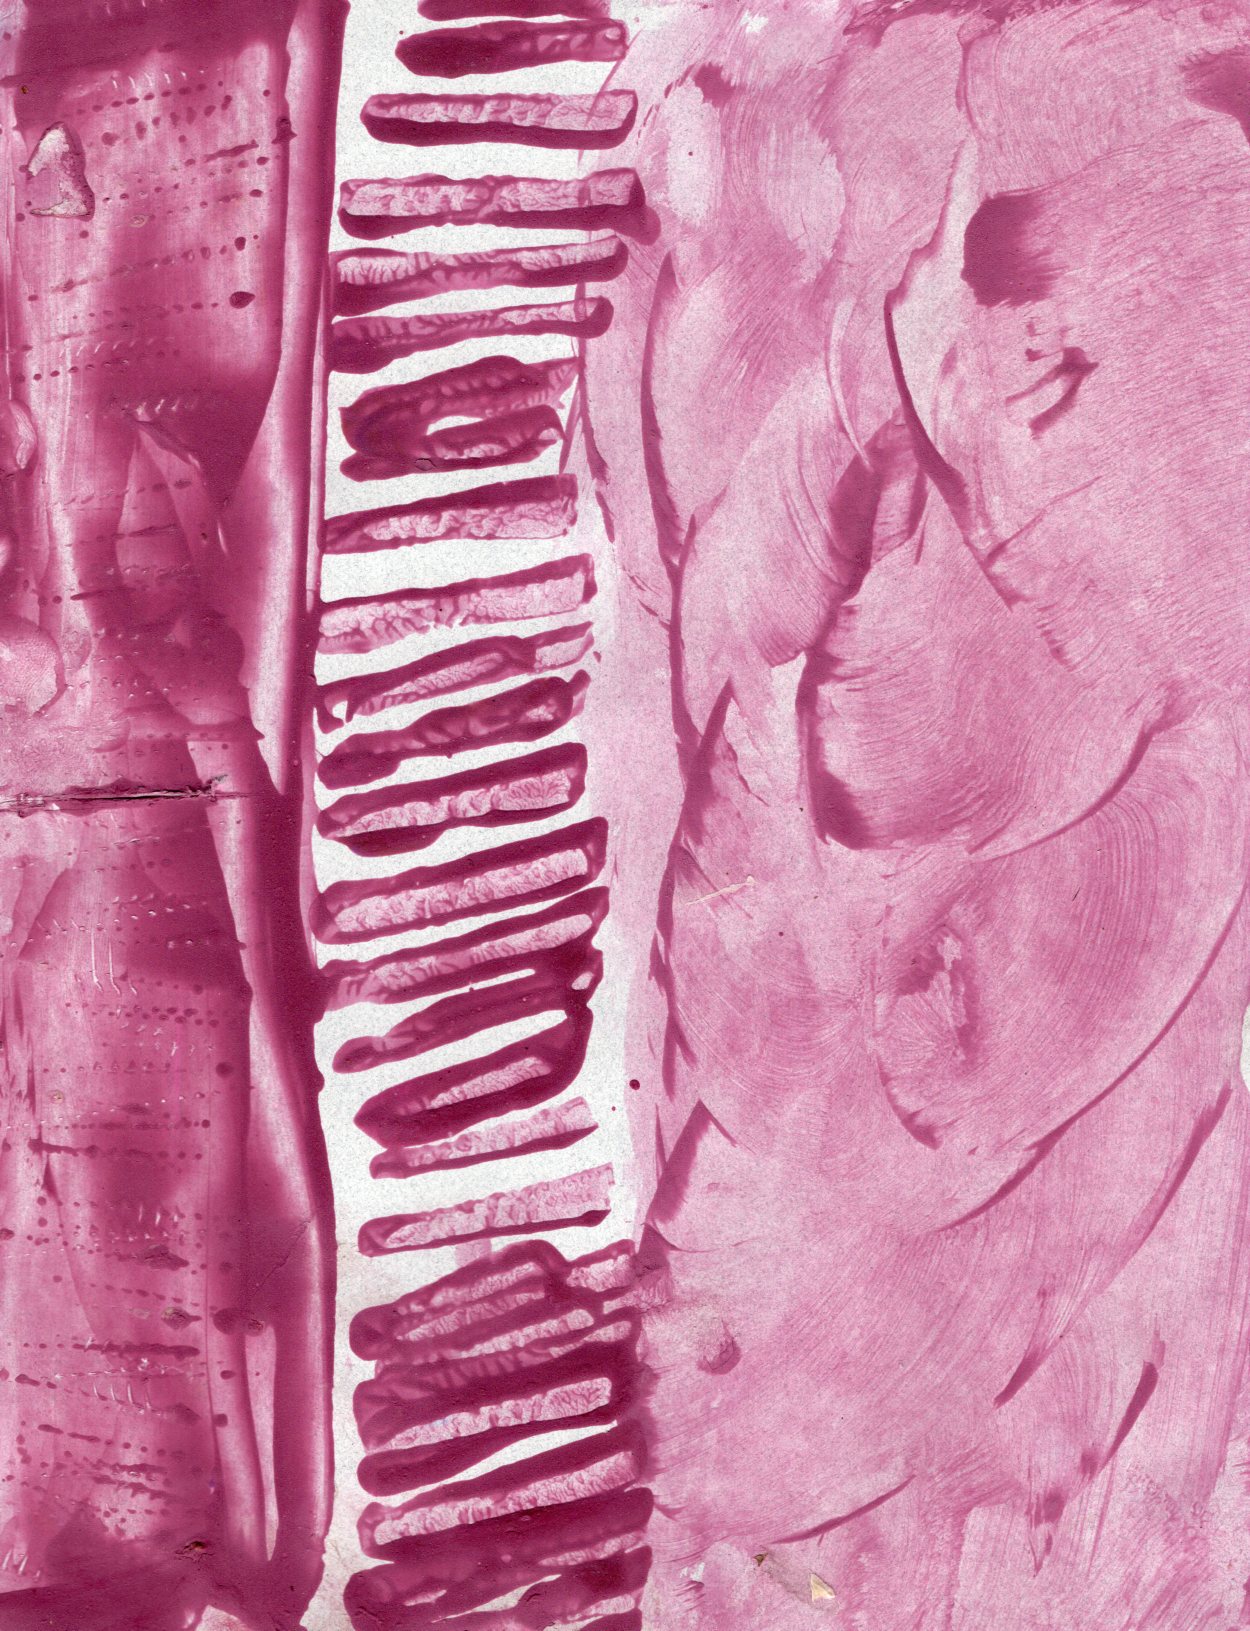
The apples can be a lot of fun to print with. If they’re juicy, they will dilute the paint in interesting ways. Some children like to load of apples with paint, and then rub them around on the paper. Here’s a print where a child did just that:
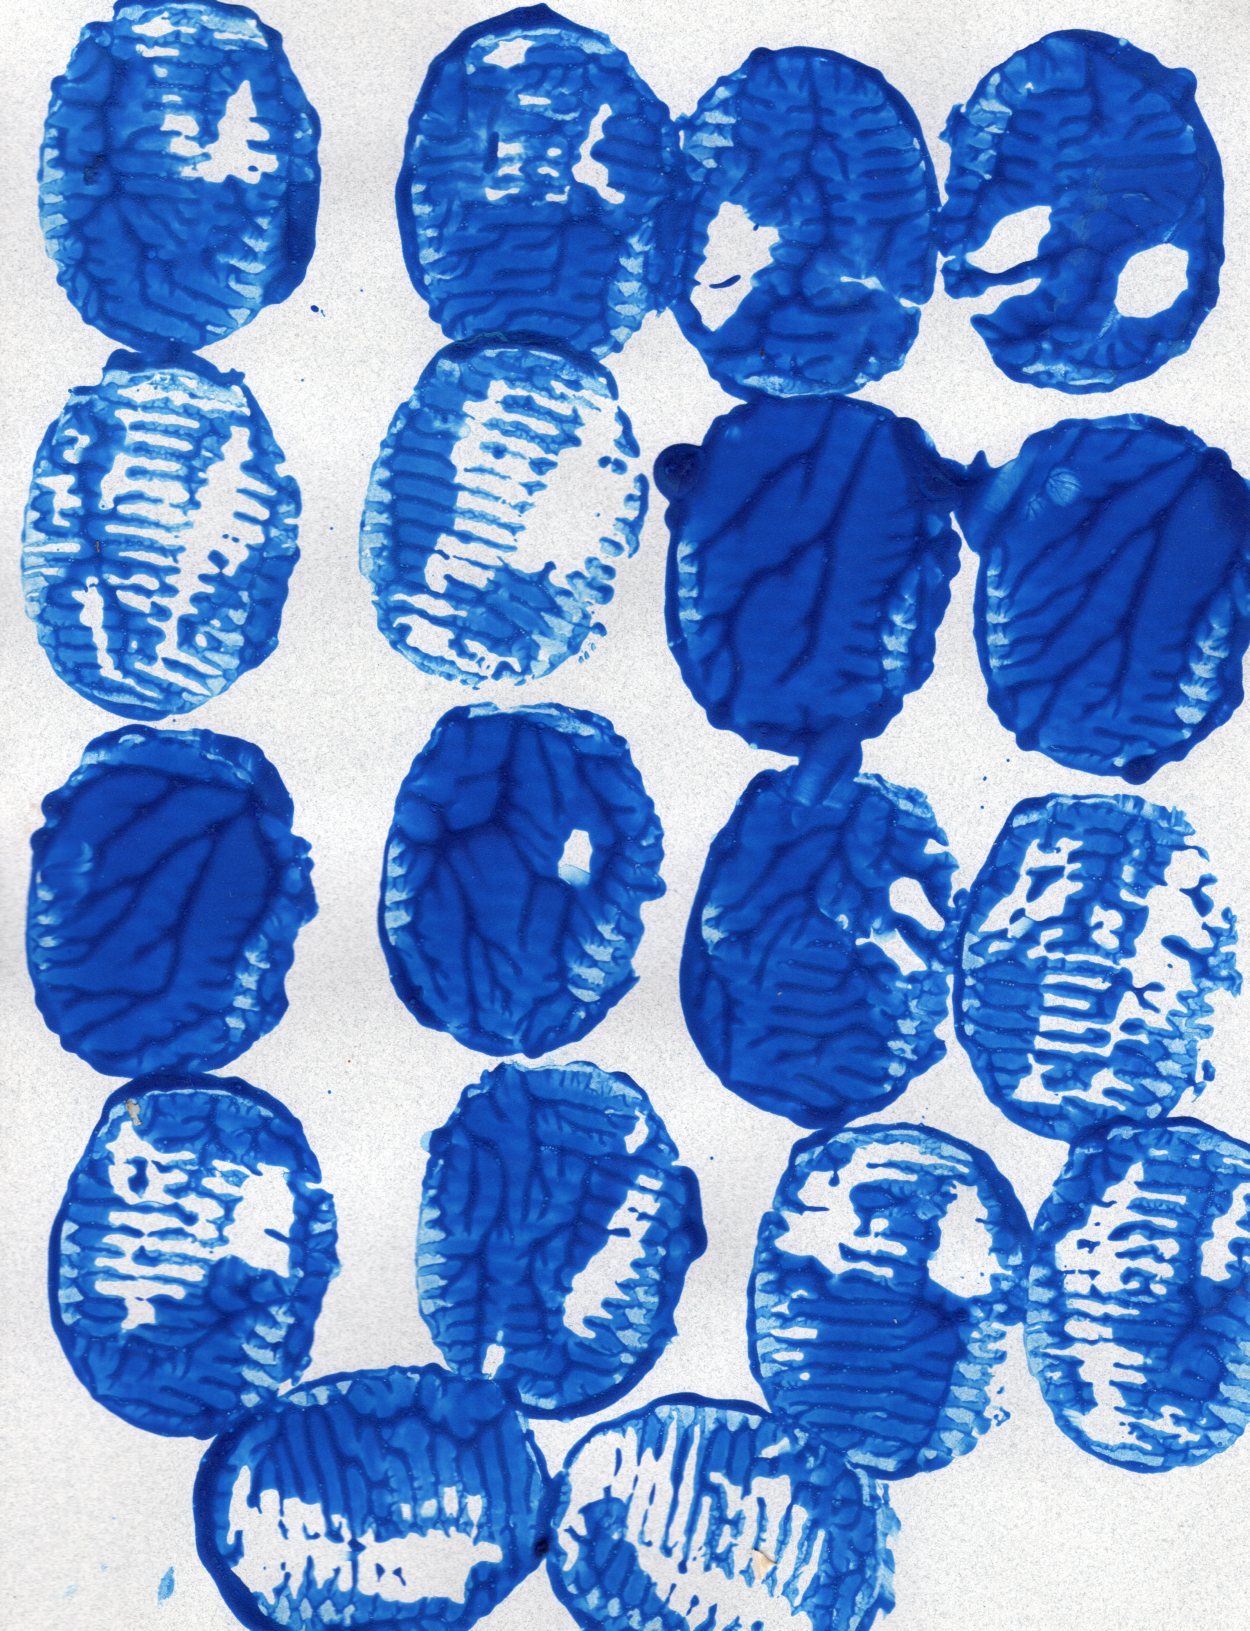
Also enjoyable: use the serrated knife to cut a potato in half. This leaves a textured surface, which makes really interesting images:
B. Stamp Art
Use rubber stamps to create collage-type art works.
Getting a good assortment of rubber stamps can become expensive. However, you can sometimes find stamps at thrift stores. Or you may find someone in your congregation who has a collection of stamps they’d be willing to lend.
Teens and older kids can create their own stamps from erasers. N.B.: this is a difficult project.
C. Transferring photocopies with wintergreen oil
This project is aimed at teens and middle schoolers.
Using wintergreen oil as a solvent, you can transfer photocopies made by traditional B&W photocopiers and some laser printers. By so doing, you can create a collage of images. You can also transfer photocopies onto non-paper media such as cork, wood, etc.
Warnings: Wintergreen oil is used in small amounts as a flavoring in food, but it should not be taken plain by mouth, and it is not safe to put on the skin of young children. Persons with an aspirin allergy may be sensitive to wintergreen oil. The smell is pretty strong and should be used in a well-ventilated area. In short, I would only use this with teens and adults who can heed warnings about not ingesting it. When I use it, I use it only in a well-ventilated room, and I wear gloves.
Materials:
1. You will need wintergreen oil, a natural food additive, which can be obtained online or at places like health food stores, Walmart, Walgreen’s, etc. A typical price is $12 for a small bottle.
2. You will also need freshly printed photocopies or laser prints. I have had success using prints from my old HP LaserJet 1320. (Color printers or photocopiers do not work, in my experience.)
3. You will need the material you are going to print on
4. You will need a paint brush to apply the wintergreen oil. I find that inexpensive camel’s hair brushes work well. You don’t want to use a nice brush, because the oil is hard to get out. Since wintergreen oil is pretty expensive, you probably want to use as little oil as possible, so a narrower brush is usually better.
5. You will need a burnisher of some kind. Spoons and table knives work well — use the back of a spoon for large areas, and use the rounded handle of a steel table knife for detail work. If you can find a dry transfer burnisher, those are much more comfortable to use. Also pleasant to use is a bone folder, the type with a smaller rounded point at one end (so you can do fine detail if you need to).
Process:
Print or photocopy the B&W image you want to transfer. Use it AS SOON AS POSSIBLE; the fresher it is, the better it works.
Paint the wintergreen oil on the image. Experiment with painting directly on the printed side of the paper (may blur the image slightly), or on the back (may not penetrate adequately, so the image doesn’t completely transfer).
Once you have put wintergreen oil on the part of the photocopied image you want to transfer, turn it printed side down onto the material you’re going to print on. Now take your burnisher, and rub the back of the original.
You can check to see how well the transfer is going by clamping one corner of the work with the heel of your hand, then using the other hand gently lifting up a corner of the original until you can see the printed area. If you are rubbing unevenly, or have missed an area, let the original back down and rub some more.
The beauty of this printing process is that you can transfer whatever portion of the original you want. Plus you can print portions of the original right next to portions of another original (just be careful when you do this, as the wintergreen oil can loosen up images you’ve already transferred).
As you use the process more, you’ll find find ways to vary the quality of the image through varying your technique: the amount of oil used, the pressure on the stylus, etc.
Sure, you can do all this on your computer screen, then print onto a dry transfer sheet, and transfer onto whatever material you want. But the wintergreen oil process feels more spontaneous, and the handwork is more satisfying. In addition, you can transfer the image to materials other than paper. I’ve used this process to transfer images to wood, cork board, etc.
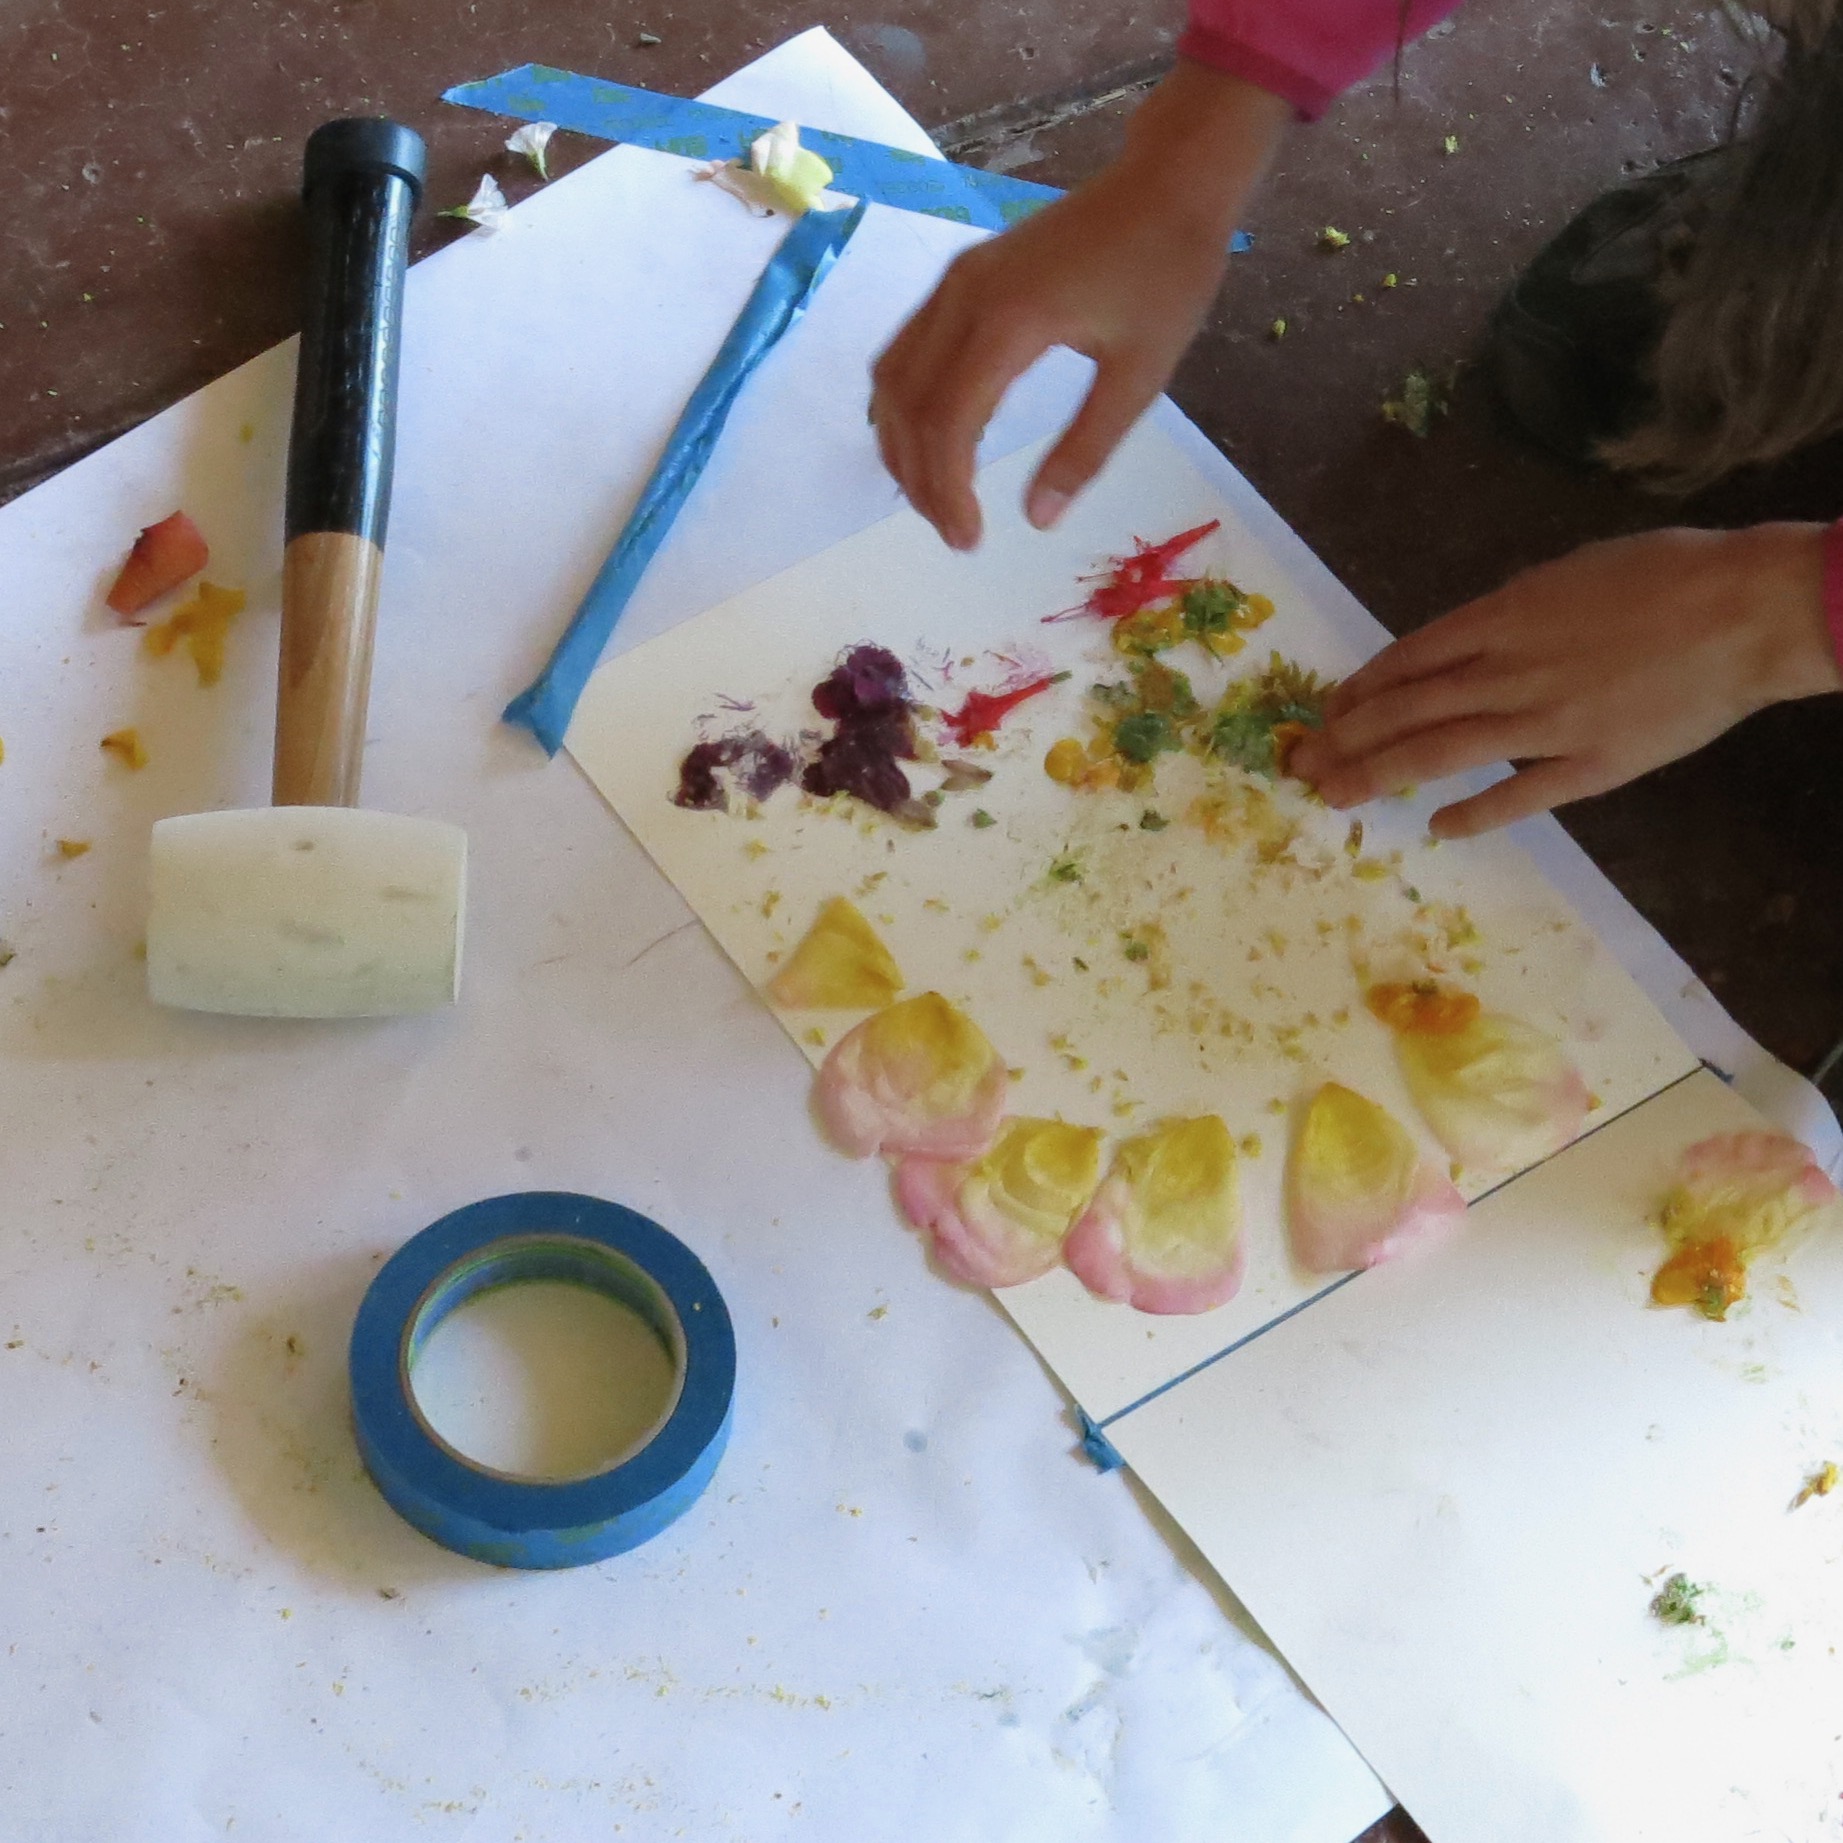
D. Pounding flowers
Materials:
Water color paper (this is important, as regular paper doesn’t work well)
Rubber mallets
A dozen or so fresh flowers, stems, leaves per participant (from florist or garden)
Paper towels
Scissors
Blue painter’s masking tape
Colored pencils (for labeling, messages, or poems if desired)
The fresher the flowers, the better this activity will work. If they’re dried out, they won’t have much juice to be pounded out on the paper. Even if you’re planning together flowers from a garden / the wild, we’ve found that getting some from a florist can be a good idea, because wild flowers and garden flowers don’t always produce brilliant colors. The point is to have as many different kinds of flowers as possible so you can compare. N.B.: White and pale blossoms may not show up well when pounded.
Tools:
You can use either rubber mallets or regular hammers. (Regular hammers may be easier to find than rubber mallets.) You will need spprox. one hammer/mallet for every 2 participants.
If you use regular hammers, you must hammer gently. If you hammer too hard, you’ll tear the paper. And probably break whatever you’re hammering on.
Pounding must be done on a smooth hard surface. A smooth concrete floor works well. Floors covered in linoleum, vinyl tiles, or wood also work well. A very solid table can work, but trying pounding on it with a rubber mallet first to see if the table is sturdy enough. Pad the surface under the flowers with newspapersto avoid harming (or even cracking) the surface.
Note that any pronounced surface texture may affect the outcome (e.g., some wood floors; or textured vinyl floors). Small irregularities in the surface texture can be covered over by laying down several sheets of newspaper first.
Method 1:
Have each participant lay out 1 sheet water color paper on the ground. Choose one or two flowers and arrange them on paper as they like. Carefully lay paper towels over flowers. Take mallet and pound paper towels as hard as they want. Carefully peel back paper towels, then leftover petals, etc. to see print left on paper.
Method 2:
Tape two sheets of watercolor paper together in a book format, using blue painter’s masking tape. Open the “book.” Arrange the flowers on one sheet. Close the “book.” Pound away. Open the “book” to see the design appear on both pages.
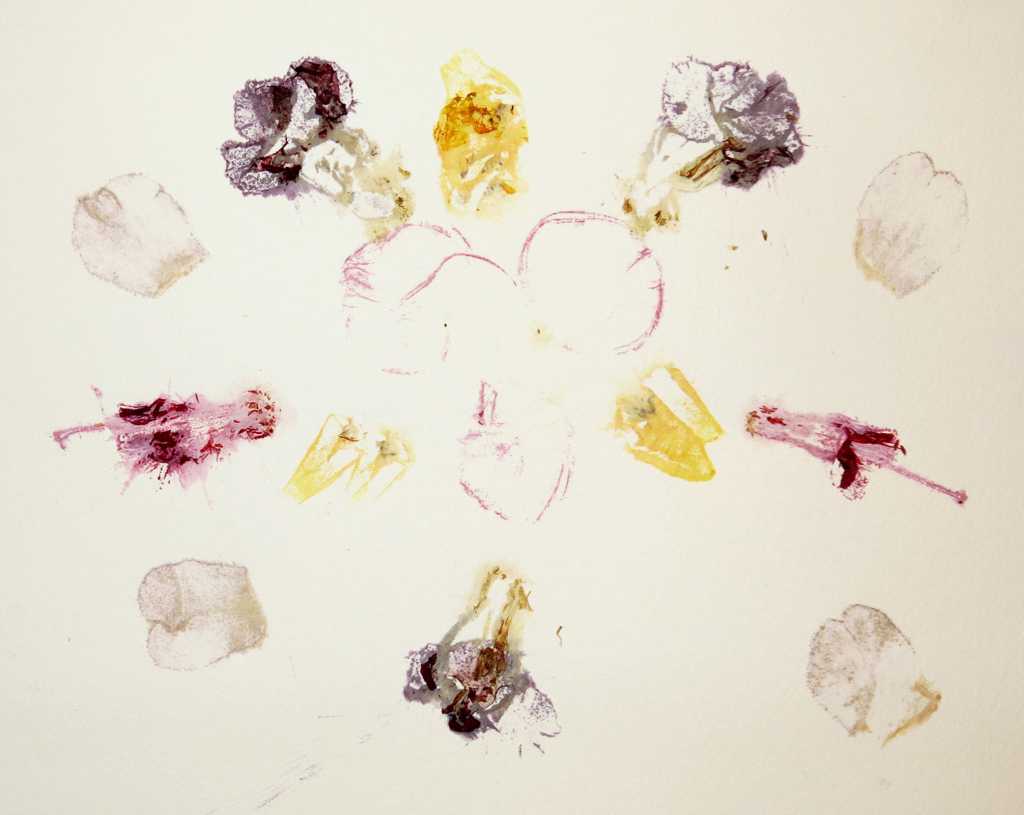
Process:
Once they have a sense of which flowers produce what colors, participants often want to pound flowers again. So it’s a good idea to have plenty of flowers.
Often, you don’t get a finished product with this activity. This is more process art — watching what happens to the flowers when pounded; the satisfaction that comes with pounding something.
However, with older children, teens, and adults, it is possible to make attractive notecards using this process. However, most people need two or more tries to get a design they’re satisfied with — participants need time to figure out which flowers work best, how hard to pound, etc. Participants will often want to draw in and around the pounded-flower design.