Coming of Age program for gr. 8-10
Written and compiled by Dan Harper, v. 1.5.2
Copyright (c) 2014-2023 Dan Harper
Revised April, 2022; cosmetic revision January, 2023
Thanks to Lynn Grant for originating this activity.
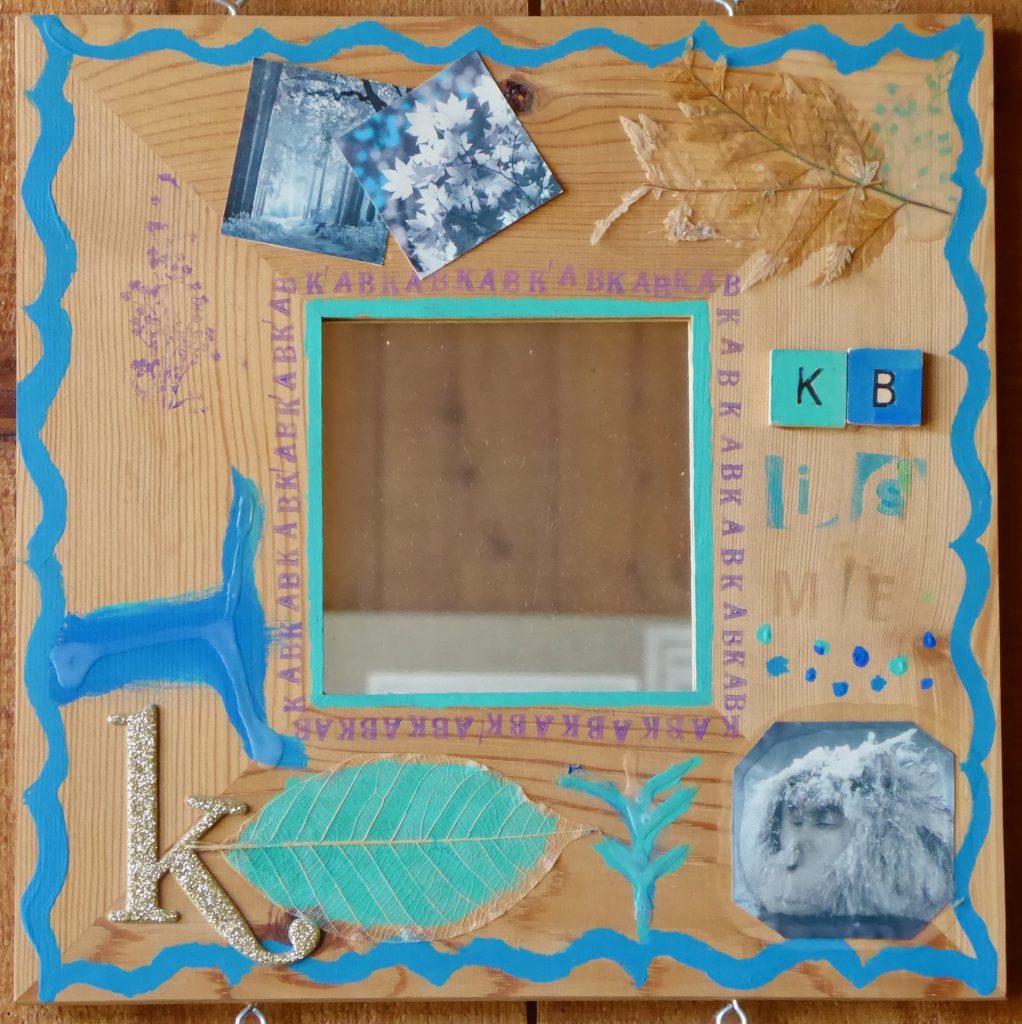
The Mirror Project consists of two sessions spent painting/collaging mirrors. The main question we’re answering in this project is: “Who am I?” So that’s what this mirror is to be. When you look into it, you see yourself surrounded by … what? In other words, when you look into a mirror and see your face, what would you like to see around your face? What would you put on your mirror frame to show who you are?
Process
On the first week, look through the materials, come up with a concept (adults make mirrors, too). Plan to get about half done the first session. (It’s OK to look for more collage material at home. If you print out collage material, be aware that images printed on an inkjet printer may be dissolved by the acrylic mediums.)
On the second week, plan to complete the mirrors.
Materials
Mirrors with a bare wood frame are no longer sold. Instead: (1) Check the Michael’s website for Wood and Blank Surfaces, then within that category find Unfinished Frames that you can attach a mirror to the back of. (2) As of spring, 2022, Walmart sells 24 packs of Unfinished Wood Frames; mount a small mirror on the back. Check out “Attaching mirror to blank wood frame” below to see how to attach the mirror blank to the wood frame.
- unfinished wood frames
- mirrors that will fit on the back of the frame (see above)
- Gorilla brand Waterproof Patch and Seal Tape (to attach mirror to frame)
- acrylic paints
- Liquitex Slow-dri Blending Medium (keeps paint from drying too fast)
- Liquitex Matte Medium (used to extend and add depth to paint)
- Liquitex Gloss Medium and Varnish (used only if you want a shiny mirror)
- collage materials (e.g., old magazines)
- decoupage paste (e.g., Mod Podge), or use Matte Medium
- brushes of various sizes
- containers for mixing paints
- containers for water
- drop cloths
Tips and Techniques
Below are some hints on using the materials. See also the Example Mirrors below.
Using acrylic paint
- Acrylic paint dries fast, so mix a little Slow-dri Blending Medium in with your paint.
- Because acrylic paint dries fast, only squeeze out what you need, and be sure to put the caps back on the tubes of paint.
- Mix your paint with Matte Medium about 50/50 — this gives the paint more depth, and results in a better finished product.
- Keep rinsing out your brushes so they don’t get caked with paint.
- Acrylic paint wil NOT come out of clothes, carpets, etc. Wear old clothes, and put drop cloths down before painting.
Using collage materials
- Cut out the image you want to use and try out on the mirror frame before pasting it down.
- To paste it down: Coat the back of the paper with Mod Podge OR with Matte Medium, stick down, then paint a coat of Mod Podge OR Matte Medium over the collage item.
- Don’t panic, Mod Podge and Matte Medium go on white, but they dry clear.
Finishing your mirror
- Remember that colors will be more vivid, and collage items will look better, once everything is completely dry.
- Most people want their mirror to have a matte, or low-shine, surface. If you want a glossy (shiny) surface, mix the paints with Gloss Medium and Varnish. Or wait until everything is dry, then coat the whole project with Gloss Medium and Varnish.
Hints on cleaning up
- Acrylic paint WILL come off your skin, though it may take 2-3 days before it’s completely gone. If you get Mod Podge on your skin, let it dry, then peel it off.
- To clean brushes, first rinse them with water — when no more color comes out of the brush, finish by washing the brush with soap and water, then rinsing thoroughly.
- Everything used to mix paint in gets washed with soap and water, then rinsed.
- Make sure all tubes of paint have caps, and that the caps are securely screwed on!
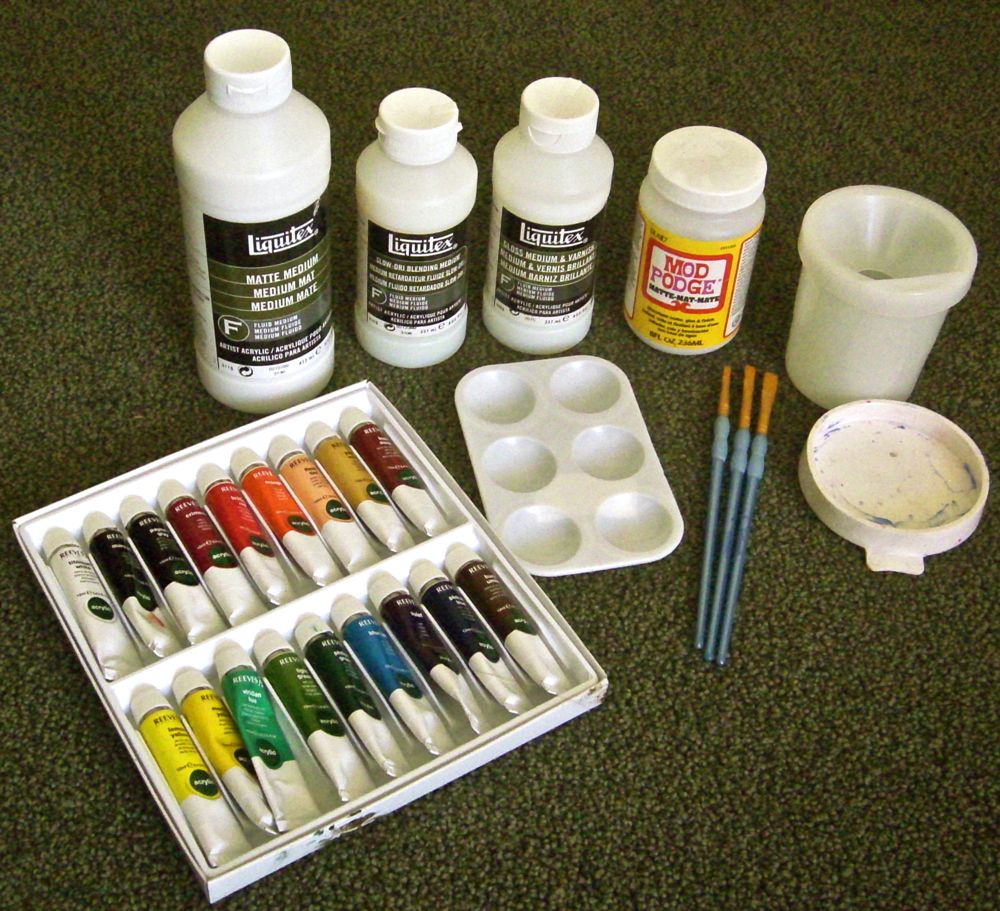
Above you can see the basic supplies for the mirror project.
Back row, L-R: 16 oz. bottle of Matte Medium; 8 oz. bottle of Slow-dri Blending Medium; 8 oz. bottle of Gloss Medium and Varnish; 8 oz. jar of Mod Podge Matte Sealer.Glue/Finish. (Notice that the labels for the different mediums look almost identical!) Front row, L-R: set of acrylic paints; mixing tray; brushes for acrylic paints; water jar and cap (cap may be used for mixing paint).
Attaching mirror blank to wood frame
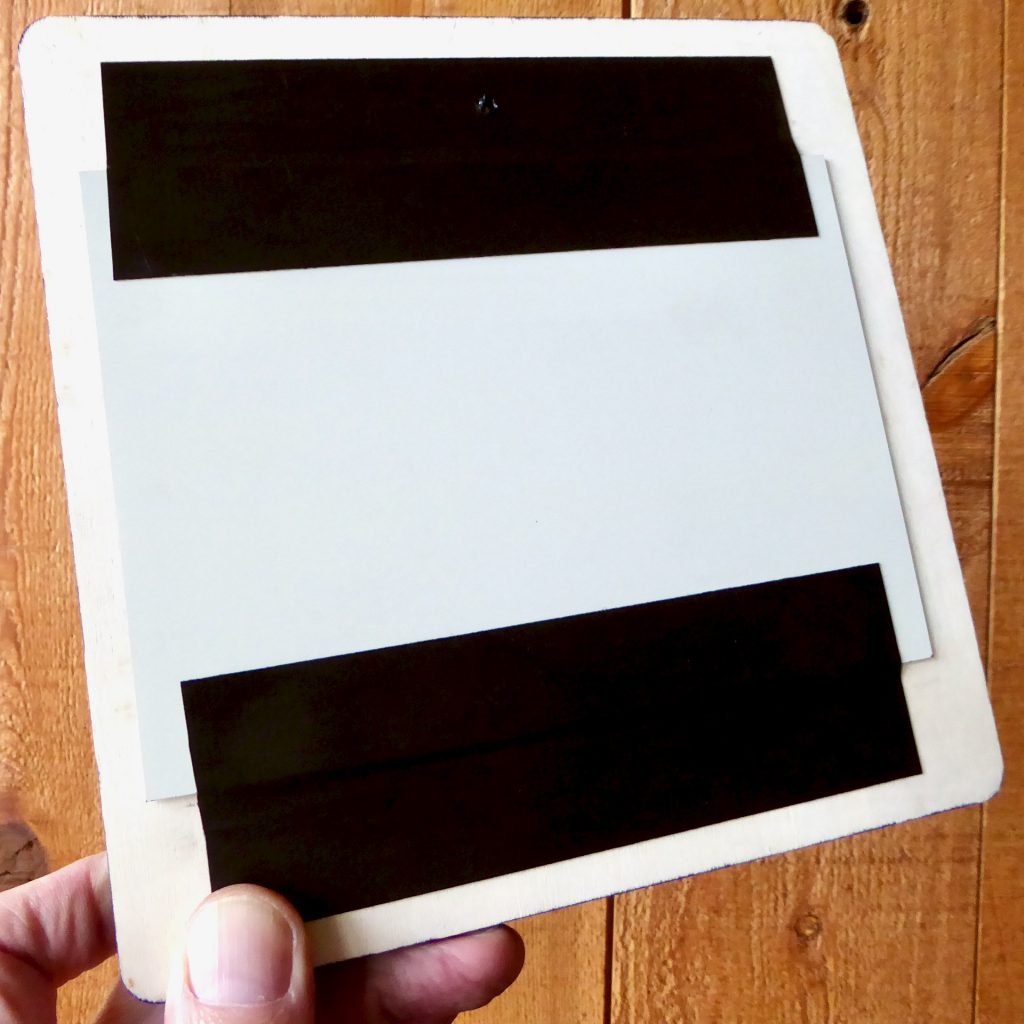
I recommend using Gorilla brand Waterproof Patch and Seal Tape to attach the mirror blank, as shown in the photo above. (Do NOT use duct tape, it won’t hold the mirror and it won’t last more than a few months.) Gorilla brand Waterproof Patch and Seal Tape is designed to be permanent, it’s strong enough to hold the mirror blank, and it’s UV resistant. Make sure that both the back of the wood frame and the back of the mirror blank are clean and dry before applying the tape.
Wait until AFTER you’ve finished painting to attach the mirror blank to the back of the wood frame. That way, you don’t have to worry about getting paint on the mirror.
You can see the front of this mirror in the Example Mirrors below.
Example mirrors
These sample mirrors were made by Coming of Age participants. They were chosen to show a variety of techniques.
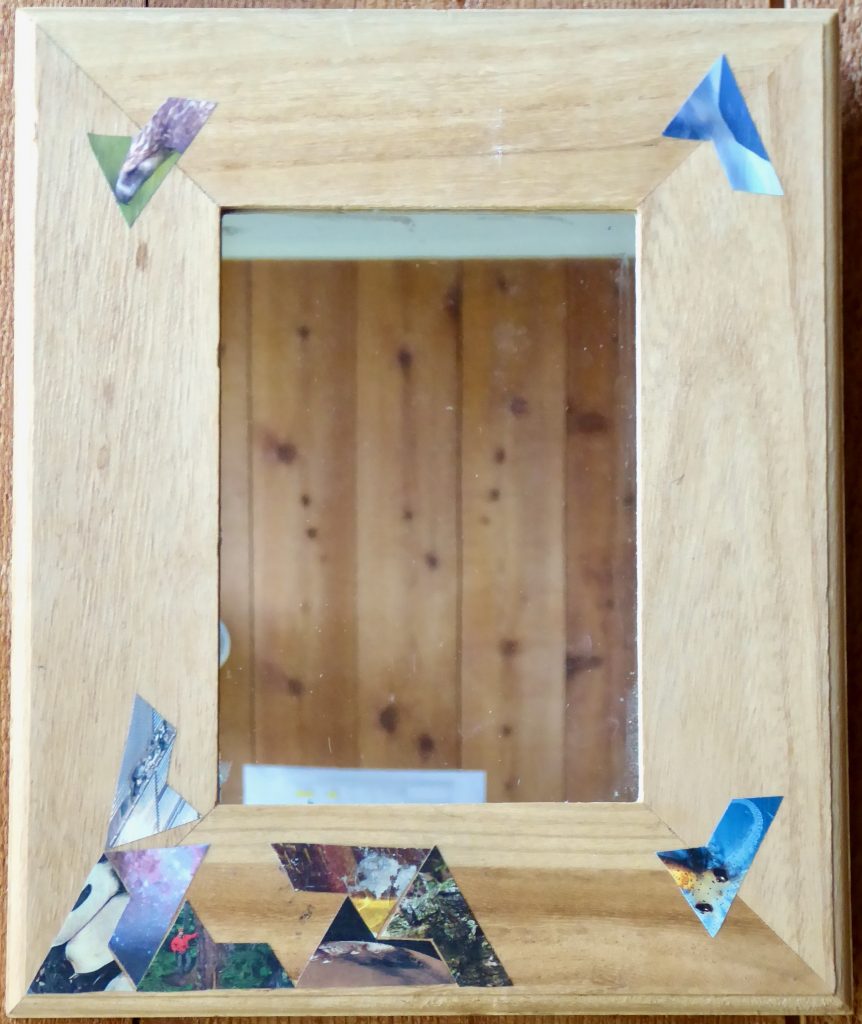
The first sample mirror uses scattered collage elements on bare wood, all covered by clear acrylic medium.
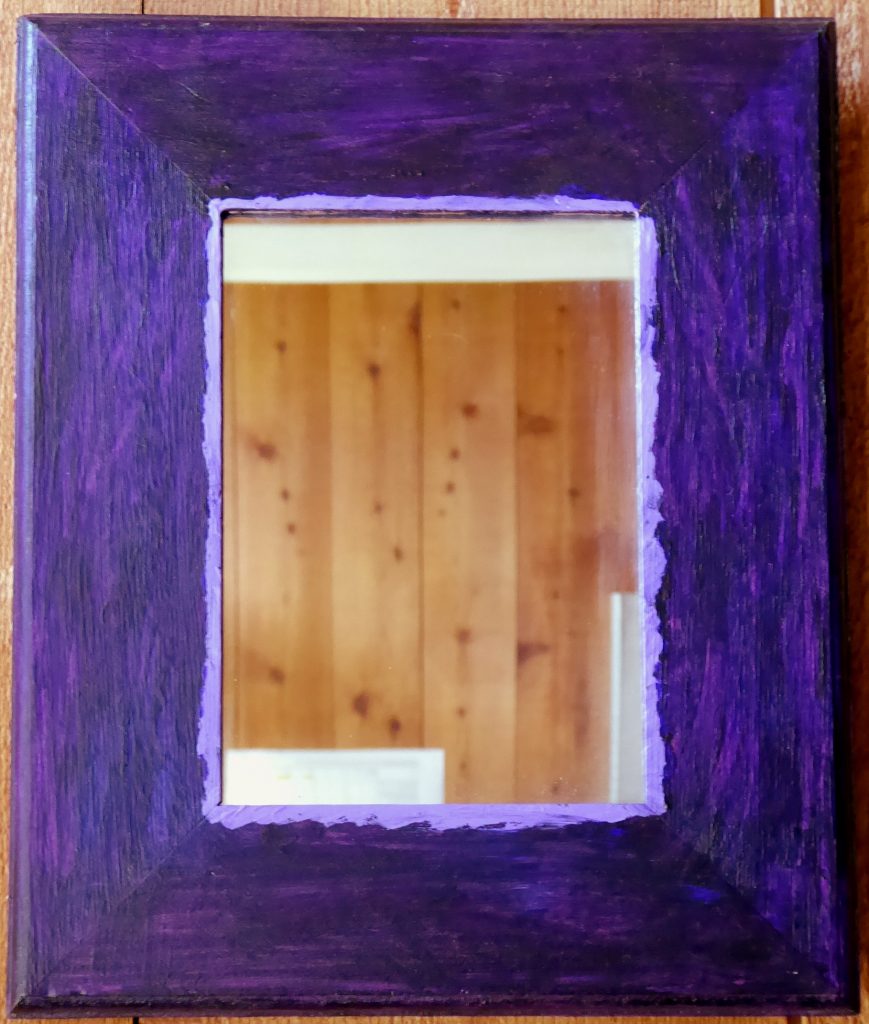
The mirror below was painted with several layers of transparent color. (Anna went on to study architecture in college.)
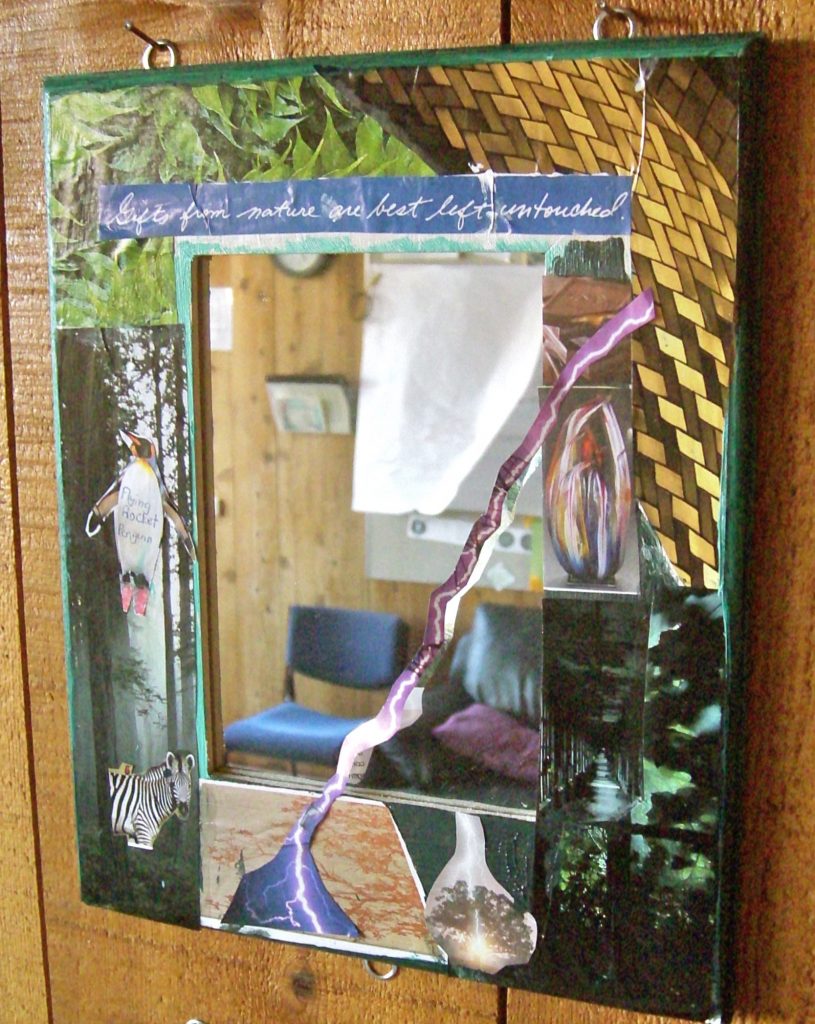
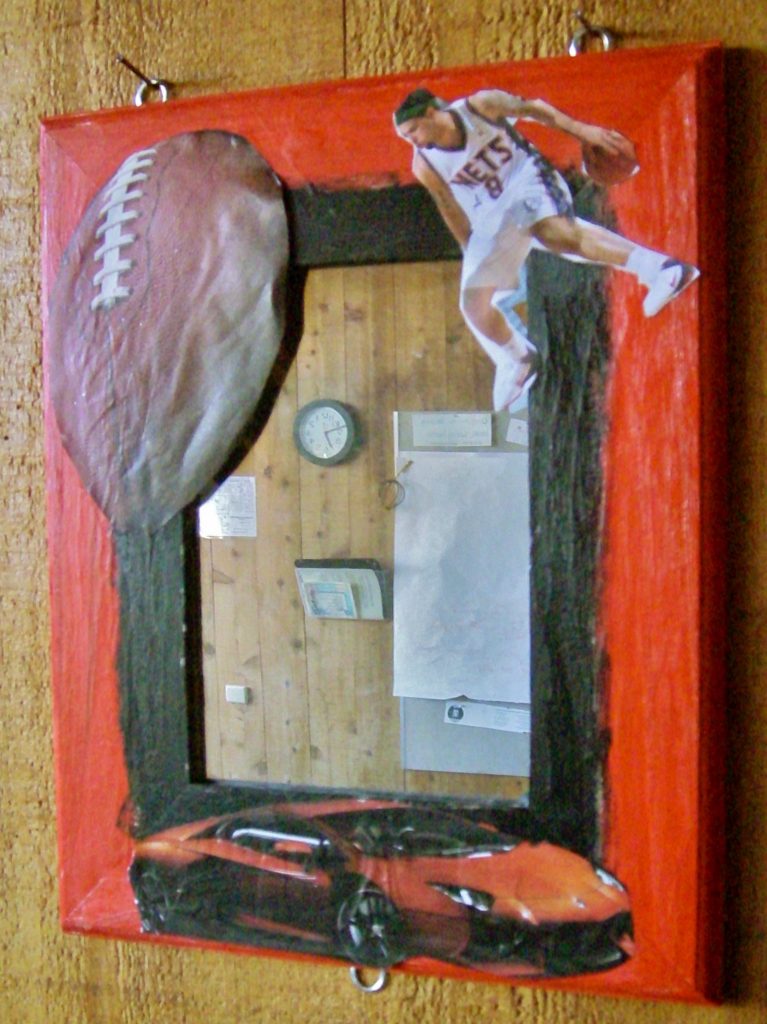
The following two mirrors have collage materials extending out over the mirror surface.
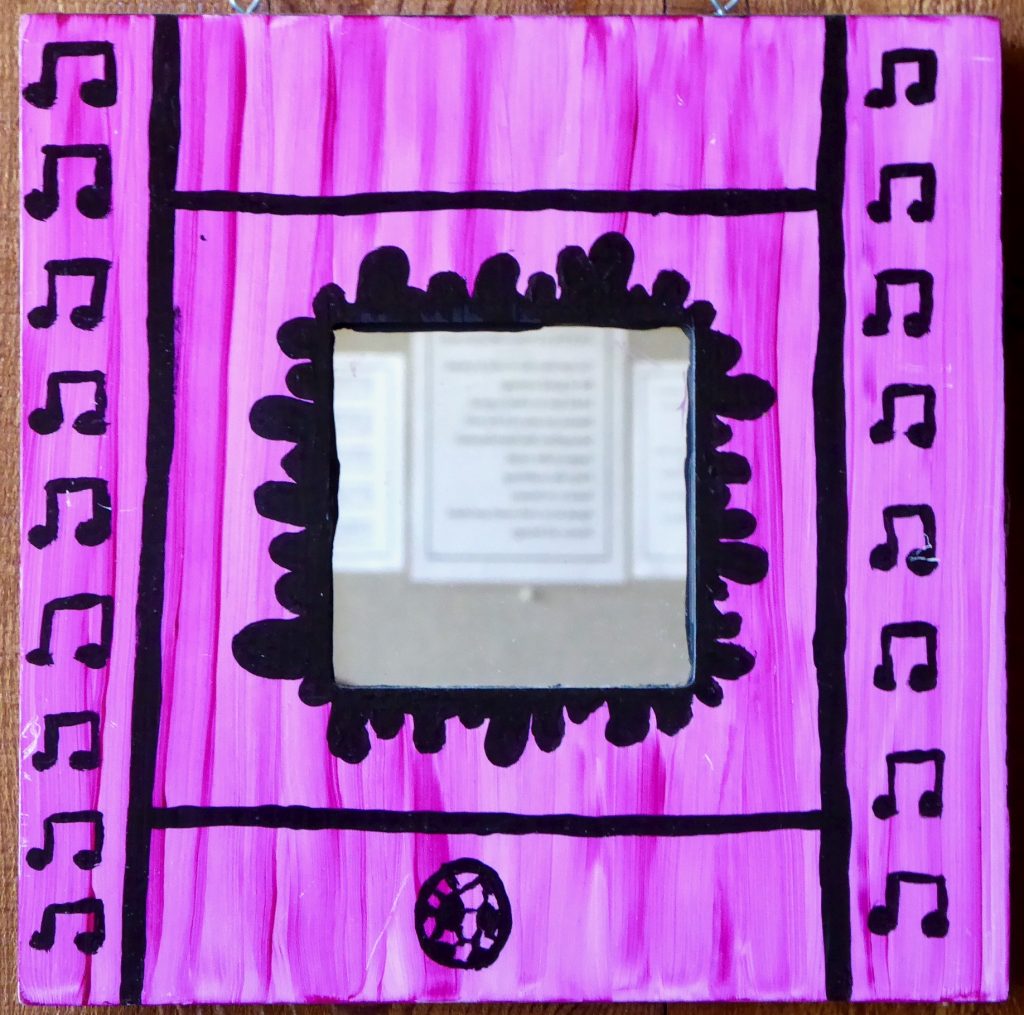
The mirror below uses musical notes as a simple repeated design.
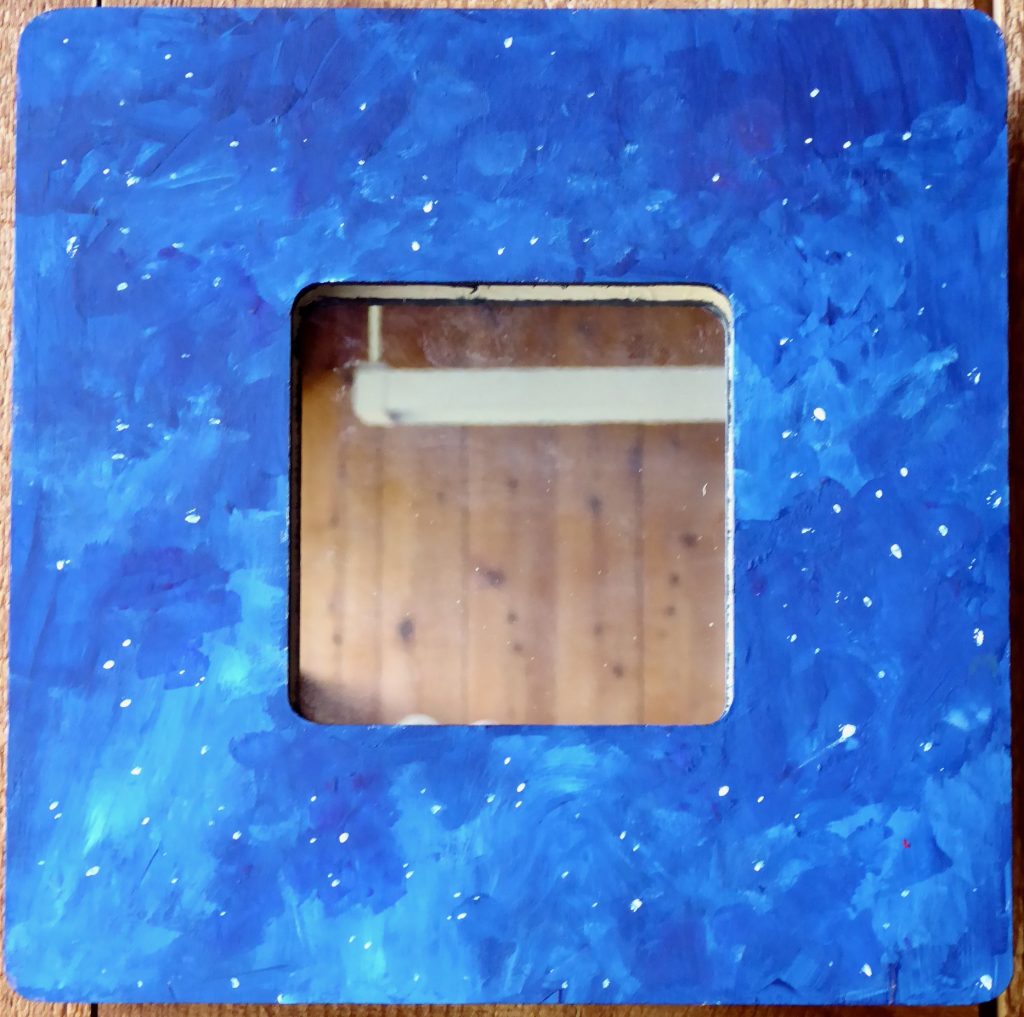
The mirror below is a simple starry night. (This is the front of the mirror shown above in “Attaching mirror blank to wood frame.”)
The last mirror uses three-dimensional collage elements, including Scrabble squares.
