Coming of Age program for gr. 8-10
Written and compiled by Dan Harper, v. 1.5.2
Copyright (c) 2014-2023 Dan Harper
Light revision, April, 2022; cosmetic revision January, 2023
Back to Coming of Age session plans
Thanks to Lynn Grant for originating this activity.
For this project, make sure to recruit volunteers who are comfortable using power tools, and who are knowledgeable about power tool safety. It’s also helpful to have one or more volunteers who have an art background, and who can help the youth make decisions about painting.
Basic instructions
Tools and Materials:
Step One: Tracing silhouettes
- Carpenter’s pencils
- One 4×8 sheet of 1/2 inch 5-ply CDX plywood for every 2-3 participants
- Light source for projecting shadows on plywood (optional)
Step Two: Cutting out silhouettes
- Eye protection and hearing protection for everyone
- Two saw horses for every jigsaw workstation
- One extension cord every workstation
- One saber saw for every workstation
- Electric drill with large bits (for starting saber saw blade in the middle of plywood if necessary)
Step Three: Painting silhouettes
- One 8 x 12 foot drop cloth for every 2-3 people painting (depending on the size of the silhouettes)
- 1 qt. white water-based primer for every 3 sheets of plywood
- Quarts of water-based house paint in basic shades (red, orange, yellow, etc.); many paint companies will sell you “sample” quarts for a low price
- 12-20 small containers for mixing paint (capacity approx. 2 ups) per workstation
- Cans or buckets with water for rinsing brushes
- Plenty of paper towels
- Paint rollers: 9 in., 3 inch
- Disposable roller trays
- 1 inch and 2 inch paint brushes
- Smaller paint brushes for finer detail
Preparation:
Sheets of plywood may be painted with white primer paint, and the paint allowed to dry. This can be done with or without the youth. This is OPTIONAL, not necessary.
Safety:
Everyone will be using power tools. Eye protection and hearing protection must be worn at all times.
“Remember that if you joggle someone’s elbow while they’re using a saber saw, they could cut their finger off. Be really aware of your surroundings.”
Step-by-Step Instructions
Step One: Tracing silhouettes
Youth decide what pose they want to take for their self-portrait. Some youth will want to physically try out various poses. You can also show them examples of previous sculptures made by Coming of Age participants — see below.
When a youth has decided what pose to take, they lie on a piece of plywood in that pose. Notice that the piece of plywood has a good side and a bad side; the design should be drawn on the good side. Others (adult leaders and other youth) help them fine-tune the pose, both so it looks like what they want it to look like, and so they are completely on the piece of plywood.
When the pose looks good, then another youth uses a carpenter’s pencil (or other thick pencil) to trace the silhouette onto the plywood.
Please be aware of the possibility of sexual harassment and unwanted touching.
Silhouettes can also be made by having the youth standing in front of a piece of plywood that has been propped up in a vertical position, then using a bright light, trace the shadow of the youth onto the plywood. However, projecting the shadow can distort the silhouette. To reduce distortion, move the light source so that it is directly in front of where the image is being traced. Or some youth like the distortion that results.
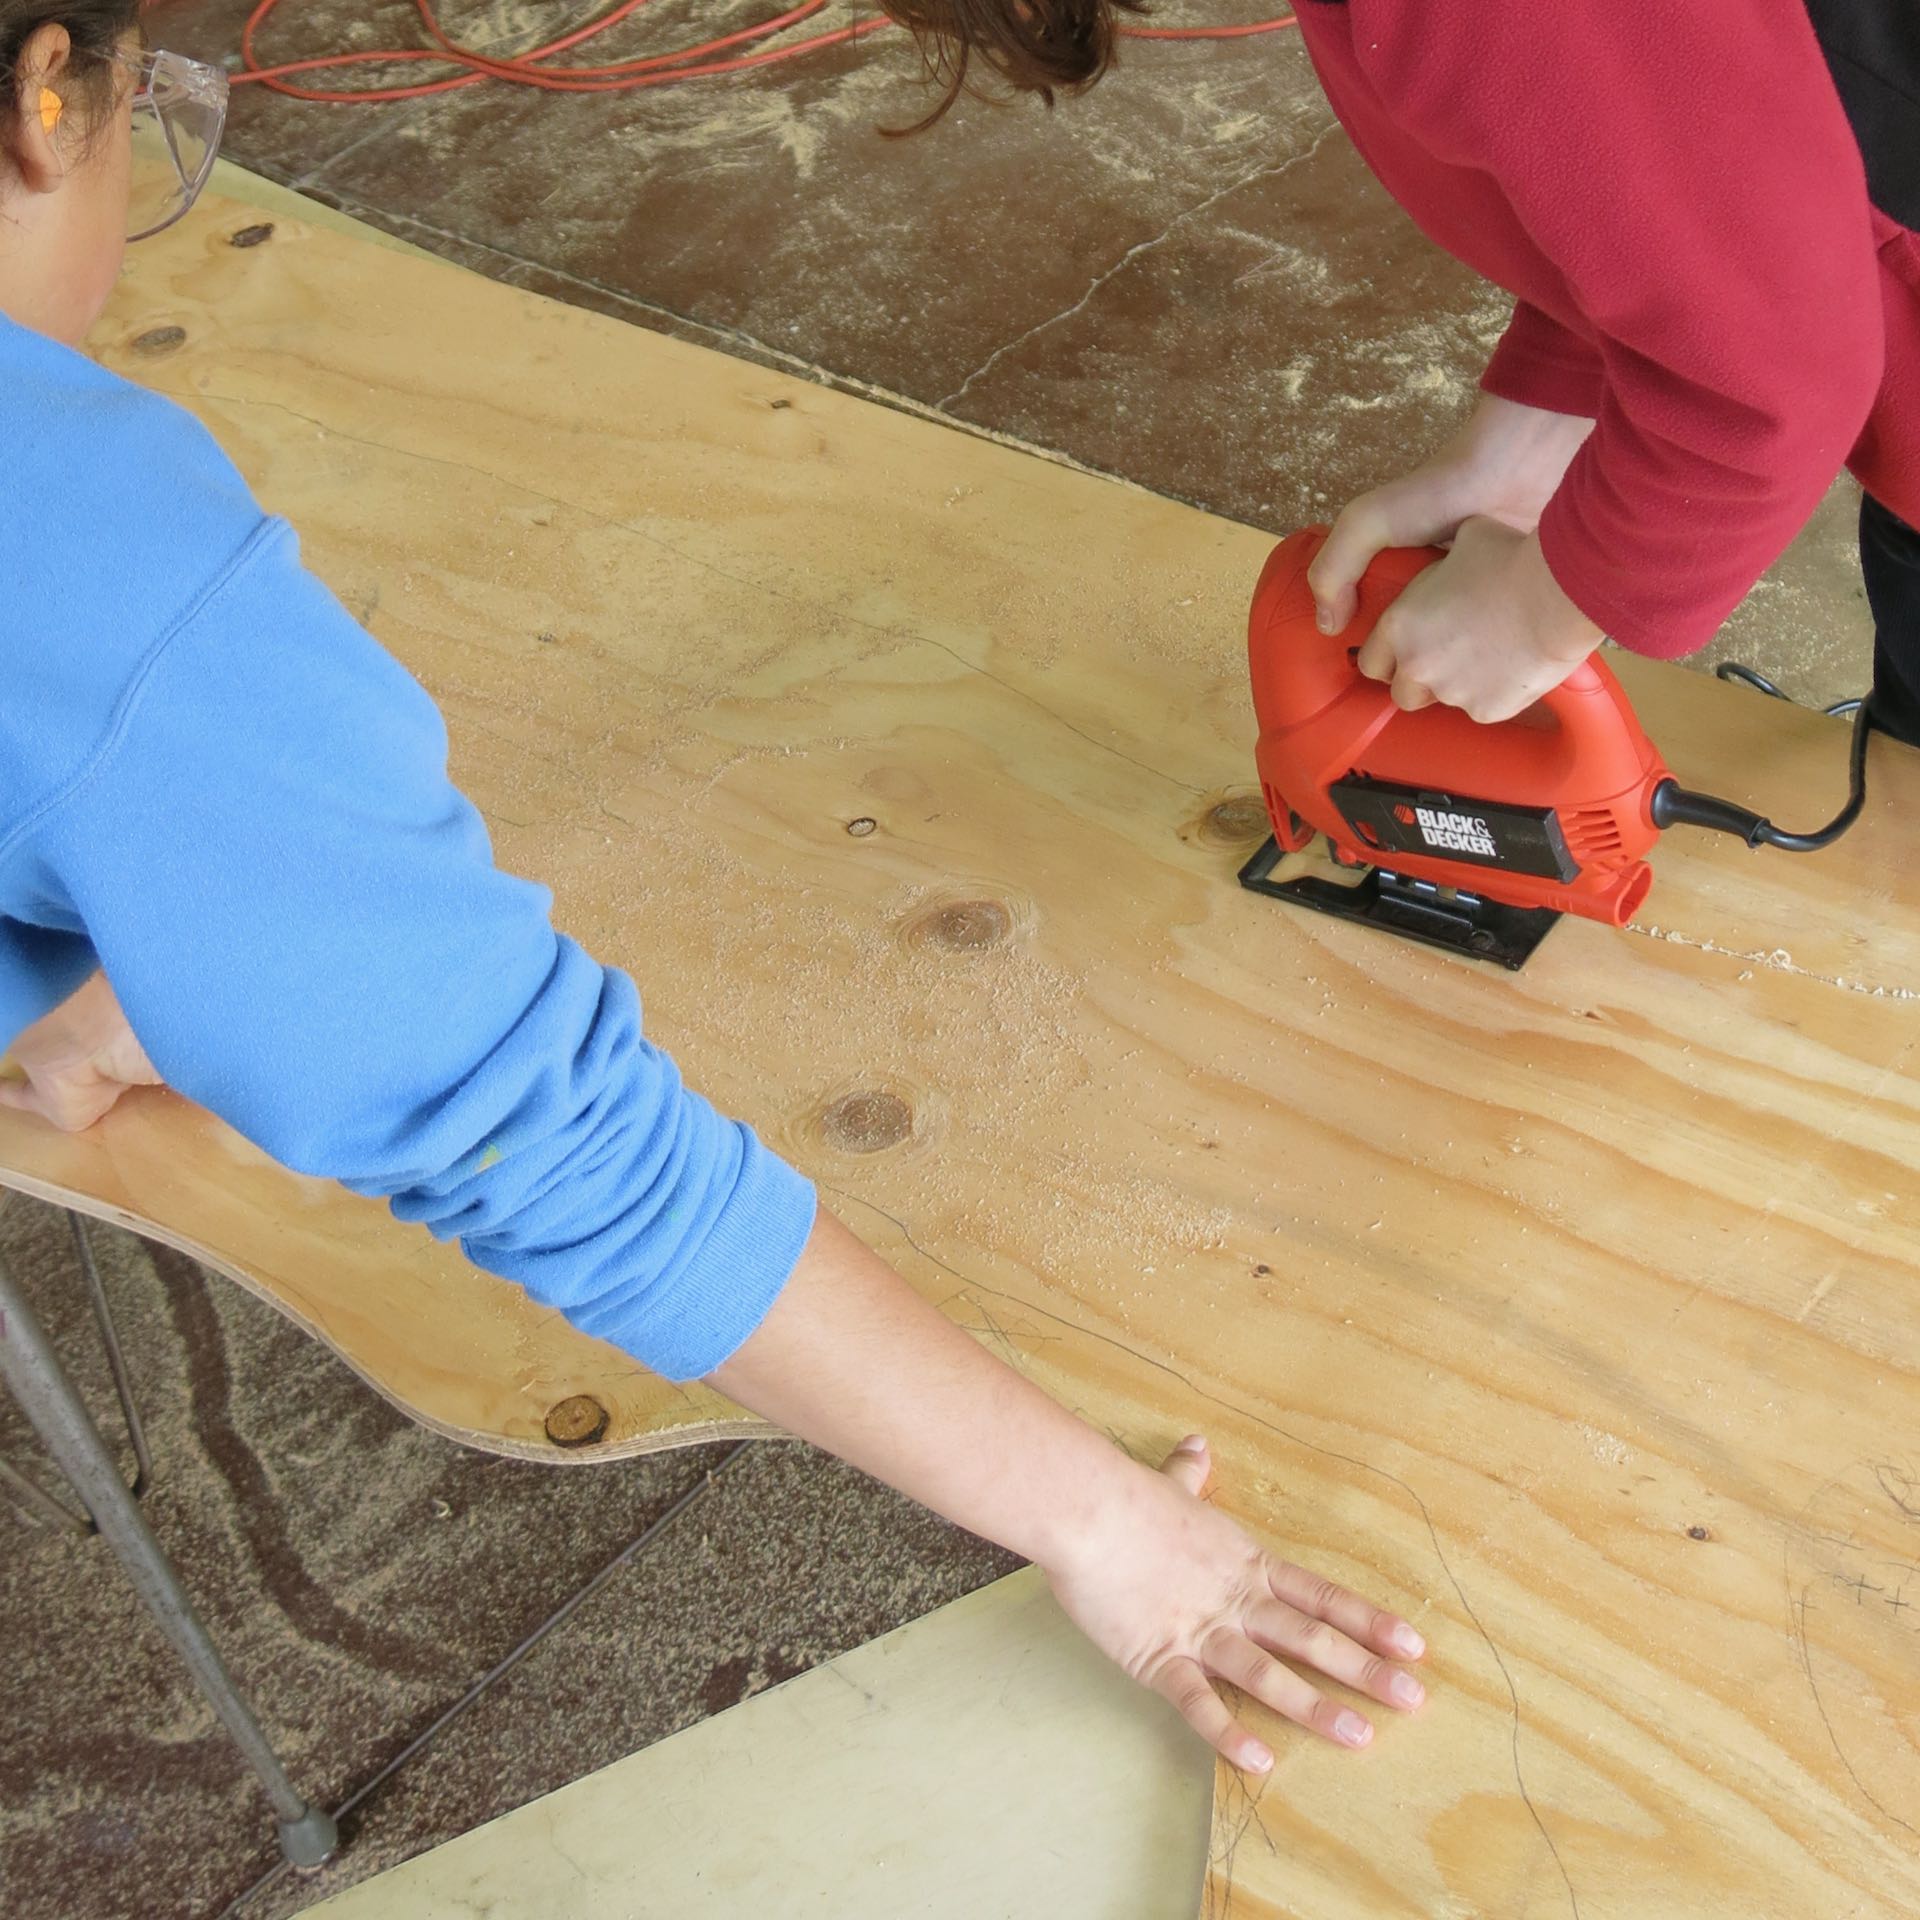
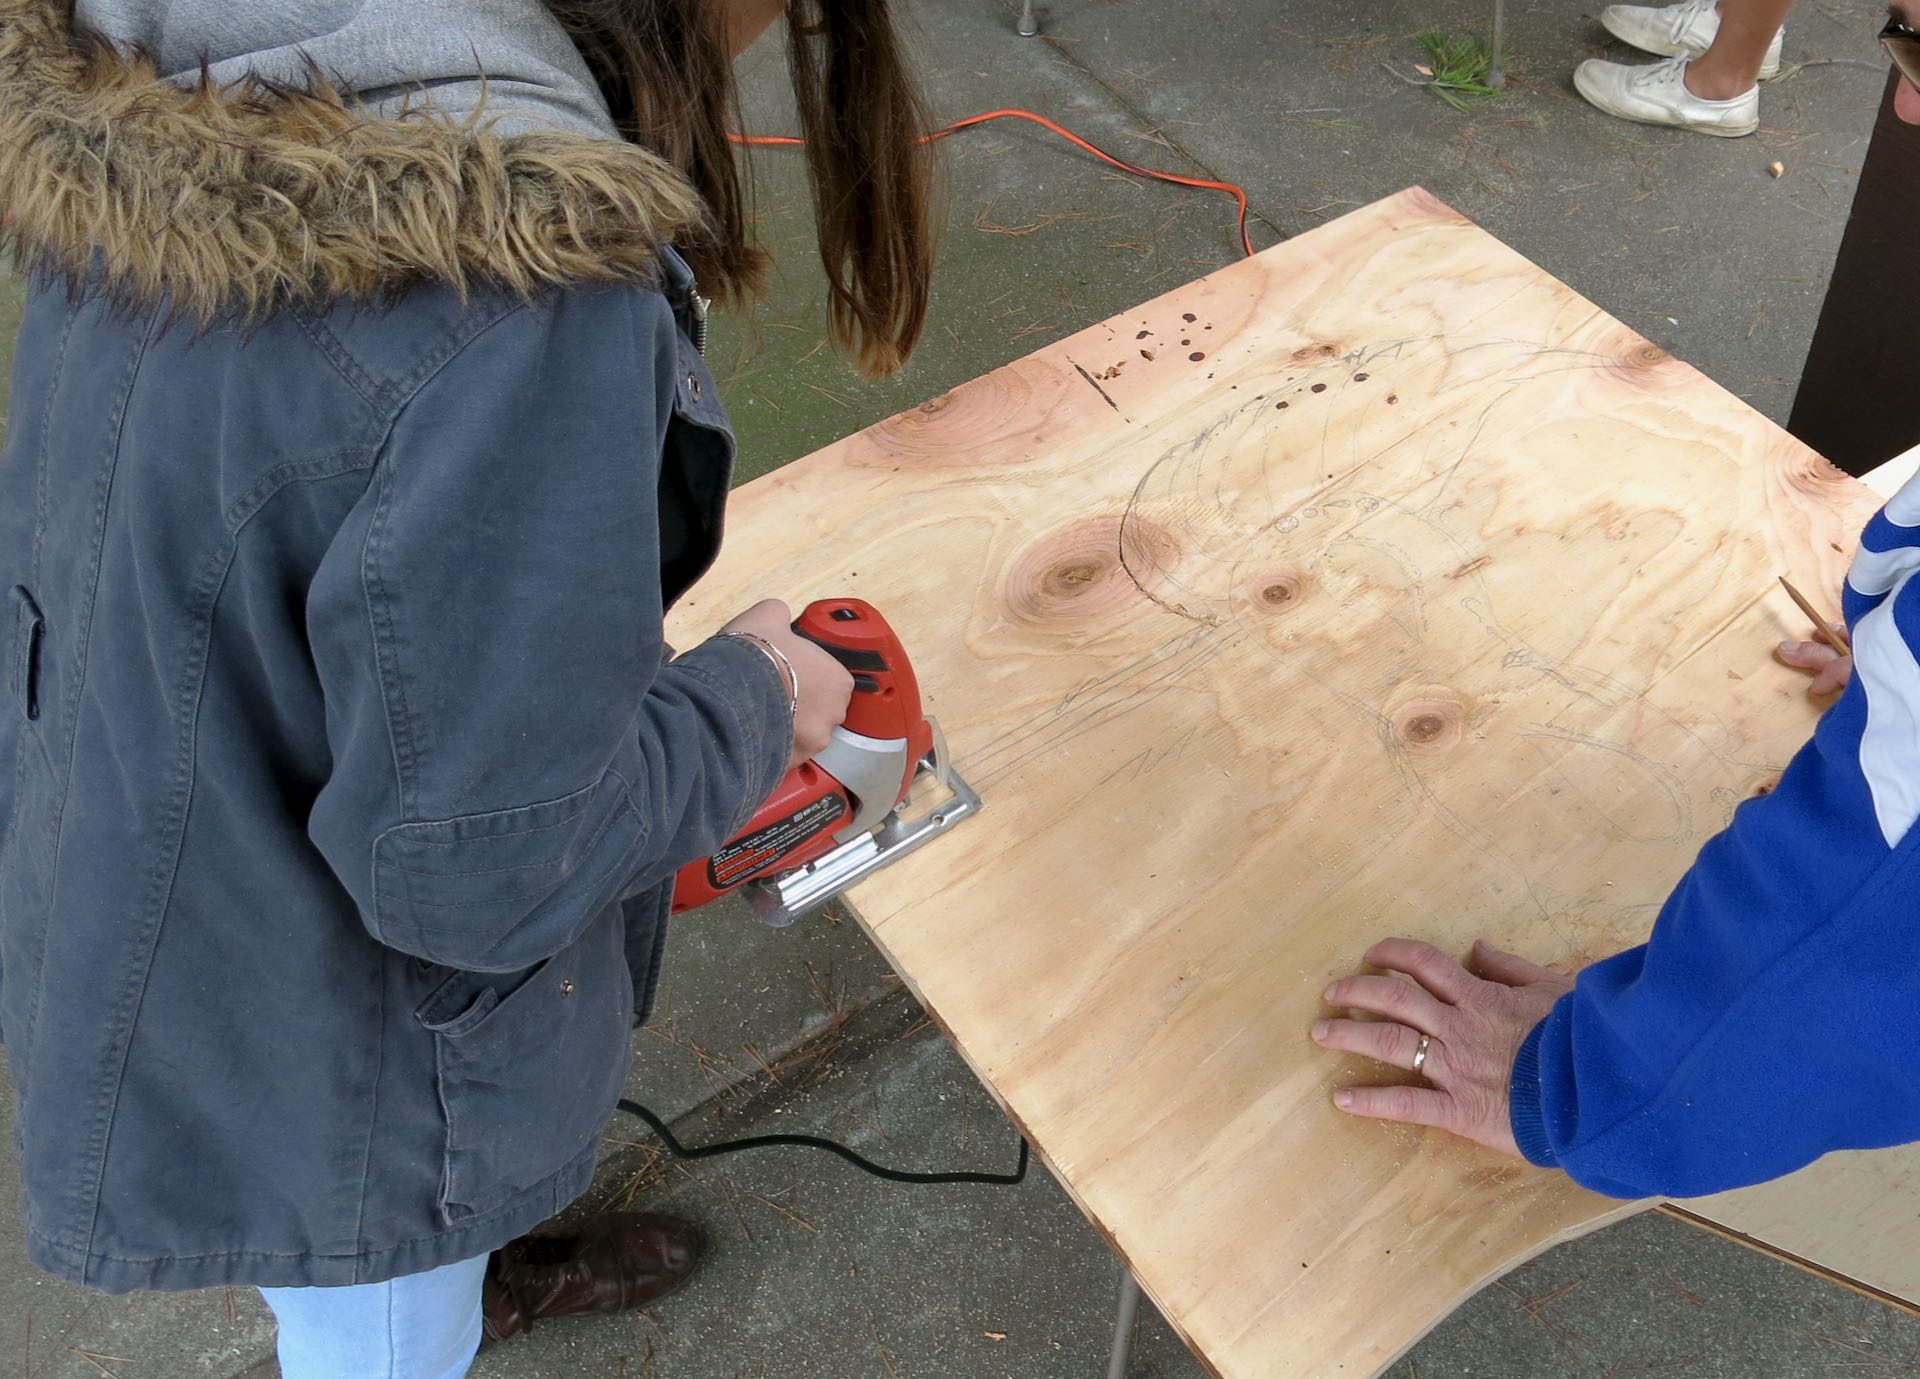
Step Two: Cutting out silhouettes
Each youth cuts out out the silhouette using a saber saw. Set up a jigsaw workstation to cut out the silhouettes as follows:
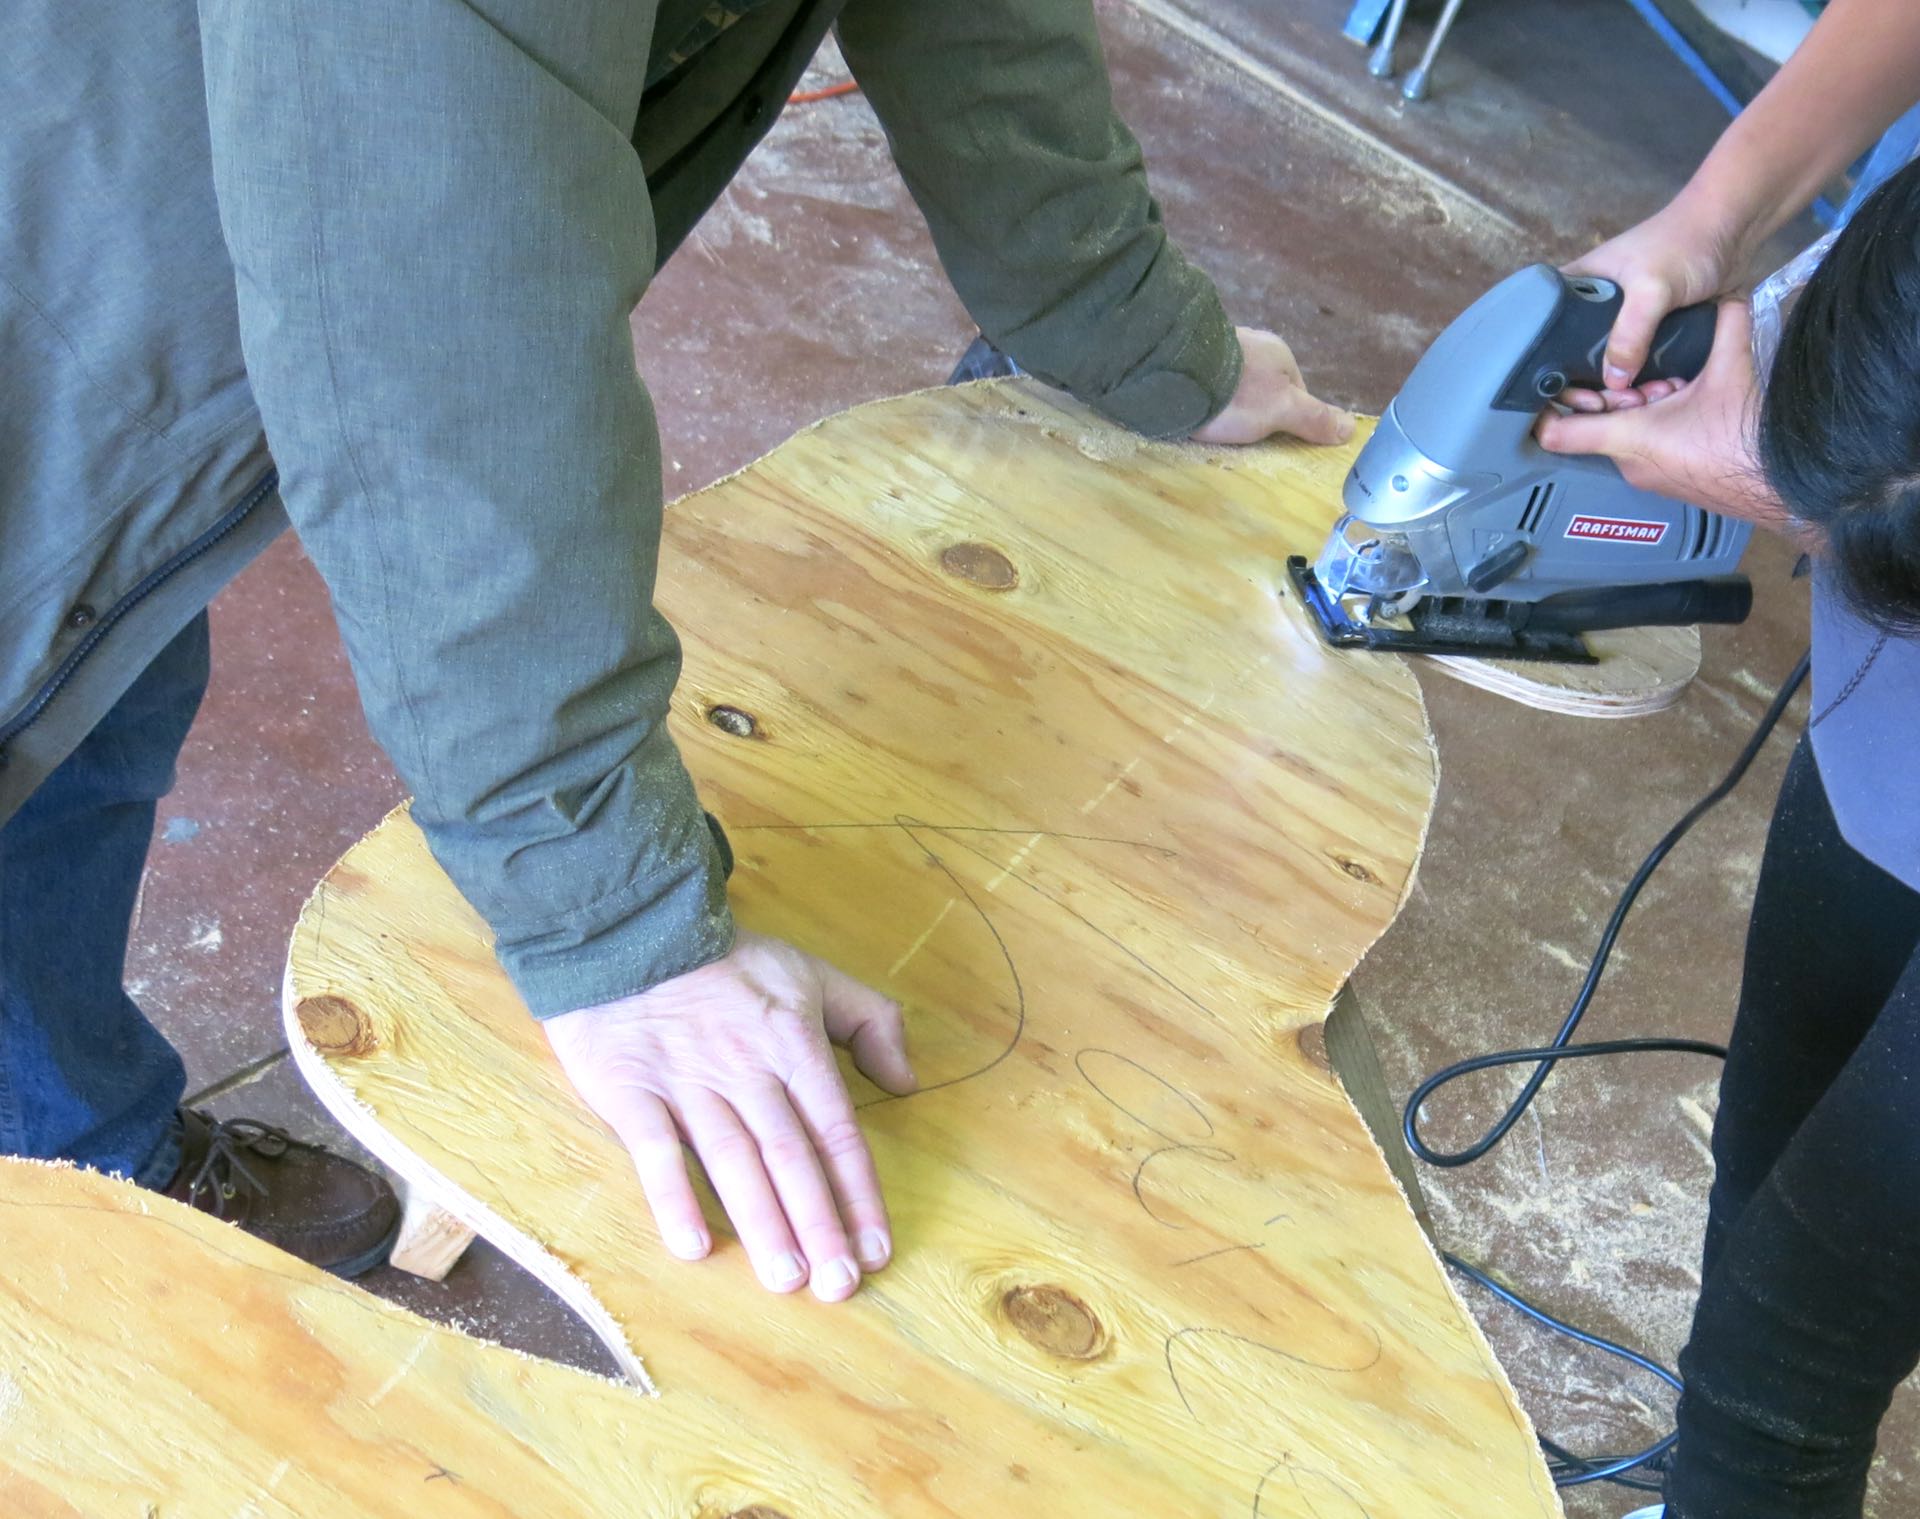
Place the piece of plywood on two sawhorses. Run an extension cord to the sawhorses. There will be one adult or older youth who is experienced with power tools per workstation to supervise, coach, and maintain safety. There will be one additional youth to help secure the piece of plywood while it is being cut. Finally, there is the youth who is cutting out their silhouette.
Safe use of a jig saw:
- Before starting the motor, the foot of the jigsaw should be in firm contact with the plywood, but the blade should not be touching the plywood.
- Keep the foot of the jigsaw in contact with the work at all times.
- NEVER cut towards a hand or other body part; keep your body parts BEHIND the blade.
- To stop the jigsaw in the middle of a cut, release the trigger so the motor stops, but do NOT pull the blade out of the cut until the blade has completely stopped moving.
- For tight (small radius) curves, cut slowly so you don’t break blades. If the blade starts to bind or smoke, stop cutting where you are. Then make another cut in from the edge of the plywood to where you stopped. Then start cutting on the line again. Do this as many times as you have to to keep the blade from binding or smoking.
More safety: You should assign a couple of youth or adults to get rid of scraps and sweep up sawdust, to maintain a safe workplace with no tripping hazards.
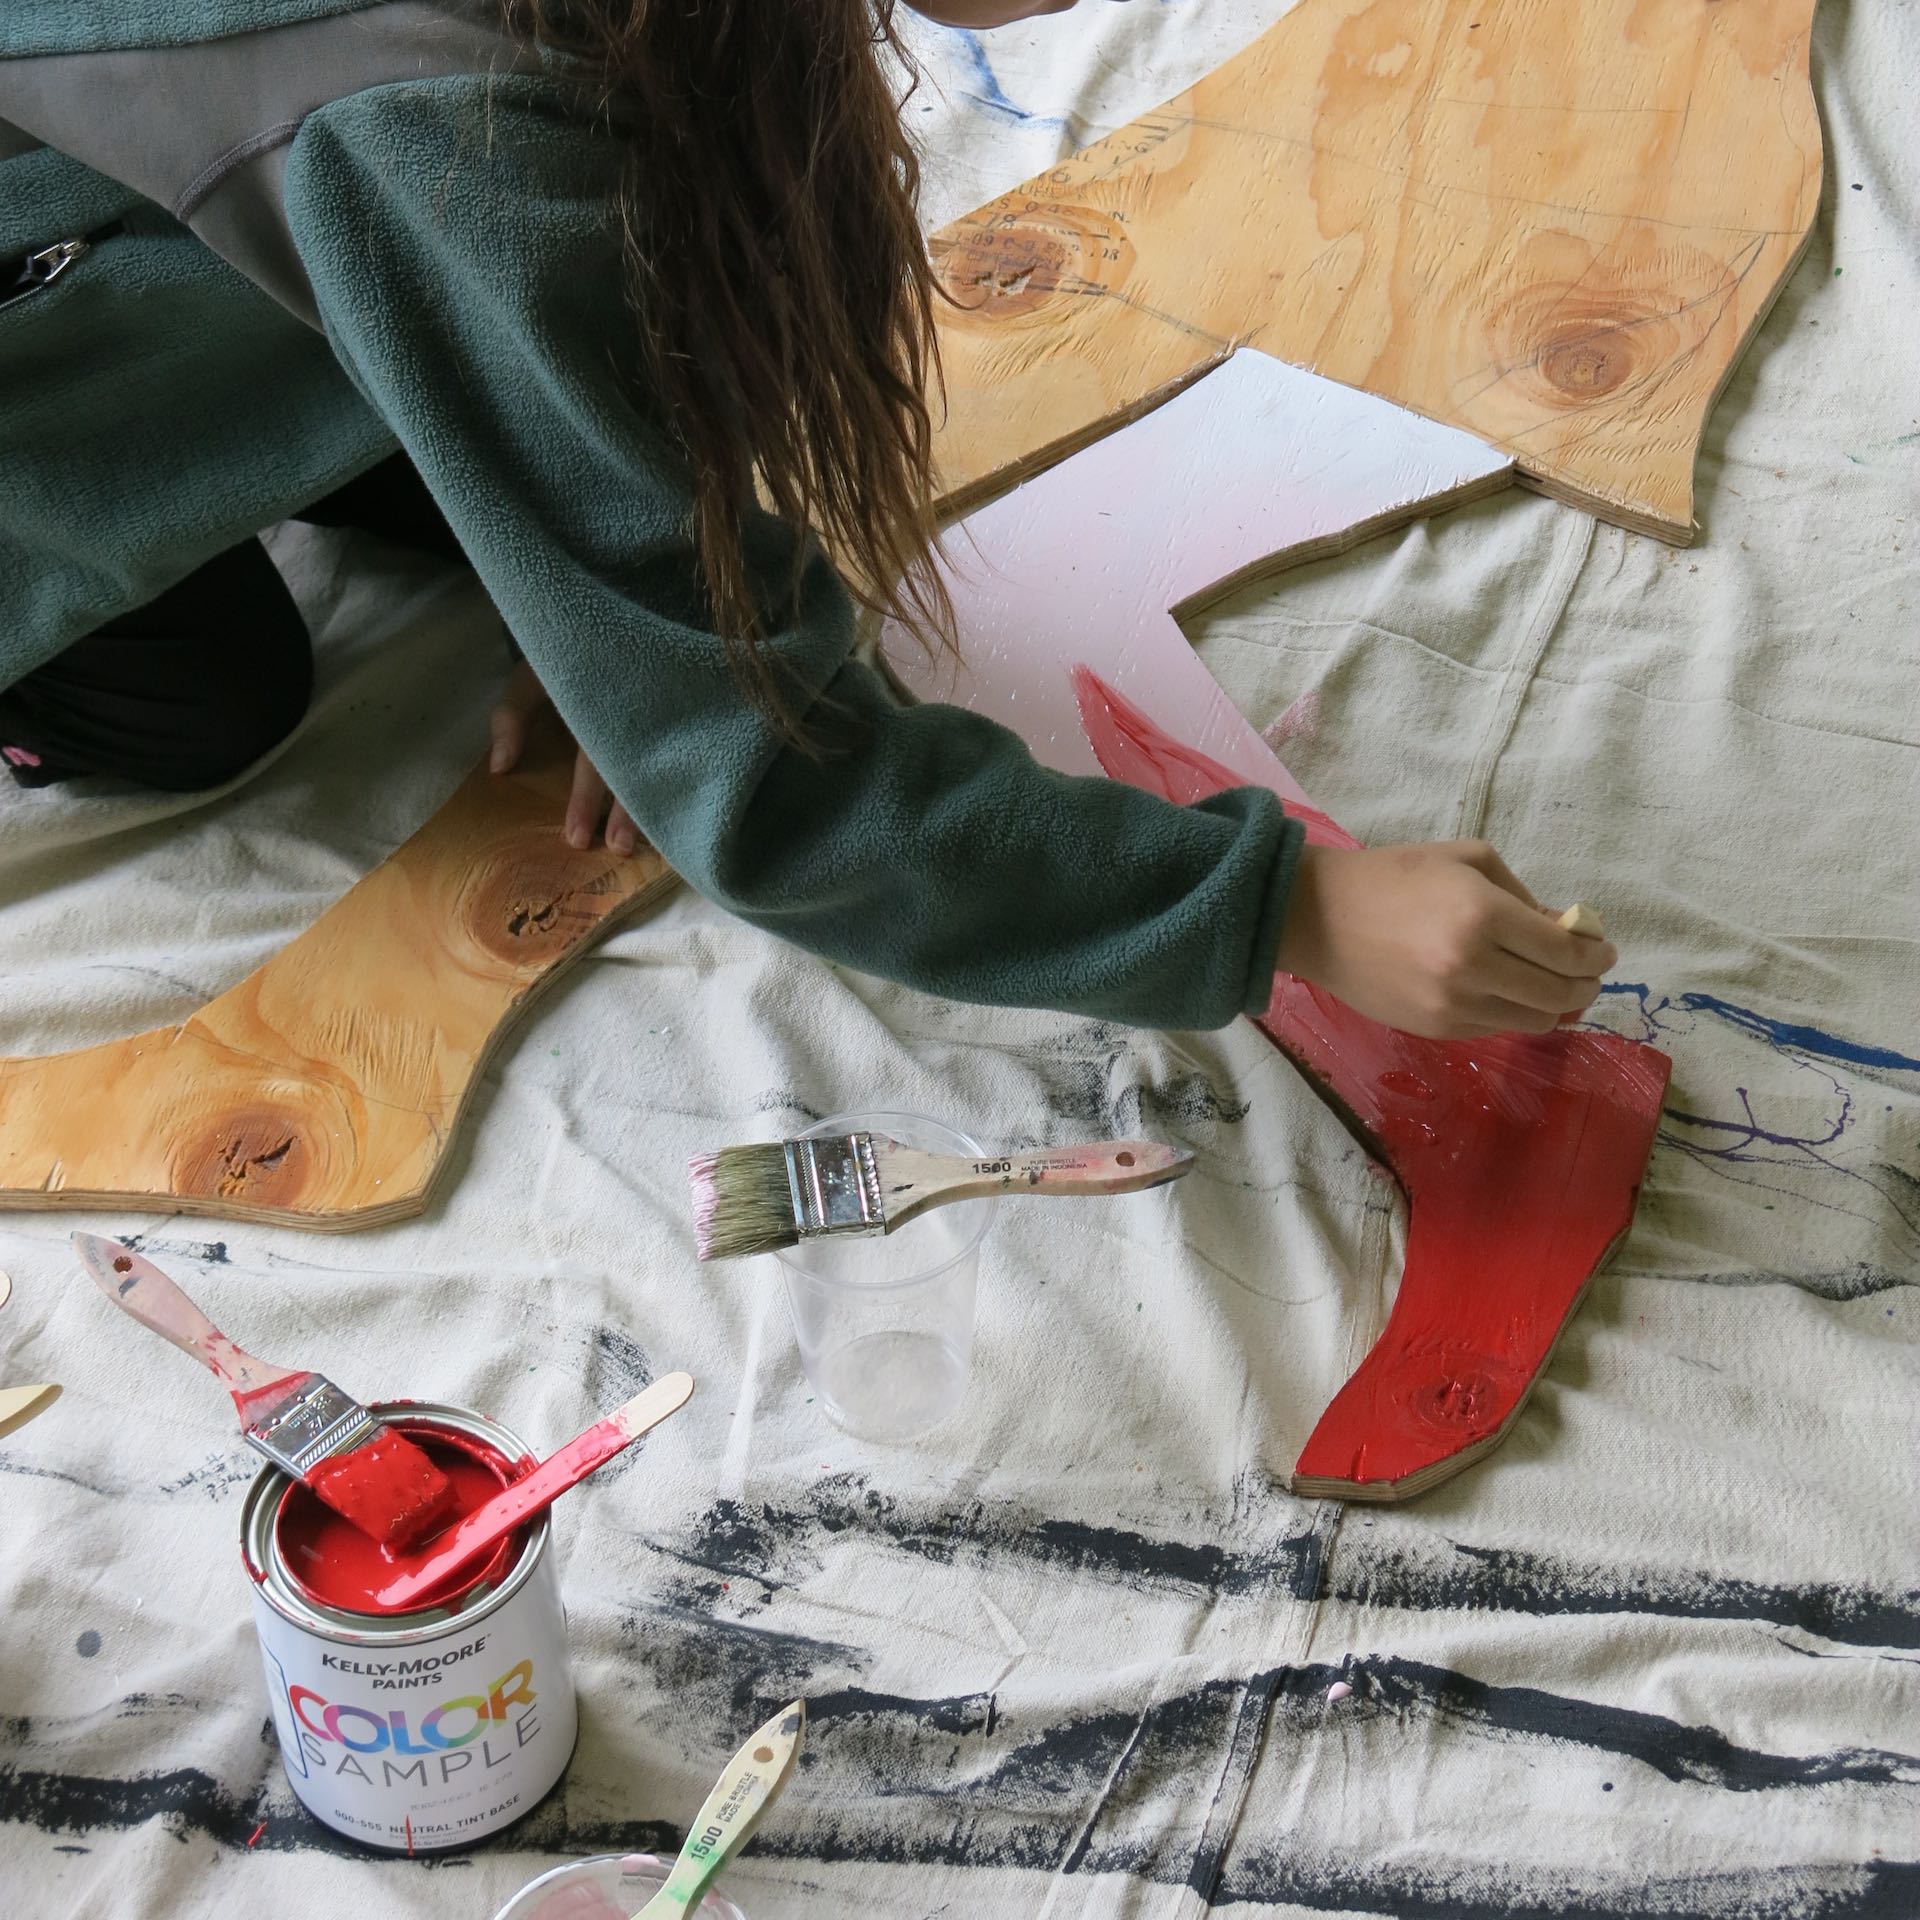
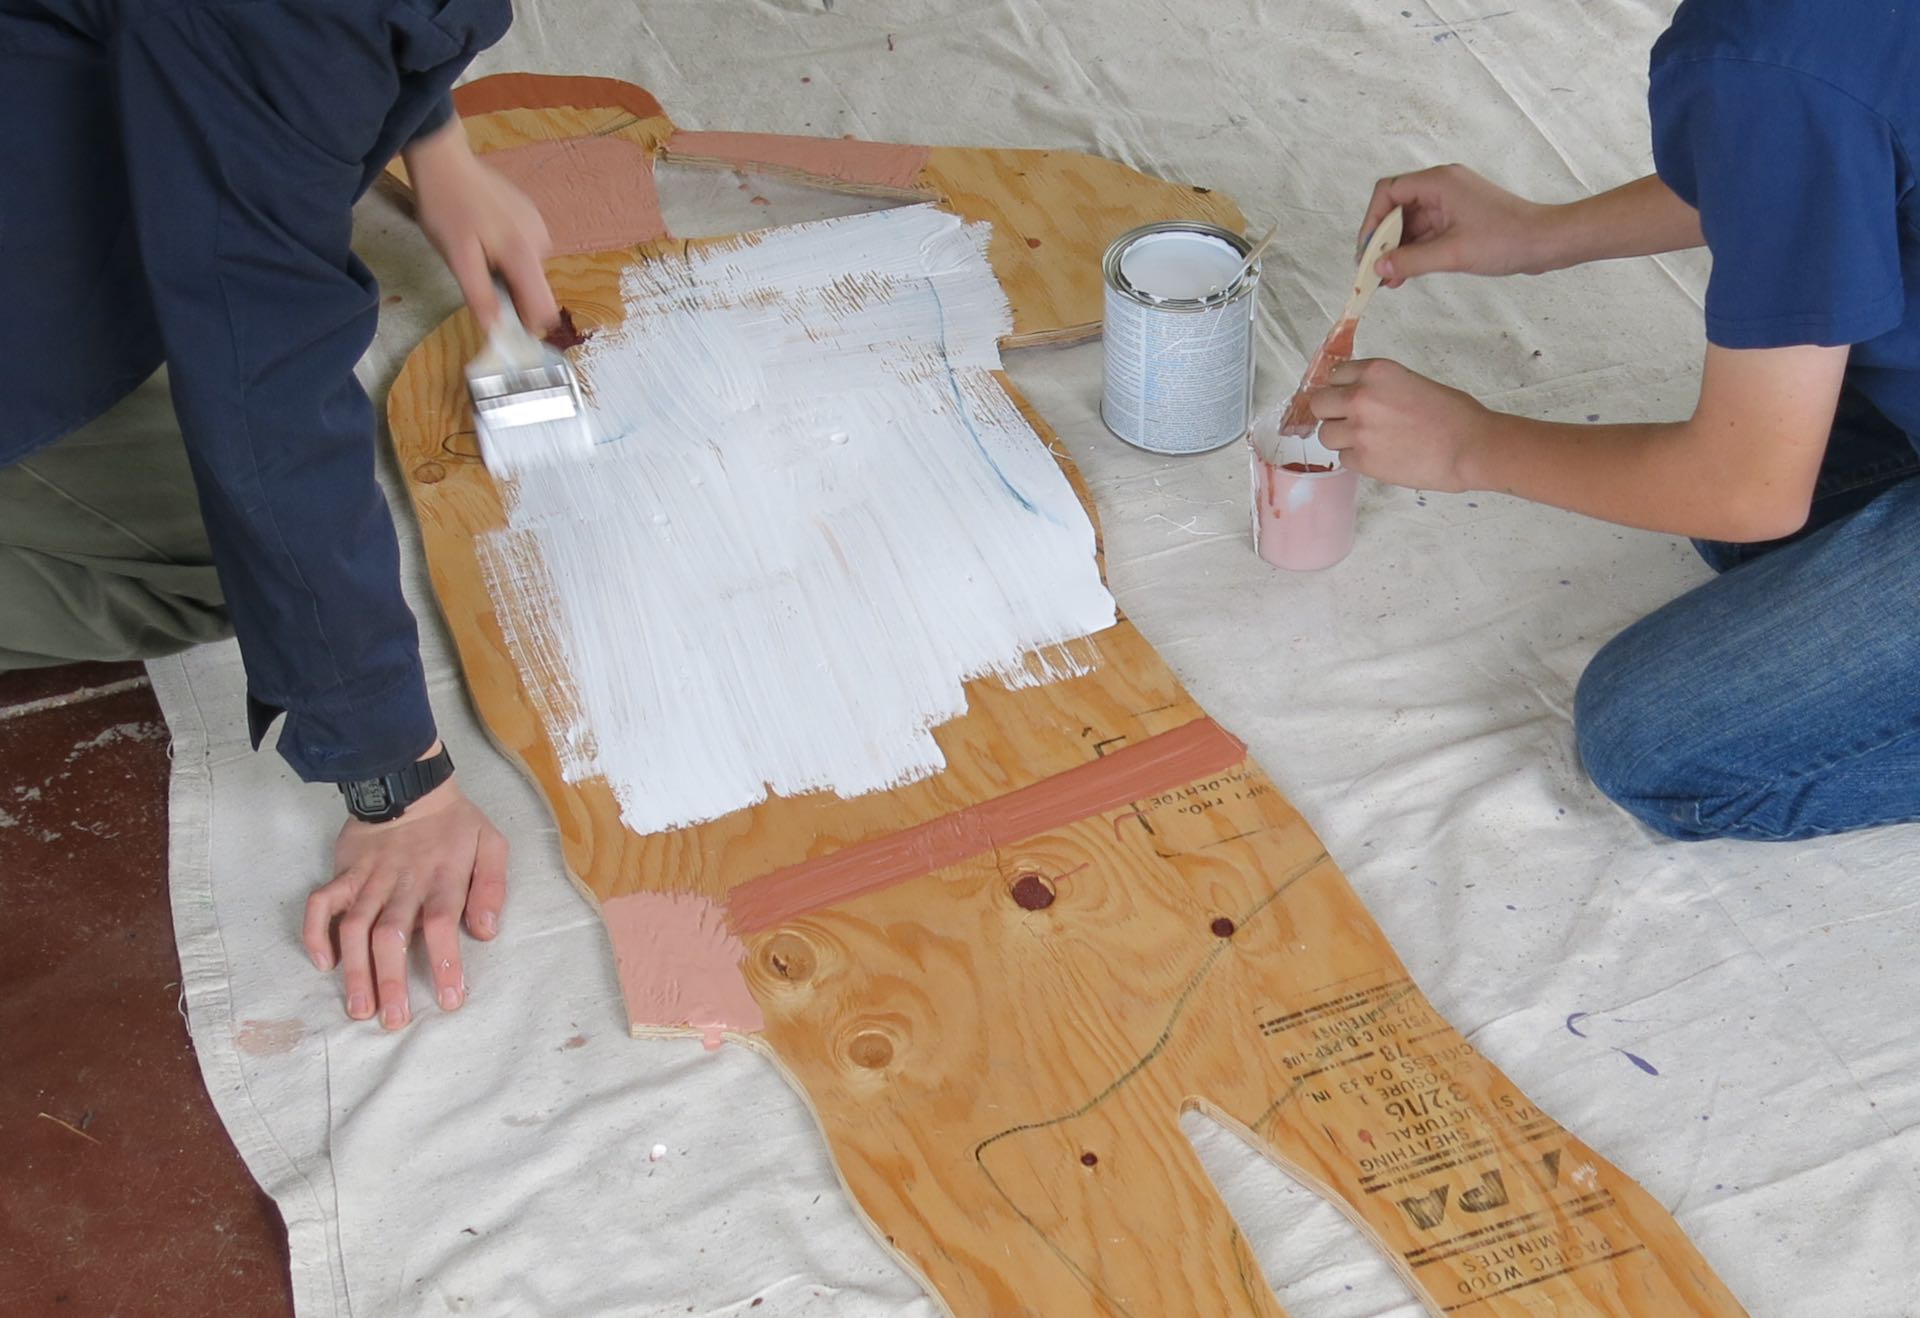
Step Three: Painting silhouettes
Once the silhouette has been cut out, then it is time to paint it. Set up a painting workstation as follows:
Lay a painter’s drop cloth, 8 x 12 feet, on the ground (sweep up saw dust first so the drop cloth doesn’t slip when people step on it). Set up a low table, covered by another dropcloth. On the low table, place the brushes, paint, rollers, etc. The low table with paint can be placed in the center of 2-3 drop cloths, so it can be reached by 2-3 workstations.
If the plywood has not yet been primed, prime it (optional, some youth prefer to work on natural wood).
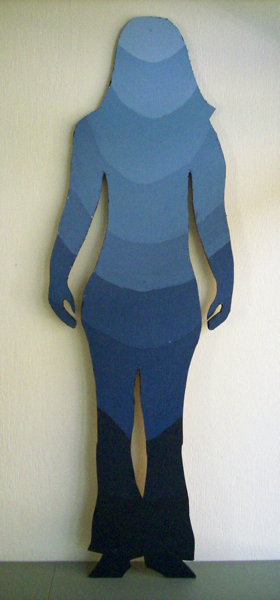
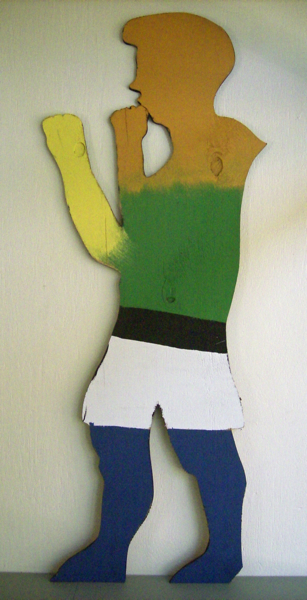
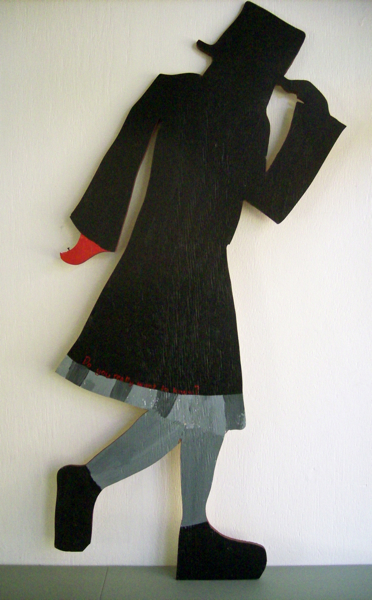
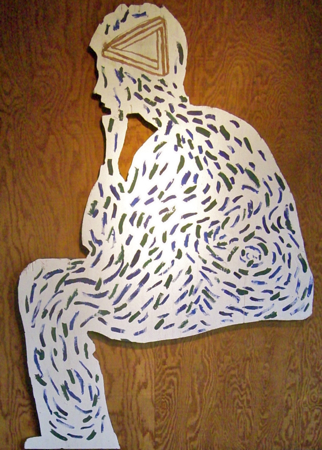
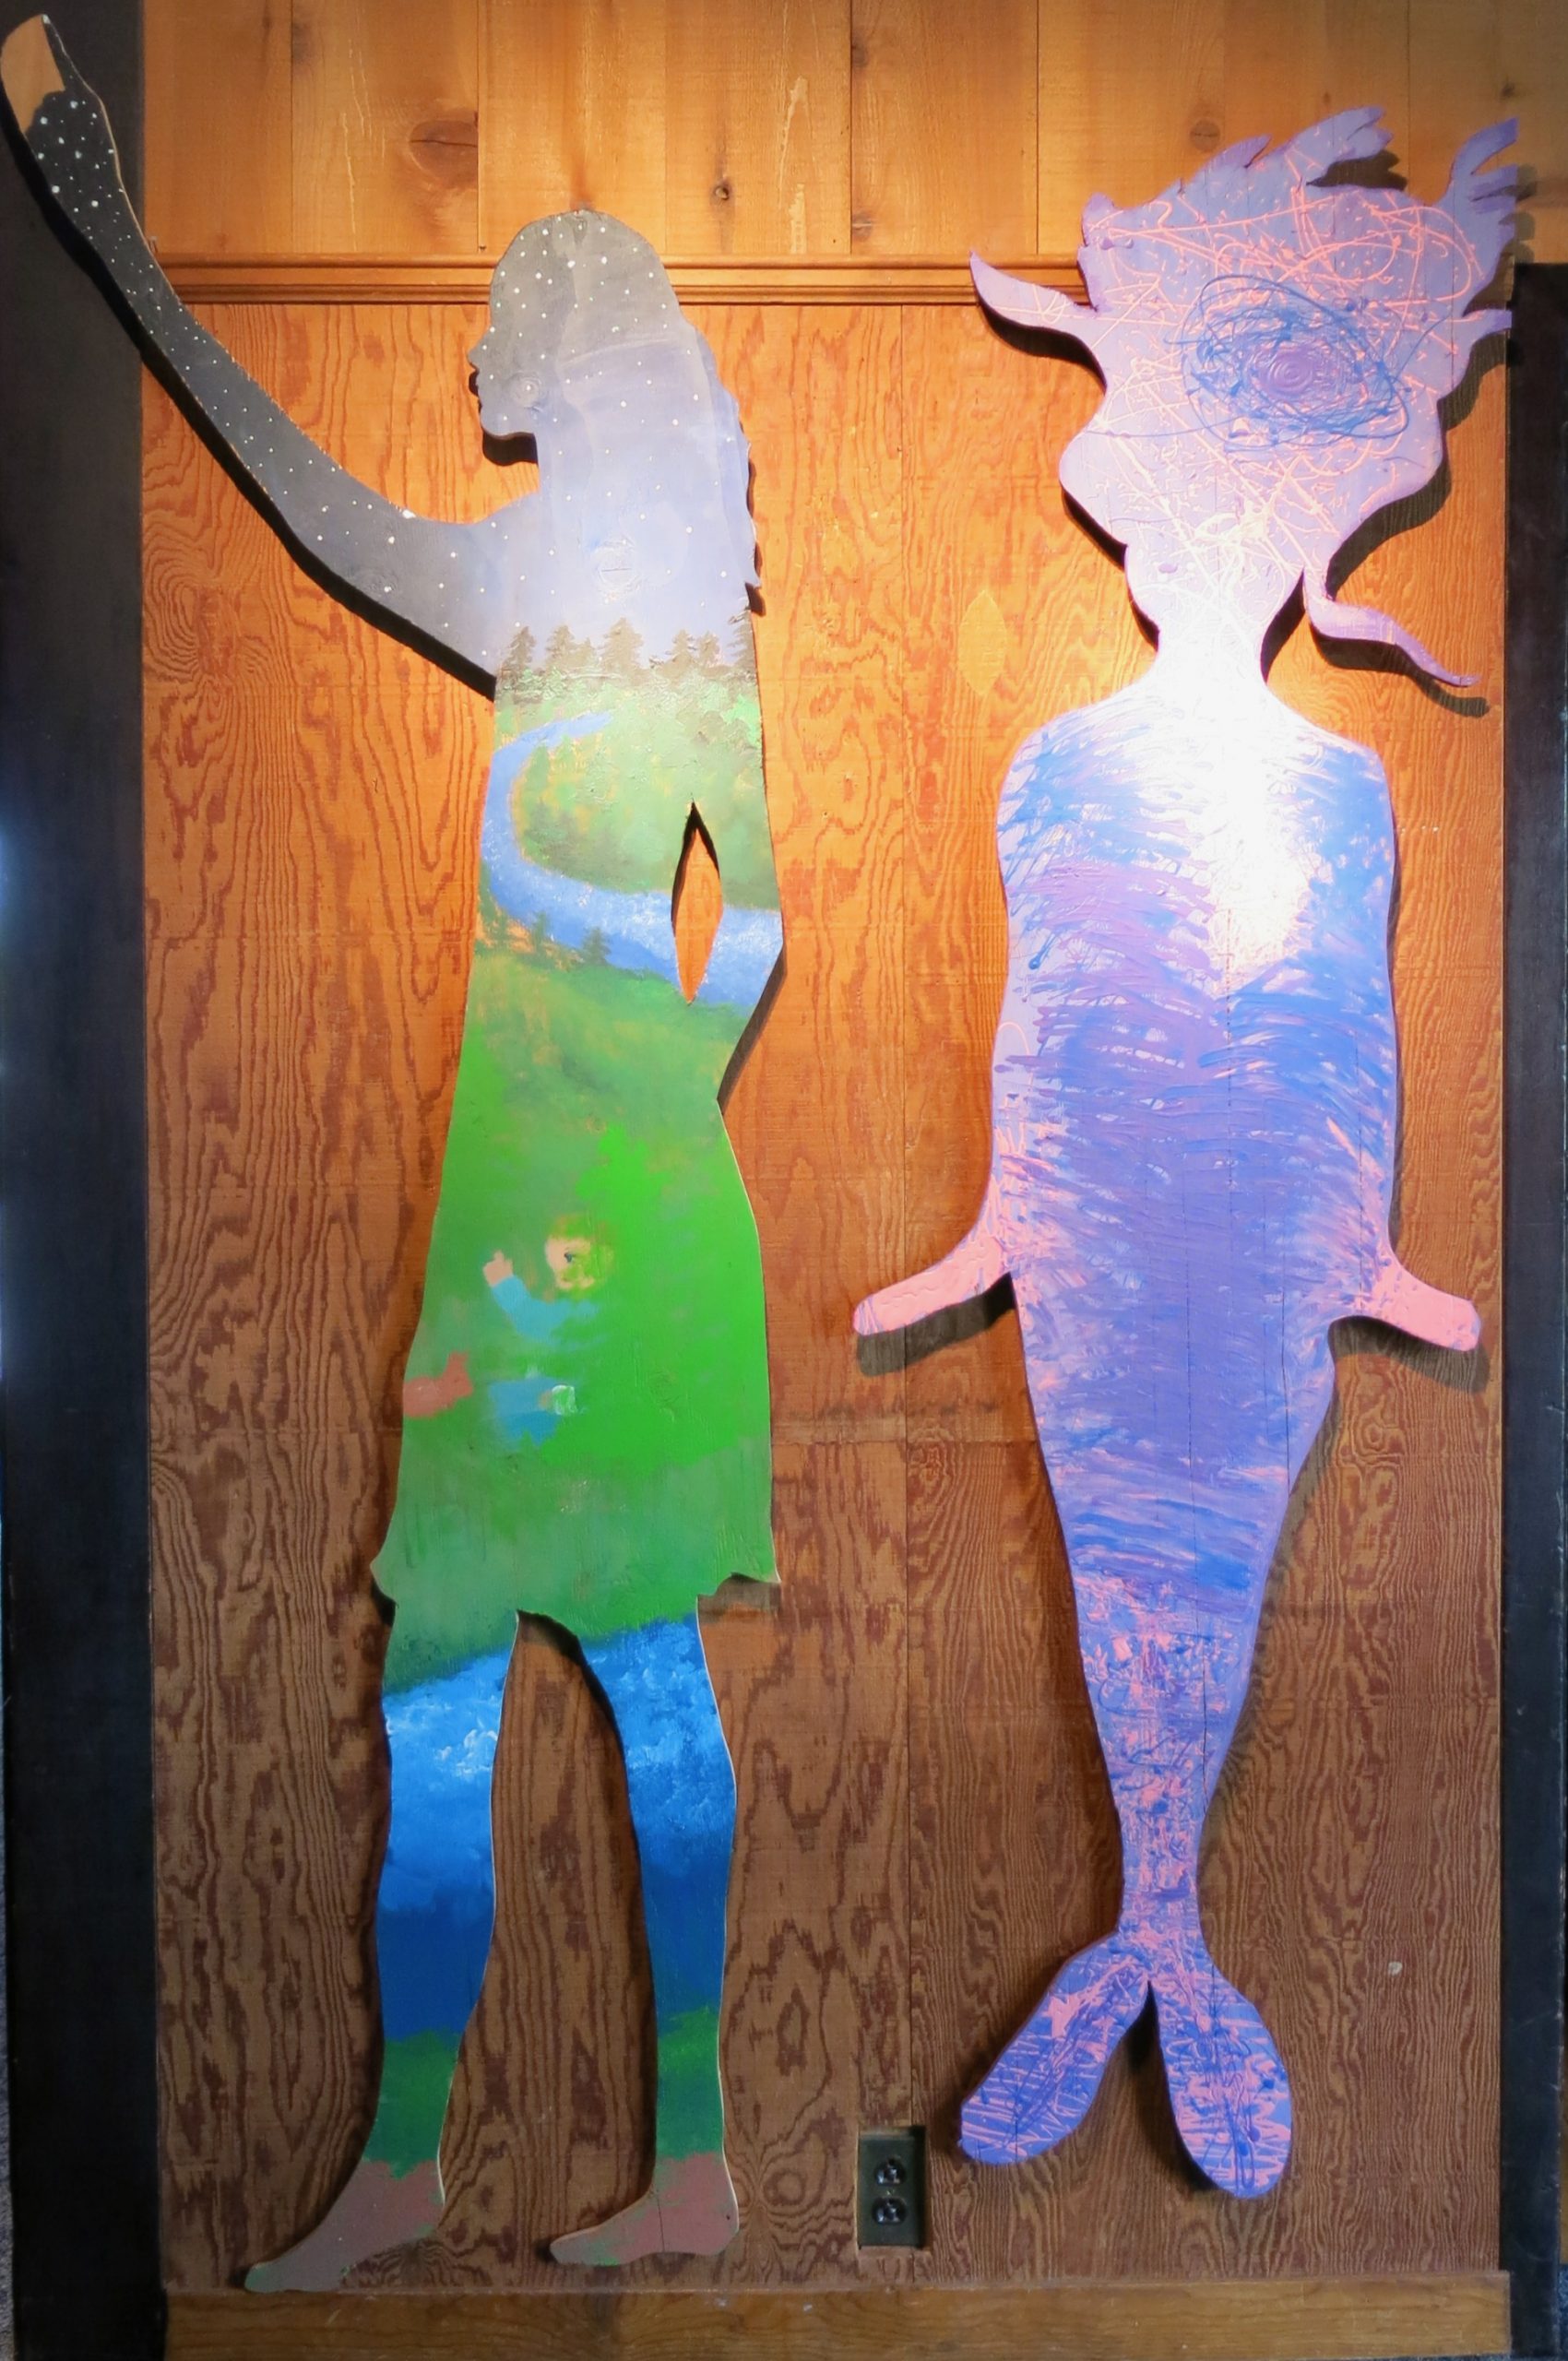
Once cut out, each youth paints the plywood silhouette as they please. See the designs below for ideas. Notice that both bold, simple designs, and highly detailed designs can look good.
They do not have to paint the back of the sculpture. However, strongly suggest they paint the edges, as this makes a BIG difference in appearance (edges can be painted black, or painted to match the adjacent color on the surface).
If the plywood self-portraits are going to be mounted outdoors, or for a more finished look, try the following: Give the rear of the self-portrait two coats of black paint. Give the front and sides one coat of a clear water-based finish (this will both protect it and give more depth to the color).
Troubleshooting
Almost any mistake you can imagine can be repaired — except mistakes involving human body parts, so SAFETY FIRST!
Here are fixes for common problems:
a. If a youth is dissatisfied with the tracing job, they can fine-tune the drawing. Just make sure they X out the lines they do not want.
b. If a small part breaks off during handling (e.g., an extended hand, a foot), you can re-attach it AFTER everything else has been cut out using a steel mending plate and 5/8″ screws. (Do not cut plywood that has steel mending plates or screws, as the steel can break jigsaw blades.)
c. If a mistake is made during cutting, you can re-attach small parts using the technique above. If two large parts need to be re-attached, use 1/4″ underlayment plywood, 5/8″ screws, and construction adhesive.
d. If a mistake is made during painting, let it dry overnight and paint over it. If a light color has to go over a dark color (e.g., yellow over black), it would be best to prime first.
e. If you get latex paint on clothing, wash it off QUICKLY, before it dries, using plenty of soap and water. Or, better yet, wear clothing where you don’t care if it gets paint on it.
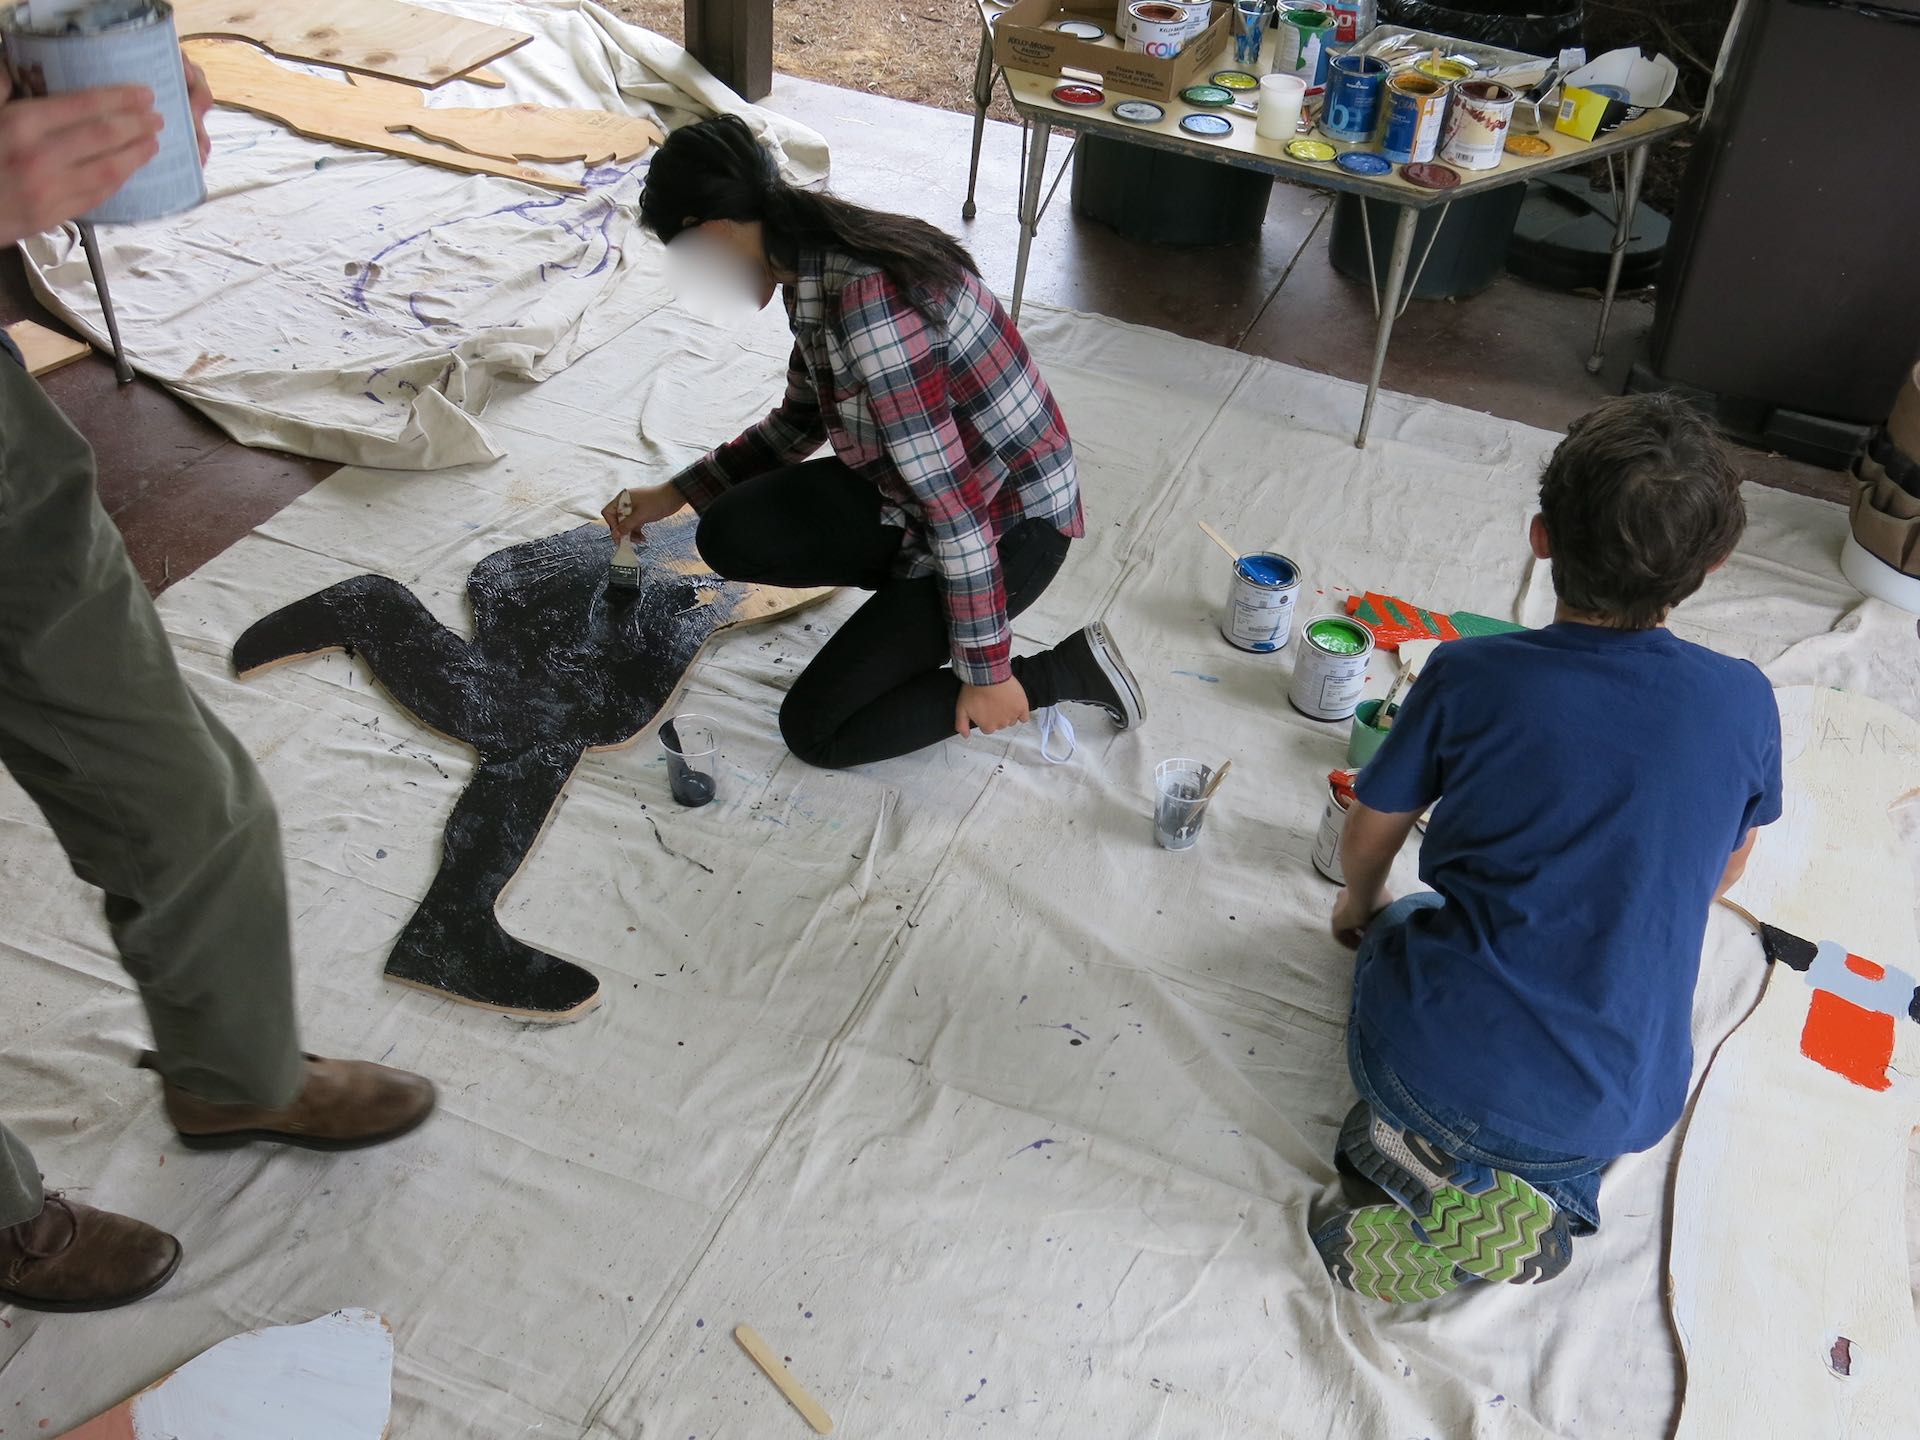
Photos of the fabrication and painting process
Faces of participants have been blurred or altered to protect privacy.
Examples of Completed Sculptures